10 Pro Tips How to Use Swale Design
Learning how to use swale design transforms sloped land from a water-shedding liability into a self-irrigating asset. A properly built swale captures rainfall along contour lines, infiltrates it deep into the subsoil, and recharges the surrounding root zone for weeks after a storm. The scent of damp earth and the sudden green flush of vegetation downslope reveal where water has moved through the profile. Swales work by interrupting runoff velocity, extending residence time, and leveraging gravity to distribute moisture horizontally through capillary action across the landscape.
Materials
Understanding how to use swale design begins with assembling the correct earthwork and amendment tools. A-frame levels or laser transits establish true contour with less than 1% grade variation. Excavation requires a mini-excavator or skilled shovel crew capable of moving 3 to 5 cubic yards per linear foot of swale. Berms demand compaction to 85% Proctor density to prevent erosion and piping failures.
Soil amendments depend on native pH and texture. Clay-dominant soils (CEC above 25 meq/100g) benefit from gypsum at 40 pounds per 100 square feet to improve aggregate stability. Sandy profiles require compost at a 2-inch layer tilled to 6 inches, raising organic matter to 4%. For nitrogen establishment, apply a 4-4-4 organic meal at 2 pounds per 100 square feet along the berm after shaping. Mycorrhizal fungi inoculant, applied at 1 ounce per 10 feet of swale trench, colonizes root zones within 8 weeks and extends effective water uptake by 30%.
Mulch materials include straw at 4 inches depth (carbon-to-nitrogen ratio 80:1) or ramial wood chips at 6 inches (C:N 50:1). Both suppress weed germination and moderate soil temperature swings by 10 degrees Fahrenheit during establishment.
Timing
Swale construction aligns with dormancy and low-precipitation windows. In Zones 5 through 7, excavate between late September and early November after deciduous leaf-drop but before hard frost penetrates below 6 inches. Zones 8 through 10 permit winter construction from December through February when evapotranspiration drops below 0.1 inches per day.
Planting the berm and swale basin follows last frost by 2 weeks. Use your USDA hardiness zone and local extension frost tables. Zone 6 targets May 1 to May 15. Zone 9 allows February 15 to March 1. Native grasses and nitrogen-fixing shrubs establish fastest when soil temperatures stabilize above 55 degrees Fahrenheit at 4-inch depth.
Avoid construction during saturated conditions. Soil moisture content above 18% (gravimetric) causes smearing, destroys aggregate structure, and creates hydrophobic layers that defeat infiltration. Wait until a soil ribbon test crumbles at 2 inches of extension.

Phases
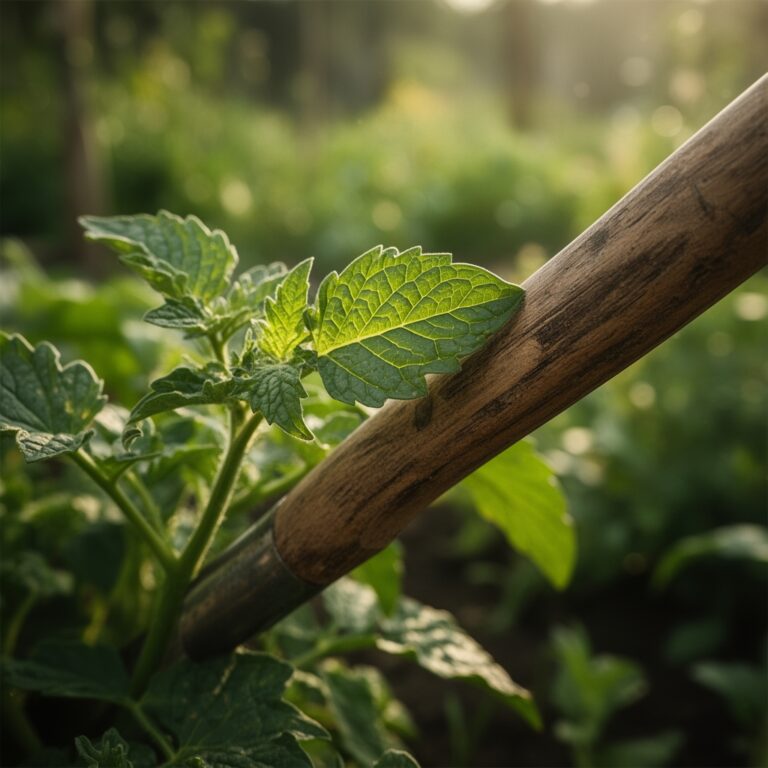
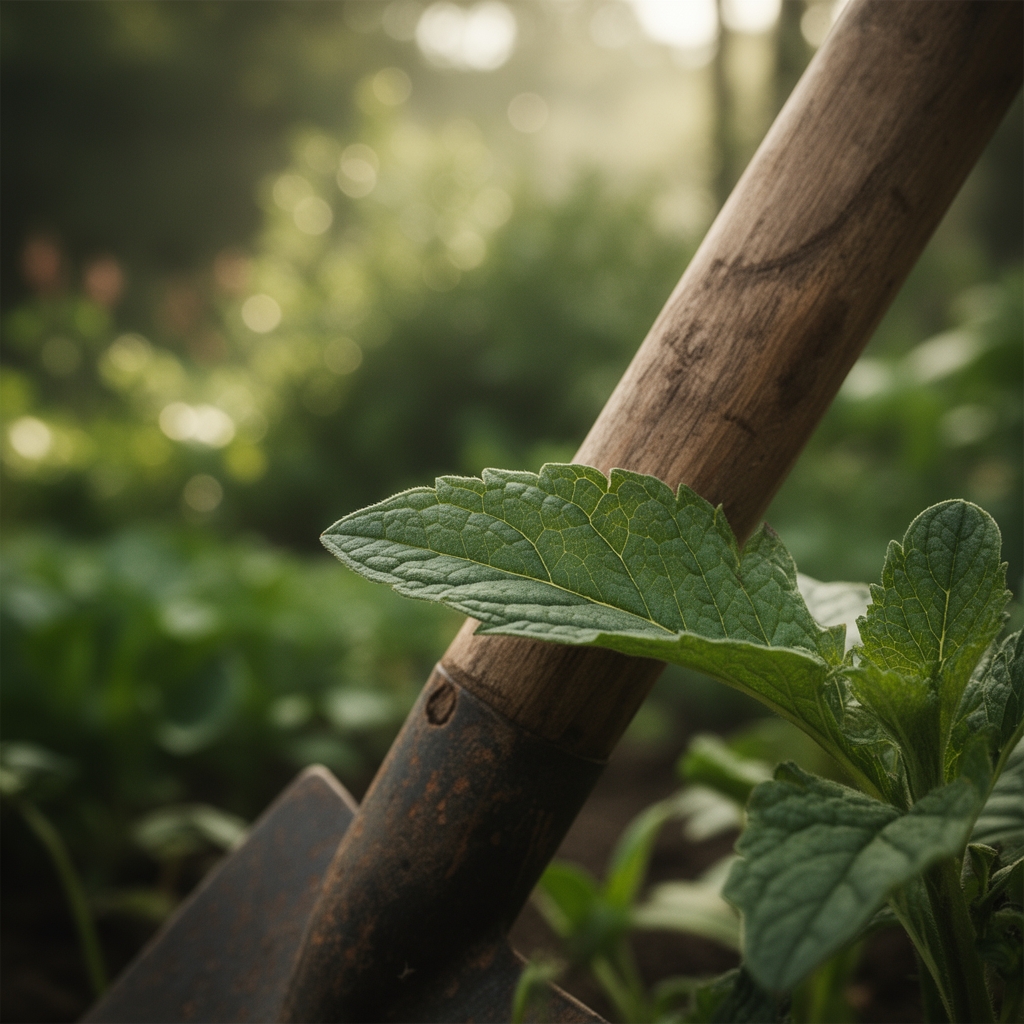
Sowing: Stake contour lines at 10-foot intervals using an A-frame level. Mark the uphill edge of the swale trench, which should measure 2 to 4 feet wide and 1 to 2 feet deep depending on slope percentage. Excavate subsoil to the downhill side, creating a continuous berm. Loosen the trench floor with a broadfork to 12 inches to eliminate plow-pan and enhance vertical percolation.
Pro-Tip: Scarify the trench bottom in a crosshatch pattern at 6-inch spacing. This increases surface area for water contact and accelerates infiltration rates by 40% over smooth-bottom swales.
Transplanting: Install pioneering vegetation within 48 hours of earthwork completion. Leguminous species such as Caragana arborescens (Siberian peashrub) or Elaeagnus umbellata (autumn olive) fix atmospheric nitrogen at 50 to 150 pounds per acre annually. Space woody plants 5 feet on-center along the berm crest. Interplant with perennial grasses like switchgrass (Panicum virgatum) at 12-inch spacing to bind soil and prevent slumping.
Apply transplant solution with kelp extract (0-0-1 plus trace minerals) at 2 tablespoons per gallon. This stimulates auxin distribution and accelerates root initiation by 3 to 5 days.
Pro-Tip: Plant at a 10-degree angle toward the swale trench rather than vertical. Angled roots intercept subsurface water flow and reduce transplant shock by maintaining turgor pressure during dry spells.
Establishing: Monitor infiltration performance after the first storm exceeding 0.5 inches. Water should percolate within 24 hours, leaving no standing pond. If pooling persists beyond 36 hours, the trench floor may be compacted or the berm may have settled unevenly. Re-loosen the floor and add coarse sand at 1 cubic foot per 10 linear feet.
Mulch the berm and basin edges immediately. This moderates temperature, retains moisture at field capacity for an additional 7 days, and suppresses annual weeds during the critical first season.
Pro-Tip: Inoculate the root zone with endomycorrhizae (Glomus species) by mixing spores into backfill soil at transplant. Colonized plants access phosphorus at soil concentrations 50% lower than non-mycorrhizal counterparts, critical in low-P soils common on degraded slopes.
Troubleshooting
Symptom: Berm erosion with visible rills after moderate rain.
Solution: Reseed with annual ryegrass at 10 pounds per 1,000 square feet for emergency cover. Install erosion-control fabric or coconut coir logs along the berm face. Increase mulch depth to 6 inches.
Symptom: Swale trench remains dry while runoff bypasses downslope.
Solution: Contour is off-grade. Resurvey with a laser level. Adjust the trench elevation so variance stays within 0.5%. Extend swale length or add spillways at calculated overflow points.
Symptom: Vegetation wilts despite recent rainfall.
Solution: Subsoil hardpan blocks root penetration. Excavate test pits every 20 feet. If resistance exceeds 300 psi at 10 to 14 inches, subsoil rip the trench to 18 inches and incorporate gypsum at 50 pounds per 100 square feet.
Symptom: Algae bloom in standing water within swale.
Solution: Indicates poor drainage. Install a subsurface gravel infiltration trench 12 inches below swale floor, 6 inches wide, backfilled with 0.75-inch crushed rock. Wrap in geotextile fabric to prevent siltation.
Symptom: Gopher or vole damage to berm plantings.
Solution: Install 0.25-inch hardware cloth baskets at planting, extending 12 inches below grade and 4 inches above. Maintain 3-foot mowed buffer to reduce cover for predators.
Maintenance
Apply 0.5 inches of water per week during establishment if rainfall is insufficient. Use drip irrigation positioned 6 inches upslope from each plant to simulate natural swale hydration. Discontinue supplemental water after root systems extend 18 inches laterally, typically by month four.
Mow or graze berm vegetation twice annually to maintain 6- to 8-inch height and stimulate tillering. Taller growth shades out nitrogen-fixing forbs and reduces infiltration efficiency by 15%. Remove woody invaders like multiflora rose before tap roots exceed 0.5-inch diameter.
Reapply mulch at 2-inch depth each autumn. Carbon additions sustain microbial biomass and maintain soil organic matter above 3.5%, essential for aggregate stability and cation exchange capacity. Test soil every three years. Adjust pH to 6.0 to 7.0 using lime at 50 pounds per 1,000 square feet if readings drop below 5.8.
Inspect swales after storms exceeding 2 inches. Remove accumulated sediment if deposition exceeds 1 inch annually. Sediment buildup reduces capacity and redirects overflow unpredictably.
FAQ
How long does a swale take to build?
A 100-foot swale requires 8 to 12 hours with a mini-excavator or 24 to 32 labor-hours by hand. Layout and staking add 2 hours per 100 feet.
Can I use swales on flat land?
Slopes below 2% lack sufficient gravitational head for lateral infiltration. Consider rain gardens or bioswales with engineered drainage instead.
What spacing between swales is optimal?
Divide vertical elevation change by 1.5 to determine intervals. On a 10% slope with 20 feet of vertical drop, install swales every 30 feet horizontally.
Do swales work in clay soil?
Yes, but infiltration is slower. Amend the trench floor with coarse sand and compost at 1:1 ratio to 12-inch depth. Expect percolation within 48 hours rather than 24.
How do I prevent berm failure?
Compact fill in 4-inch lifts to 85% Proctor density. Plant immediately and mulch heavily. Avoid oversteepening berm slopes; maintain 3:1 horizontal-to-vertical ratio minimum.