6 Simple Steps to Native Pollinator Pathways
Creating corridors of native bloom across residential and commercial landscapes transforms isolated patches into interconnected habitats. The steps to native pollinator pathways begin with understanding regional plant communities and soil chemistry, then progressing through strategic placement of nectar sources, larval host plants, and seasonal succession planning. Each corridor should measure at least 3 feet wide and connect existing habitat fragments, allowing bees, butterflies, and beneficial insects to move safely between forage areas. These pathways work best when they incorporate 15-20 native species that bloom sequentially from early spring through hard frost.
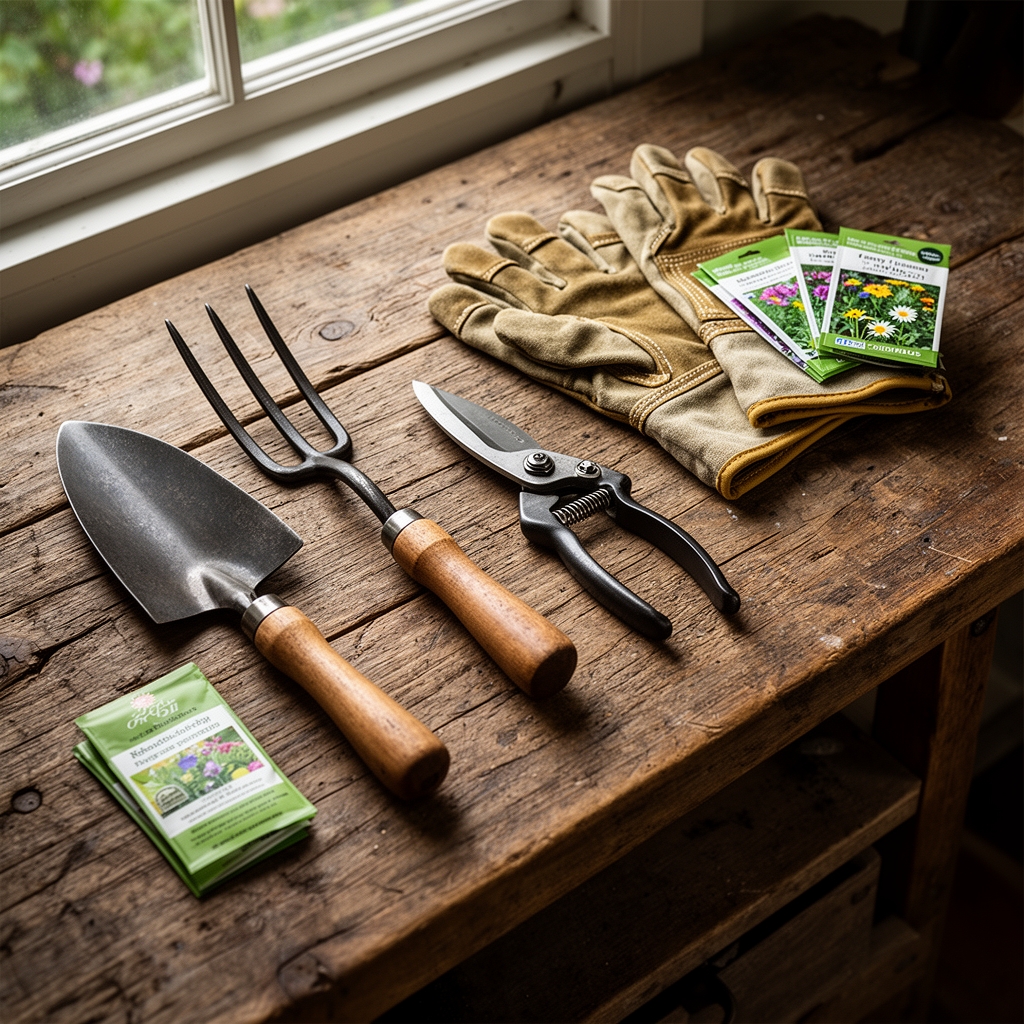
Materials
Soil Amendments by pH Range
For acidic soils (pH 5.5-6.2), incorporate sulfur-coated urea and aged pine bark fines to maintain cation exchange capacity. Alkaline soils (pH 7.2-8.0) benefit from elemental sulfur at 1 pound per 100 square feet and sphagnum peat moss worked to 8-inch depth.
Fertilizer Specifications
Apply balanced organic fertilizer at 4-4-4 NPK ratio during bed preparation. Use bone meal (0-12-0) for root establishment of perennials. Side-dress annuals with blood meal (12-0-0) every 6 weeks during active growth. Avoid synthetic high-nitrogen formulations above 10-10-10, which promote vegetative growth at the expense of flower production.
Physical Infrastructure
Purchase untreated lumber for pathway edging, avoiding pressure-treated wood containing copper compounds toxic to soil microorganisms. Install landscape fabric with 5-year UV rating only in high-traffic zones. Source mycorrhizal fungi inoculant containing Glomus intraradices and Rhizophagus irregularis species. Acquire mason bee blocks with 5/16-inch diameter holes and butterfly puddling stations with mineral salt blocks.
Timing
Hardiness Zone Schedule
Zones 3-4 require pathway establishment between May 15 and June 30, after soil temperatures reach 55°F at 4-inch depth. Zones 5-6 allow installation from April 20 through early October. Zones 7-8 offer year-round planting except during summer heat above 90°F for 10 consecutive days. Zones 9-10 should avoid June through August installation due to transplant stress.
Frost Date Calculations
Count backward 8 weeks from average last spring frost for indoor seed starting of perennials. Direct-sow hardy annuals 2 weeks before last frost date. Transplant container-grown natives 1 week after last frost when nighttime temperatures remain above 45°F. Fall planting works best 6-8 weeks before first frost to allow root establishment before dormancy.
Phases
Sowing Phase
Scarify hard-coated seeds like baptisia and lupine by rubbing with 80-grit sandpaper for 10 seconds per seed. Cold-stratify species requiring vernalization by storing in moistened vermiculite at 37-40°F for 60-90 days. Sow seeds at depth equal to twice their diameter. Press fine seeds like penstemon onto soil surface without covering. Maintain substrate moisture at 60-70% field capacity using capillary mat systems.
Pro-Tip: Coat small seeds with milled clay at 1:4 ratio for easier distribution and improved seed-to-soil contact.
Transplanting Phase
Dig planting holes twice the root ball width and equal to container depth. Score pot-bound roots vertically with four 1-inch cuts. Apply mycorrhizal fungi directly to root surfaces at 1 tablespoon per plant. Position crown at grade level, never buried. Backfill with native soil without amendments for woody species. Water transplants with diluted kelp solution (1 tablespoon per gallon) to reduce transplant shock through cytokinin delivery.
Pro-Tip: Transplant on overcast days when relative humidity exceeds 50% to minimize water loss through stomata.
Establishing Phase
Monitor soil moisture with tensiometer, maintaining 10-20 centibars tension for first 90 days. Reduce watering frequency as plants develop 12-inch root depth. Mulch pathways with 2-3 inches of shredded hardwood bark, maintaining 3-inch clearance from plant crowns. Remove first-year flower buds from perennials to redirect auxin distribution toward root development. Stake plants taller than 24 inches using figure-eight ties that allow stem movement.
Pro-Tip: Prune lateral branches at 45-degree angles just above outward-facing buds to promote open canopy structure for pollinator access.
Troubleshooting
Powdery Mildew (White Fungal Coating)
Symptom: Talc-like powder on leaf surfaces, primarily affecting phlox and monarda species.
Solution: Apply potassium bicarbonate spray (1 tablespoon per gallon) weekly. Increase air circulation by spacing plants 18 inches apart. Water at soil level only.
Aster Yellows (Stunted Growth with Green Flowers)
Symptom: Phytoplasma infection causing flower deformation and excessive branching.
Solution: Remove infected plants immediately. Control leafhopper vectors with kaolin clay foliar spray. Plant resistant species like liatris and coreopsis.
Root Aphids (Wilting Despite Adequate Water)
Symptom: Colony formation on root surfaces, excreting honeydew that promotes sooty mold.
Solution: Drench soil with insecticidal soap (2% concentration). Introduce predatory nematodes Steinernema feltiae at 50 million per 1,600 square feet.
Chlorosis (Yellowing Between Leaf Veins)
Symptom: Iron deficiency in alkaline soils preventing chlorophyll synthesis.
Solution: Apply chelated iron (Fe-EDDHA) at 1 ounce per 10 gallons water. Lower soil pH incrementally over 2 seasons.
Foliar Burn (Brown Leaf Margins)
Symptom: Salt accumulation from over-fertilization or softened water irrigation.
Solution: Leach soil with 2 inches of water. Switch to rainwater or reverse-osmosis water for sensitive species.
Maintenance
Provide 1 inch of supplemental water weekly during active growth when rainfall drops below this threshold. Increase to 1.5 inches during bloom period for continuous nectar flow. Deadhead spent flowers every 5-7 days to extend bloom duration by preventing seed set and redirecting energy to auxin production. Cut back perennials to 4-inch stubble in late winter, leaving stems standing through winter to provide overwintering sites for beneficial insects.
Divide congested clumps every 3-4 years in early spring when shoots reach 2 inches. Apply compost topdressing at 0.5 inches annually to maintain soil organic matter at 5-8%. Test soil every 24 months, adjusting amendments to maintain optimal pH range for selected species. Control invasive species manually when root systems measure less than 6 inches diameter.
Refresh mulch layer when depth falls below 1.5 inches, typically required annually. Prune woody plants during dormancy, removing no more than 25% of canopy per season. Rotate annual species plantings every other year to disrupt pest life cycles and prevent pathogen buildup in soil.
FAQ
How wide should native pollinator pathways measure?
Minimum effective width measures 3 feet for residential applications and 6 feet for agricultural field margins. Wider corridors (10-15 feet) support greater species diversity and provide interior habitat conditions protected from edge effects.
Which native plants provide longest bloom sequence?
Combine early spring ephemerals (Virginia bluebells, bloodroot), summer stalwarts (purple coneflower, black-eyed Susan), and fall bloomers (asters, goldenrod). This succession provides nectar sources across 26-30 weeks in temperate zones.
Do pathways require pesticide-free maintenance?
Yes. Systemic neonicotinoids persist in pollen and nectar for 180+ days, causing sub-lethal effects on navigation and reproduction. Use mechanical controls and biological agents like Bacillus thuringiensis for targeted pest management.
How many plant species should each pathway contain?
Install 15-20 species minimum to provide functional redundancy. Include 60% perennials for structural stability, 25% annuals for season-long color, and 15% grasses for overwintering habitat.
What spacing optimizes pollinator activity?
Plant in drifts of 5-7 individuals per species, spacing specimens 12-18 inches apart. Concentrated color masses attract more pollinators than scattered individual plants through increased visual signaling.