5 Pro Best Macro Plant Photos Tips
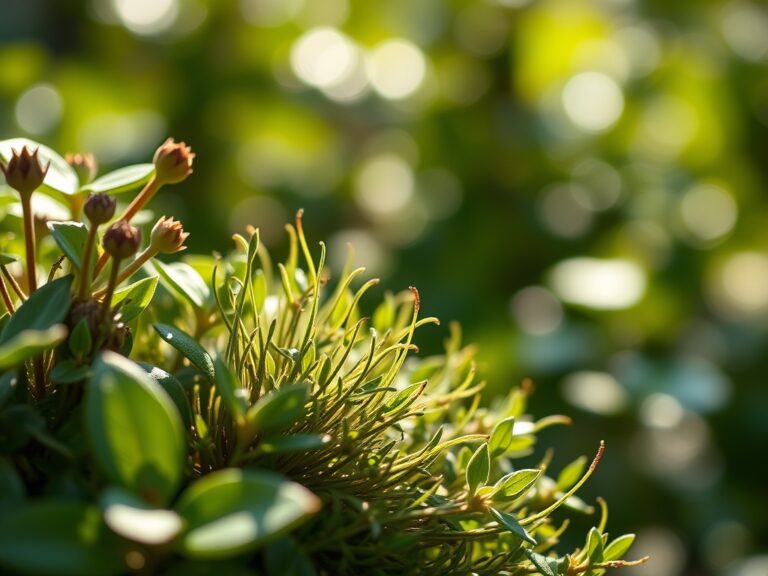
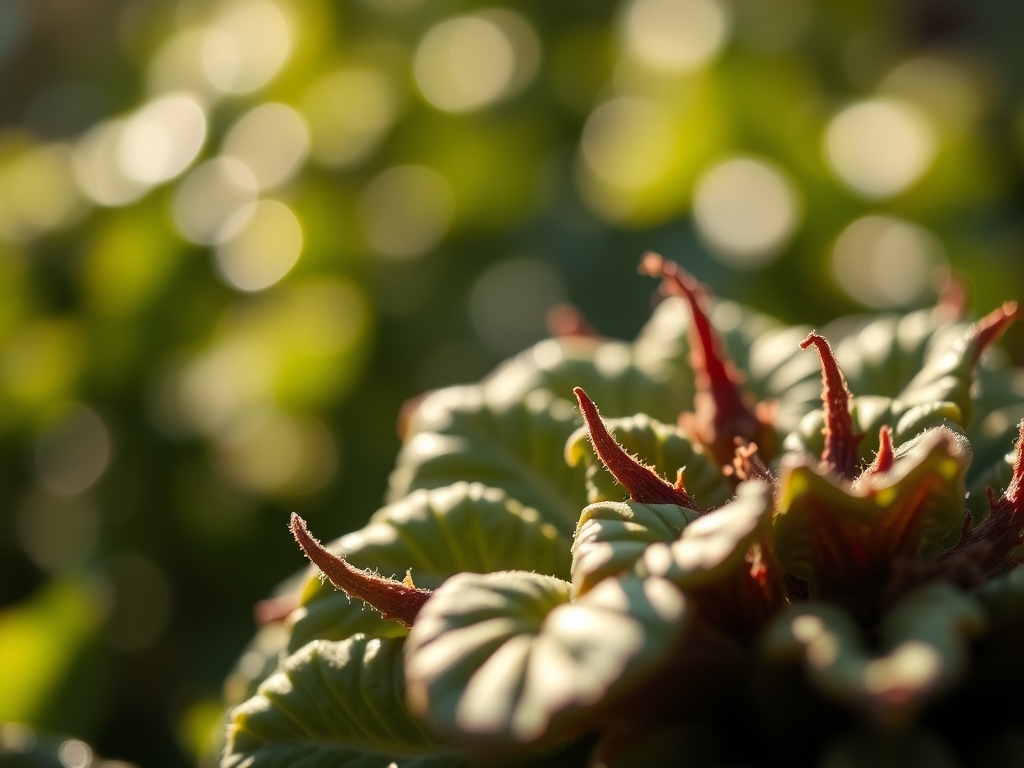
The fine hairs on a peperomia leaf catch morning dew in ways the naked eye cannot detect. A smartphone lens held one inch from a calathea's emerging shoot reveals cellular architecture that professional botanists study for years. The best macro plant photos tips transform amateur documentation into scientific imagery, capturing trichome density, stomatal patterns, and the precise geometry of phyllotaxis. These techniques require no expensive equipment, only systematic observation and an understanding of plant morphology at its smallest scale.
Materials

Successful macro photography begins with specimen health. Substrate pH between 5.8 and 6.5 supports the nutrient uptake necessary for unblemished foliage. Use a balanced 4-4-4 organic meal derived from kelp, bone, and alfalfa to prevent the nitrogen excess that causes tip burn visible at high magnification. Supplement with 0-0-1 soluble potash two weeks before photography sessions to enhance cuticle thickness and reduce water stress artifacts.
Cation exchange capacity in your growing medium determines mineral availability at the cellular level. Amend with 15% perlite and 10% composted pine bark to achieve porosity between 40 and 55%. This ratio prevents waterlogging that causes chlorosis, which macro lenses render as translucent yellow patches rather than the rich green photographers seek.
For lighting, position a 5000K LED panel 18 inches from the subject. Color temperature below 4500K introduces warm bias that obscures chlorophyll fluorescence. Above 6000K, you capture excessive blue spectrum that misrepresents natural anthocyanin pigmentation. Keep ambient humidity at 55% to prevent condensation on leaf surfaces while maintaining turgor pressure for crisp structural detail.
Timing
Execute macro photography in Hardiness Zones 4 through 9 during the 8-week window following the last spring frost. New growth exhibits maximum cellular differentiation during this period. Auxin distribution concentrates in apical meristems, producing the tight, symmetrical structures that translate well to extreme close-up imaging.
In Zone 6, schedule sessions between April 15 and June 10. Zone 8 growers should target March 1 through April 25. Early-season shoots contain 30% more chlorophyll per square centimeter than summer foliage, rendering deeper color saturation when photographed at 2:1 magnification ratios.
Circadian rhythm affects stomatal aperture. Photograph between 9:00 AM and 11:00 AM when guard cells achieve maximum turgidity. Afternoon heat causes partial closure, creating shadows in stomatal crypts that appear as image defects under macro examination.
Phases

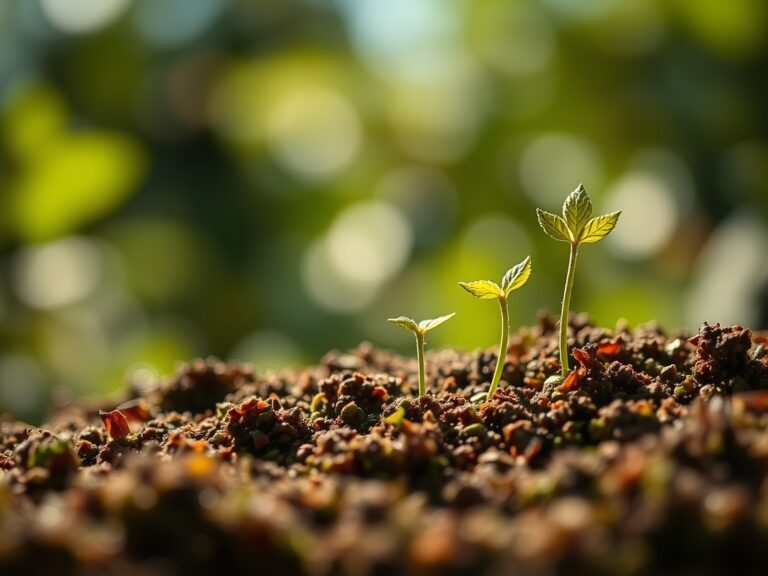
Sowing: Germinate specimen plants in 72-cell trays using a sterile 70% peat, 30% vermiculite blend. Damping-off fungus creates lesions invisible to casual observation but catastrophic at 5x magnification. Drench with Trichoderma harzianum suspension at 10^6 CFU per milliliter to establish competitive fungal colonies. This mycorrhizal fungi inoculation strengthens cell walls, producing the structural integrity necessary for sharp macro imagery.
Pro-Tip: Bottom-water seedlings to prevent splash marks on cotyledons. A single dried water spot refracts light as a white halo when photographed at close range, ruining otherwise perfect compositions.
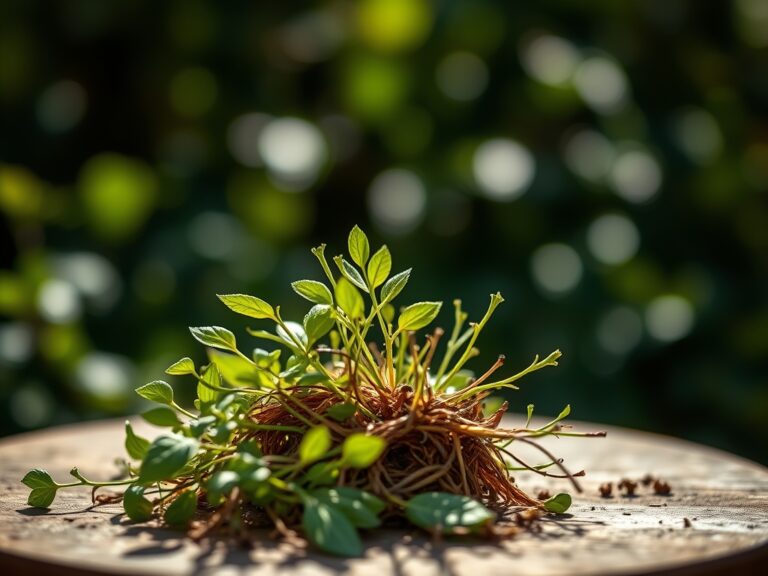
Transplanting: Move specimens to 4-inch pots at the four-true-leaf stage. Root disturbance triggers ethylene production that causes temporary wilting. Wait 72 hours post-transplant before photography sessions. Measure stem diameter with digital calipers; diameters below 2.5mm indicate insufficient lignification for stable macro work.
Pro-Tip: Prune lateral shoots at 45-degree angles using sterilized micro-tip scissors. Straight cuts create flat surfaces that reflect light as blown highlights. Angular cuts scatter light naturally, maintaining detail across the entire wound surface.
Establishing: Apply foliar spray of 1/4-strength 3-1-2 liquid fertilizer 48 hours before photography. Nitrogen drives chloroplast density in palisade mesophyll tissue. Enhanced photosynthetic capacity produces leaf surfaces with uniform color distribution critical for professional macro work. Phosphorus supports cell membrane integrity, preventing the collapse visible as wilted patches in extreme close-ups.
Pro-Tip: Stake specimen plants vertically using bamboo supports. Even 5-degree deviations from vertical create focal plane challenges at magnifications above 3:1. Secure stems with soft silicone ties at 2-inch intervals.
Troubleshooting
Symptom: White, powdery coating on leaf undersides visible in macro shots.
Solution: Powdery mildew spores appear as spherical structures at high magnification. Spray with 1% potassium bicarbonate solution. Increase air circulation to 80 CFM in growing areas. Reduce relative humidity below 50%.
Symptom: Translucent patches in leaf margins when backlit.
Solution: Calcium deficiency causes cell wall collapse. Drench with calcium chloride at 150 ppm. Symptoms reverse within 10 days as new growth emerges with restored structural proteins.
Symptom: Brown stippling across leaf surfaces, visible as crater-like depressions.
Solution: Thrips feeding damage. Apply spinosad at 0.5 oz per gallon. These puncture wounds remain permanent; photograph only new growth emerging post-treatment.
Symptom: Irregular yellow patterns between veins.
Solution: Iron chlorosis from pH above 7.0. Acidify substrate with elemental sulfur at 1 tablespoon per gallon of growing medium. Chelated iron foliar spray at 200 ppm provides immediate cosmetic improvement.
Symptom: Dark, water-soaked lesions expanding from petioles.
Solution: Bacterial soft rot from Erwinia species. Remove affected tissue 1 inch below visible damage. Sterilize cutting tools with 10% bleach solution between cuts. Reduce watering frequency by 40%.
Maintenance
Provide 1 inch of water weekly, measured with a rain gauge placed at pot level. Overwatering creates edema, visible at macro scale as raised, corky bumps on leaf undersides. Underwater stress causes trichome collapse, eliminating the fine structural detail that distinguishes professional plant photography.
Maintain substrate electrical conductivity between 1.2 and 1.8 mS/cm. Higher values indicate salt accumulation that causes marginal necrosis. Flush with distilled water at twice the pot volume monthly. EC meters provide objective data that prevents the nutrient disorders visible only at high magnification.
Prune specimens to maintain 8 to 12 leaves per plant. Dense canopies create mutual shading that reduces chlorophyll concentration in interior foliage. Each leaf should receive 200 to 400 foot-candles of direct light for optimal photographic quality.
Rotate specimen plants 90 degrees weekly. Phototropic growth causes asymmetrical development that complicates macro composition. Uniform auxin distribution produces balanced morphology ideal for technical photography.
FAQ
What magnification ratio captures cellular detail?
A 2:1 ratio (twice life-size on the sensor) resolves individual epidermal cells. Most smartphone macro lenses achieve 1.5:1, sufficient for stomatal photography but inadequate for chloroplast visualization.
How does substrate affect image sharpness?
Unstable growing medium transmits vibration from air currents. Pack substrate to bulk density of 0.5 g/cm³. Firm but not compacted texture eliminates the motion blur that ruins macro exposures longer than 1/250 second.
Why do my macro photos show color shifts?
Spectral reflection varies with leaf age. Photograph foliage 14 to 21 days post-emergence. Younger leaves reflect excess blue; older leaves absorb red spectrum preferentially, creating muddy tones.
What depth of field is necessary?
At 3:1 magnification, depth of field measures 0.3mm at f/8. Focus stack 15 to 20 images in 0.1mm increments. Specialized software merges exposures while maintaining edge detail across the entire subject plane.
How do I prevent wind interference outdoors?
Construct a 24-inch acrylic cube around specimens. Transparent walls block air currents while maintaining natural light quality. Internal wind speed below 0.5 mph eliminates motion during the 1/60-second exposures required for optimal depth of field.