5 Productive Ways How to Design a Vegetable Garden
Crushing a handful of damp, friable loam reveals the metallic scent of geosmin and the structural integrity of a healthy rhizosphere. When the cellular turgor of a leaf is at its peak, the plant stands rigid; it is a biological machine fueled by photosynthesis and mineral uptake. Success depends on precise spatial planning and caloric efficiency. Learning how to design a vegetable garden requires more than aesthetic placement. It demands an understanding of light interception, wind patterns, and the chemical composition of the substrate. You are building an ecosystem where every square inch must justify its nutrient consumption.
Effective design starts with the sun. Most fruiting crops require a minimum of six to eight hours of direct solar radiation to drive the metabolic processes necessary for fruit set. When you map your site, you are calculating the photoperiodic needs of diverse species. You must account for the angle of the sun at the summer solstice versus the spring equinox. A failure to calculate shadow lengths from permanent structures or existing canopies will lead to etiolation and reduced yields. This guide treats the garden as a high-performance laboratory where data dictates design.
Materials:

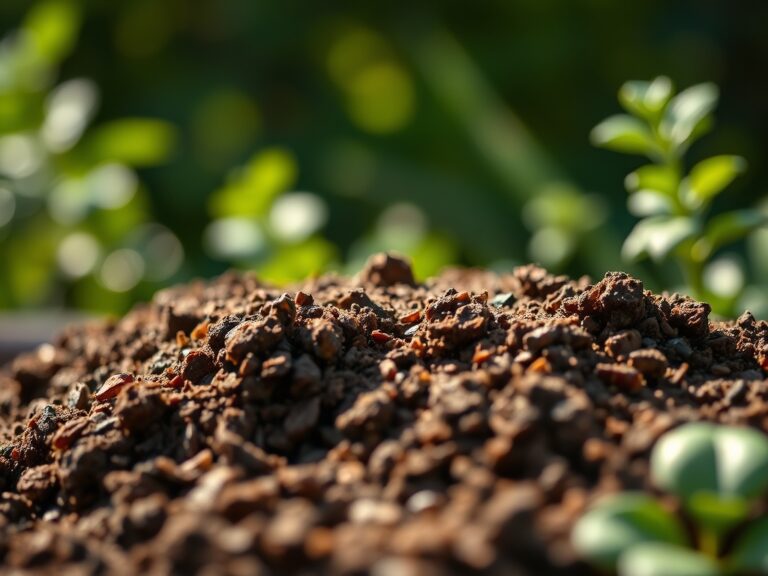
The foundation of any productive plot is the Cation Exchange Capacity (CEC) of the soil. This is the soil's ability to hold onto essential nutrients like calcium, magnesium, and potassium. An ideal substrate is a friable loam consisting of roughly 40 percent sand, 40 percent silt, and 20 percent clay. This balance ensures adequate macropores for oxygen diffusion and micropores for water retention.
For high-demand vegetable crops, target a soil pH between 6.2 and 6.8. In this range, most macronutrients and micronutrients are chemically available for root uptake. Use the following NPK ratios based on specific crop needs:
- Leafy Greens (10-5-5): High nitrogen levels support the rapid expansion of leaf tissue and chlorophyll production.
- Root Crops (5-10-10): Elevated phosphorus and potassium levels prioritize root elongation and carbohydrate storage over foliage.
- Fruiting Crops (5-10-15): High potassium is critical for regulating stomatal conductance and improving fruit quality during the reproductive stage.
Timing:
Vegetable production is governed by the frost-free window of your specific USDA Hardiness Zone. In Zone 7, the growing season typically spans from mid-April to late October. You must track the last predicted spring frost and the first autumn frost to determine your planting calendar.
The biological clock of a plant moves from the vegetative stage to the reproductive stage based on thermal units, often measured as Growing Degree Days (GDD). For example, sweet corn requires a specific cumulative heat index to trigger the transition from stalk growth to silk development. Understanding these windows allows you to time your design for successional planting; this ensures the ground is never fallow and nutrient cycling remains constant.
Phases:

Sowing
Direct sowing requires a seedbed prepared to a fine tilth. Large seeds like beans should be planted at a depth of 1 to 1.5 inches, while smaller seeds like lettuce require light to trigger germination and should barely be covered. Maintain a consistent soil temperature of 65 to 75 degrees Fahrenheit for optimal germination rates.
Pro-Tip: Monitor soil moisture levels to prevent the formation of a surface crust. This crust can physically impede the emergence of the hypocotyl; the plant uses significant energy reserves just to break the surface, which can stunt early development.
Transplanting
When moving seedlings from a controlled environment to the field, you must manage the transition to prevent transplant shock. Dig a hole twice the width of the root ball. Ensure the root-to-soil contact is immediate to facilitate water uptake.
Pro-Tip: Inoculate the planting hole with endomycorrhizal fungi. This establishes a mycorrhizal symbiosis where the fungi extend the reach of the root system; this increases the plant's ability to absorb phosphorus and water in exchange for carbon.
Establishing
During the first 14 to 21 days, the plant focuses on root architecture. Avoid heavy nitrogen applications during this window to prevent excessive top-growth that the immature root system cannot support. Use a soil moisture meter to ensure the root zone stays consistently hydrated without becoming anaerobic.
Pro-Tip: Practice "pinching" or apical bud removal on specific crops like basil or peppers. This disrupts auxin suppression; when the lead growing tip is removed, the plant redirects hormones to lateral buds, resulting in a bushier and more productive structure.
The Clinic:
Physiological disorders often mimic infectious diseases but are caused by environmental stress or nutrient imbalances.
- Symptom: Blossom End Rot. Dark, leathery lesions on the bottom of tomatoes or peppers.
- Fix-It: This is a localized calcium deficiency. Ensure consistent irrigation; calcium is immobile and moves through the plant via the transpiration stream. Fluctuating water levels stop the flow of calcium to the developing fruit.
- Symptom: Interveinal Chlorosis. Yellowing of the leaf tissue while the veins remain green.
- Fix-It: This often indicates a magnesium deficiency or a pH imbalance. Check soil pH; if it is above 7.0, the plant cannot access iron or magnesium. Lower the pH using elemental sulfur.
- Symptom: Nitrogen Chlorosis. General yellowing of older, lower leaves while new growth remains green.
- Fix-It: Nitrogen is a mobile nutrient. The plant is scavenging nitrogen from old leaves to support new growth. Apply a high-nitrogen liquid fertilizer (like fish emulsion) for immediate uptake.
Maintenance:
Precision maintenance separates a hobbyist from a professional. Most vegetable crops require 1.5 inches of water per week delivered at the drip line. Overhead watering should be avoided to minimize leaf wetness duration; this reduces the risk of fungal pathogens. Use a soaker hose or drip irrigation system to deliver water directly to the soil surface.
Utilize a hori-hori knife for deep weeding and planting. This tool allows you to sever the taproots of invasive species without disrupting the soil structure of your primary crops. For pruning, use bypass pruners to ensure clean cuts. Ragged cuts from anvil-style pruners crush the vascular tissue (xylem and phloem) and create entry points for pathogens. Regularly calibrate your soil moisture meter to ensure you are not over-saturating the root zone, which leads to root rot and nutrient leaching.
The Yield:
Harvesting is the final stage of the design process. For maximum flavor and nutrient density, harvest most vegetables in the early morning when turgor pressure is at its highest. This prevents the wilting associated with midday heat.
Use a sharp blade to harvest rather than pulling by hand. Pulling can damage the main stem or uproot the plant. For leafy greens, use the "cut and come again" method, leaving the growing heart intact to allow for secondary and tertiary harvests. Post-harvest, move produce immediately to a cool, shaded area. Removing field heat through hydro-cooling (submerging in cold water) or refrigeration slows the rate of respiration and senescence; this preserves the sugars and crispness of the crop.
FAQ:
How do I determine the best location for my garden?
Select a site with at least six hours of unobstructed sunlight and well-draining soil. Avoid low-lying areas where cold air settles or water collects. Ensure proximity to a water source to maintain consistent irrigation schedules throughout the summer.
What is the ideal soil depth for raised beds?
A depth of 12 to 18 inches is sufficient for most vegetable crops. This provides ample space for root expansion and nutrient storage. If planting deep-rooted crops like carrots or parsnips, ensure the soil is loose to at least 24 inches.
How often should I test my soil?
Perform a professional laboratory soil test every two to three years. This provides data on pH, organic matter percentage, and nutrient levels. Annual testing is only necessary if you are actively correcting a major deficiency or adjusting pH levels significantly.
Can I use mulch in a vegetable garden?
Yes. Apply two to three inches of organic mulch, such as straw or shredded leaves. Mulch suppresses weed germination, regulates soil temperature, and reduces moisture evaporation. As it decomposes, it contributes organic matter to the soil profile, improving long-term fertility.