9 Safe Ways How to Build a Garden Staircase
The smell of damp, anaerobic clay gives way to the sharp, metallic scent of a sharpened spade hitting shale. True horticulture requires structural integrity to manage slope erosion and hydraulic pressure. Learning how to build a garden staircase is not merely a landscaping task; it is an exercise in managing the rhizosphere and preventing soil compaction. A well-constructed staircase stabilizes the incline, allowing for precise irrigation and preventing the nutrient leaching that occurs on untreated 25 degree slopes.
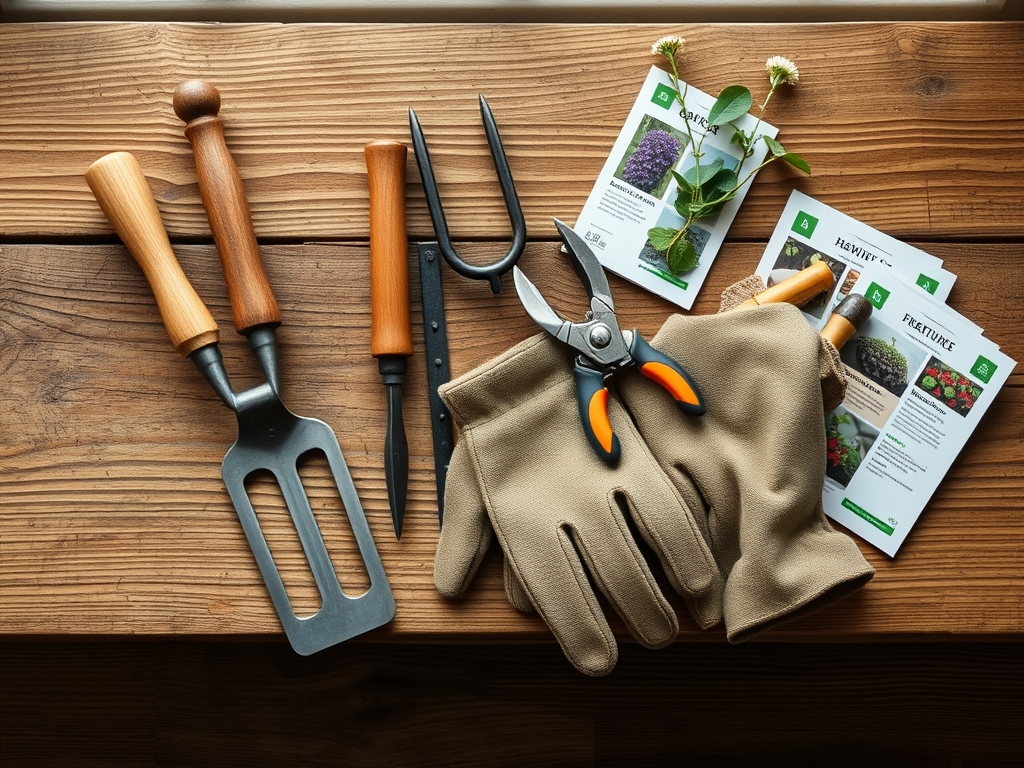
Materials:
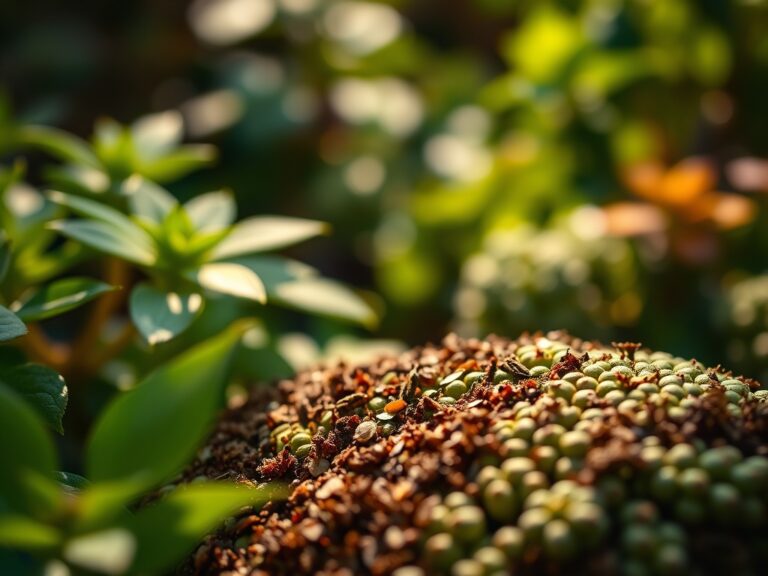
The foundation of any staircase installation begins with the substrate. You must achieve a **friable loam** texture that allows for gas exchange while maintaining structural load. For the surrounding planting pockets, target a **soil pH between 6.2 and 6.8** to maximize nutrient availability. Use a base of crushed limestone or 3/4 inch minus gravel to ensure drainage.
When integrating vegetation into the staircase margins, amend the backfill with a slow-release fertilizer featuring an NPK ratio of 5-10-5. This phosphorus-heavy ratio encourages robust root development without inducing excessive succulent growth that attracts pathogens. High Cation Exchange Capacity (CEC) materials, such as aged compost or calcined clay, should be incorporated at a rate of 2 pounds per 10 square feet to ensure the soil retains essential cations like Calcium (Ca2+) and Magnesium (Mg2+).
Timing:
Construction and planting should align with Hardiness Zones 4 through 8 during the dormant season or early spring, specifically 14 to 21 days before the average last frost date. This window respects the biological clock of the surrounding flora. By installing during the transition from dormancy to the vegetative stage, you minimize transplant shock.
Root systems enter a period of high metabolic activity as soil temperatures reach 50 degrees Fahrenheit. Building in this window allows the soil to settle before the peak evapotranspiration rates of summer. Avoid construction during the reproductive stage of nearby perennials; diverting energy to root repair during flowering can lead to premature senescence and reduced vigor.
Phases:

Sowing the Foundation
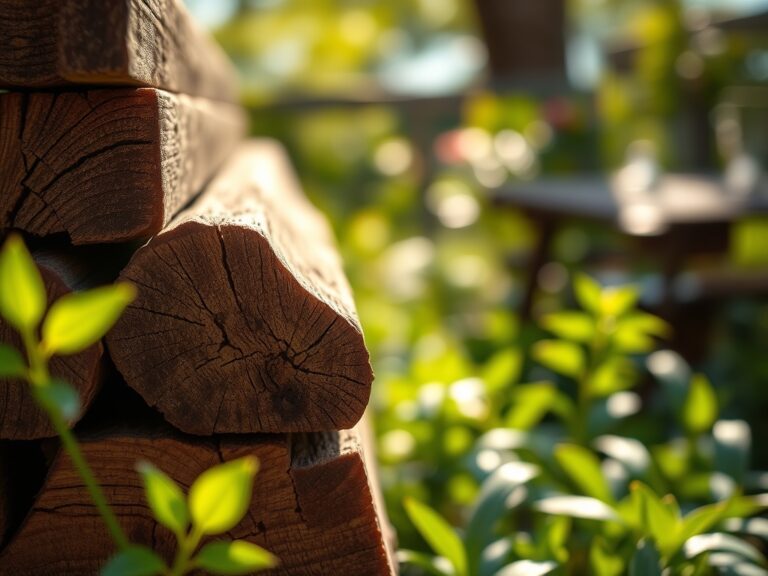
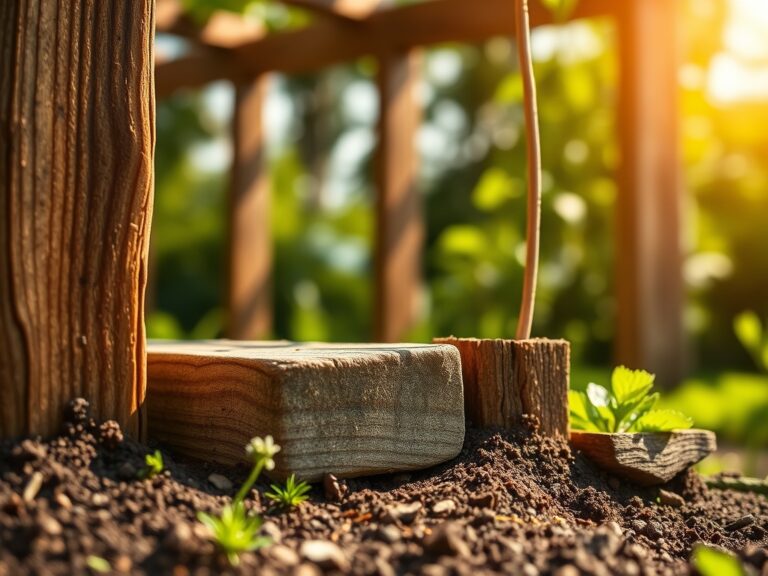
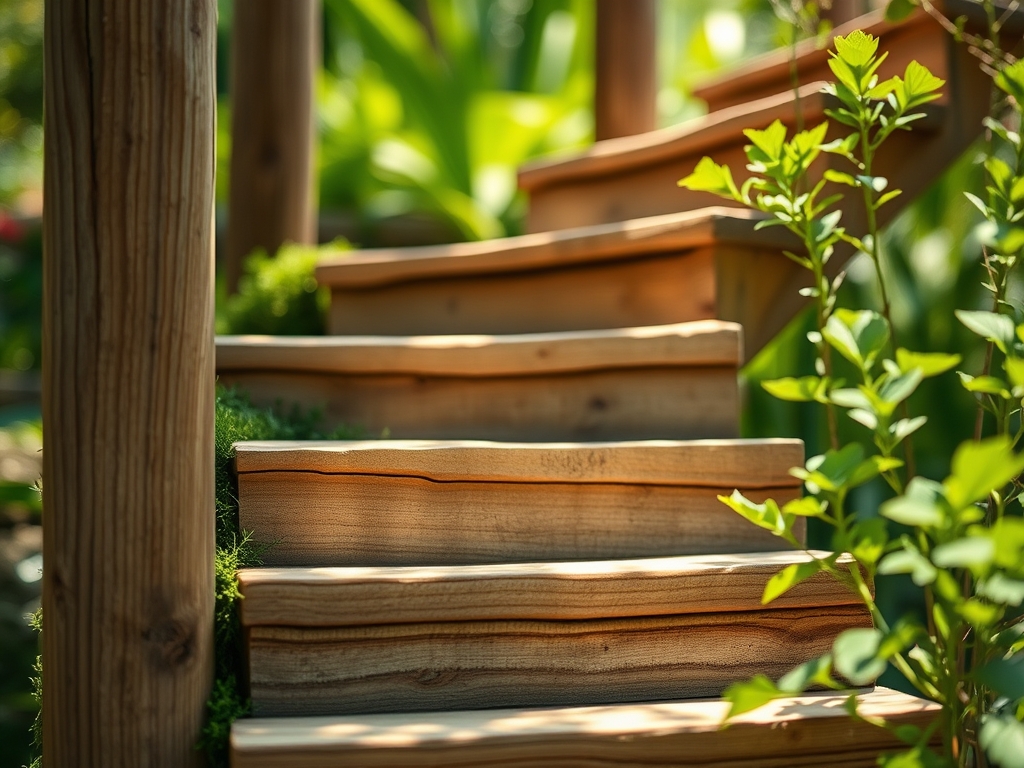
Excavate the slope in a series of "treads" and "risers." Each tread must have a 1 percent downslope pitch to prevent water pooling. Use pressure-treated timber or natural stone. Ensure the first step is buried at least 3 inches deep to act as an anchor against frost heave.
Pro-Tip: Utilize the principle of thigmotropism. By firming the soil around the structural risers, you provide a stable mechanical stimulus that encourages roots to thicken and grip the structure, increasing the overall shear strength of the slope.
Transplanting Peripheral Flora
When placing plants along the staircase, dig holes twice as wide as the root ball but no deeper. This prevents the crown from sinking, which often leads to oxygen deprivation in the rhizosphere.
Pro-Tip: Dip root balls in a mycorrhizal fungal inoculant. This symbiotic relationship extends the root surface area by up to 100 times, significantly increasing the uptake of immobile nutrients like phosphorus through hyphal networks.
Establishing the Micro-Climate
Once the stairs are set and plants are in situ, apply a 2 inch layer of organic mulch. This regulates soil temperature and prevents the "baking" effect of solar radiation on exposed riser soil.
Pro-Tip: Use auxin suppression techniques by pruning the terminal buds of lateral shrubs. This redirects the plant's hormonal energy toward auxiliary buds, creating a denser, "hedged" look that physically shields the staircase from wind-driven erosion.
The Clinic:
Physiological disorders often manifest when staircase construction disrupts existing drainage patterns.
Symptom: Interveinal chlorosis on new growth (yellow leaves with green veins).
Solution: This indicates an Iron (Fe) deficiency, often caused by high pH levels in the concrete or stone mortar leaching into the soil. Apply chelated iron and sulfur to lower the pH to 6.5.
Symptom: Leaf wilting despite moist soil.
Solution: This is likely Root Rot (Phytophthora) caused by poor drainage behind a staircase riser. Increase the gravel "weep hole" diameter to 0.5 inches to facilitate hydraulic flow.
Symptom: Purpling of older leaves.
Solution: This is a classic Phosphorus (P) deficiency. In cold spring soils, P becomes immobile. Apply a water-soluble 10-30-10 fertilizer to bypass the soil's temporary lockout.
Fix-It: For Nitrogen chlorosis (uniform yellowing of old leaves), top-dress with blood meal at 1 pound per 100 square feet to restore chlorophyll synthesis.
Maintenance:
Precision is required to maintain the structural and biological integrity of the site. Deliver 1.5 inches of water per week directly at the drip line using a soaker hose; do not use overhead irrigation which can cause soil splashing and fungal spore dispersal.
Use a soil moisture meter daily during the first 90 days to ensure the root zone stays between 40% and 60% field capacity. For pruning the surrounding canopy, use bypass pruners for clean vascular cuts that heal quickly. When weeding around the stone treads, a hori-hori knife is essential for extracting taproots without disturbing the compacted base material. Inspect the staircase after any rainfall exceeding 1 inch to check for "piping" or small holes where water might be bypassing the drainage layers.
The Yield:
If your staircase margins include edible herbs like Rosmarinus officinalis or Thymus vulgaris, harvest during the pre-anthesis stage (before flowering) when essential oil concentrations are at their peak. Harvest in the early morning, just after the dew has evaporated but before the sun triggers transpiration.
Use a sharp blade to ensure a clean cut; ragged edges increase the surface area for moisture loss. Place harvested stems immediately into a cooling vessel to maintain turgor pressure. This "field heat" removal ensures the plant material remains crisp and chemically potent for several days.
FAQ:
How deep should the base of a garden staircase be?
Excavate a minimum of 6 inches for the base. Fill with 4 inches of compacted 3/4 inch minus gravel and 2 inches of leveling sand. This depth prevents frost heave and ensures proper drainage away from the rhizosphere.
What is the best material for garden stairs?
Use rot-resistant timbers (cedar or pressure-treated) or natural stone. Stone offers the highest thermal mass, which can extend the growing season for adjacent plants by radiating heat during cool spring nights.
How do I prevent weeds from growing in the stairs?
Install a heavy-duty geotextile fabric beneath the gravel base. This physical barrier prevents weed emergence while allowing vertical water movement. For existing gaps, use a flame weeder to denature weed proteins without using chemicals.
Can I build stairs on a 45-degree slope?
Yes, but it requires landings every 5 to 7 steps to break hydraulic momentum. On steep inclines, increase the riser height to 7 inches and use deadman anchors to tie the staircase into the hillside.
How do I stop soil from washing over the steps?
Plant low-growing groundcovers with fibrous root systems, such as Vinca minor or Thymus. These plants act as biological "rebar," binding the top 3 inches of soil and increasing the infiltration rate during heavy rain events.