7 Strong Steps to Build Timber Risers
The scent of freshly disturbed humus and the cool dampness of a subterranean soil profile signal the beginning of a structural landscape shift. To master the steps to build timber risers, you must understand that you are not merely stacking wood; you are engineering a retaining system that manages hydraulic pressure and soil stability. Success depends on the turgor of the surrounding flora and the structural integrity of the timber. A poorly executed riser leads to soil compaction and root asphyxiation. By following a rigorous scientific approach, you ensure that the rhizosphere remains aerated while the grade change provides the necessary elevation for proper drainage and aesthetic definition.
Materials:

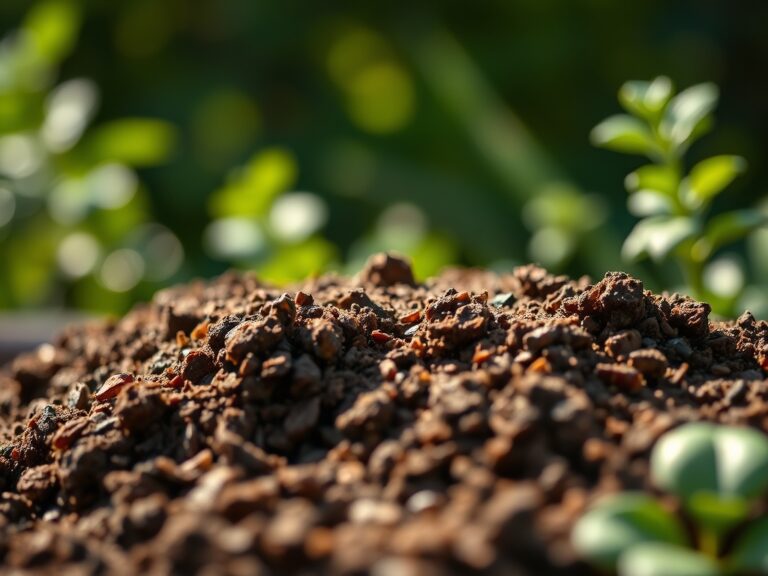
The foundation of any timber riser project is the substrate. You require a **friable loam** with a **Cation Exchange Capacity (CEC) between 15 and 25** to ensure nutrient retention behind the walls. The soil pH should be stabilized between **6.0 and 7.0** to prevent the leaching of metallic salts from pressure-treated lumber into the root zones. For backfilling, use a specialized mix with an **NPK ratio of 5-10-5** to encourage root elongation without triggering excessive succulent growth that is susceptible to frost damage. You will also need **6×6 pressure-treated timbers**, **12 inch galvanized steel spikes**, and a **4 inch perforated drain pipe** to manage hydrostatic pressure.
Timing:
Timing is dictated by the Hardiness Zone and the thermal properties of the soil. In Zones 5 through 7, construction should commence when soil temperatures consistently reach 45 degrees Fahrenheit, typically four weeks before the last predicted frost. This allows the soil to settle before the peak vegetative stage. Understanding the biological clock of your landscape is essential; installing risers during the senescence phase of deciduous perennials reduces transplant shock. Avoid construction during peak saturation periods to prevent the destruction of soil structure and the collapse of the macropores necessary for oxygen exchange.
Phases:

Sowing the Foundation
Excavate a trench 8 inches deep and 12 inches wide. Fill the base with 4 inches of compacted 3/4-inch crushed stone. This creates a capillary break that prevents moisture from wicking into the timber, which would otherwise accelerate fungal decomposition. Ensure the first course of timber is perfectly level to distribute the gravitational load evenly across the aggregate base.
Pro-Tip: Proper leveling prevents geotropism issues in adjacent plantings. If the riser is uneven, the resulting soil shift can cause roots to grow at erratic angles, stressing the plant's vascular system as it attempts to reorient toward gravity.
Transplanting and Anchoring
As you stack the second and third courses, utilize a "deadman" timber extending perpendicularly into the hillside every 8 feet. Secure each layer with 12 inch spikes driven at 24 inch intervals. Backfill the void immediately behind the timber with 1 inch of clean gravel before adding your nutrient-rich loam. This creates a high-permeability zone that directs water toward the drainage tile.
Pro-Tip: Use gravel backfill to promote mycorrhizal symbiosis. The increased aeration in the gravel-to-soil interface encourages beneficial fungal networks to colonize the root zone, improving phosphorus uptake for plants situated near the riser edge.
Establishing the Grade
The final phase involves grading the soil to a 2 percent slope away from the timber face. This prevents surface runoff from pooling at the base of the wood. Apply a 3 inch layer of organic mulch to regulate soil temperature and prevent the evaporation of moisture from the top 6 inches of the rhizosphere.
Pro-Tip: Maintaining a consistent grade suppresses auxin concentration imbalances. When soil levels fluctuate wildly, plants may produce excess auxins in response to mechanical stress, leading to leggy, unstable growth patterns rather than sturdy, lignified stems.
The Clinic:
Physiological disorders often manifest when structural changes alter the microclimate.
- Symptom: Interveinal Chlorosis. This is often a sign of Iron or Magnesium deficiency caused by high alkalinity in the backfill.
- Solution: Apply chelated iron or Epsom salts to lower the localized pH and restore chlorophyll production.
- Symptom: Leaf Epinasty. Downward curling of leaves indicates waterlogging and anaerobic conditions behind the riser.
- Solution: Inspect the drainage weep holes. If the 4 inch pipe is clogged, use a high-pressure water line to clear the obstruction.
- Symptom: Nitrogen Chlorosis. General yellowing of older leaves suggests the timber's decomposition process is "robbing" nitrogen from the soil.
- Fix-It: Supplement with a high-nitrogen fertilizer, such as a 21-0-0 ammonium sulfate, to compensate for the carbon-to-nitrogen ratio imbalance.
Maintenance:
Precision maintenance is the difference between a five-year and a twenty-year structure. Monitor the soil moisture using a soil moisture meter; levels should remain between 20% and 40% for optimal plant health. Provide exactly 1.5 inches of water per week at the drip line using a soaker hose to avoid wetting the timber faces. Use a hori-hori knife to remove deep-rooted weeds that may compromise the aggregate base. Annually inspect the timber for signs of boring insects or fungal shelf growth. If structural shifting occurs, use bypass pruners to thin the canopy of nearby heavy shrubs, reducing the wind load and mechanical stress on the retaining system.
The Yield:
When using timber risers for edible crops or cut flowers, harvest timing is critical. For woody perennials, harvest during the cool of the morning when turgor pressure is at its peak. This ensures the cells are fully hydrated, extending the post-harvest longevity. For flowers, cut at a 45-degree angle and immediately submerge the stems in 110-degree Fahrenheit water to break any air embolisms in the xylem. This "hardening off" process maintains "day-one" freshness by ensuring the vascular system remains patent and capable of fluid transport.
FAQ:
What is the best timber for risers?
Use Pressure-Treated Southern Yellow Pine or Western Red Cedar. These species offer high density and natural resistance to decay. Ensure they are rated for Ground Contact (UC4A) to withstand constant moisture exposure in the rhizosphere.
How deep should the foundation be?
Excavate at least 8 to 12 inches. You must reach below the frost line in colder climates or provide a minimum of 6 inches of compacted aggregate to prevent heaving caused by the freeze-thaw cycle and hydraulic pressure.
Can I build risers on a steep slope?
Yes, but you must use terracing. Limit each riser height to 18 inches and stagger them horizontally. This distribution of mass prevents soil shear and reduces the velocity of runoff, protecting the integrity of the soil structure.
How do I prevent wood rot?
Install a 6-mil polyethylene moisture barrier between the soil and the timber. Additionally, ensure the 4 inch perforated drain pipe is sloped at a 1 percent grade to move water away from the wood and prevent saturation.
How do I calculate the amount of timber needed?
Measure the total linear feet and divide by the length of the timbers, typically 8 or 10 feet. Factor in a 10 percent waste margin for cuts and joints. Account for the vertical height by multiplying the courses required.