7 Sturdy Steps to Anchor a Trellis Base
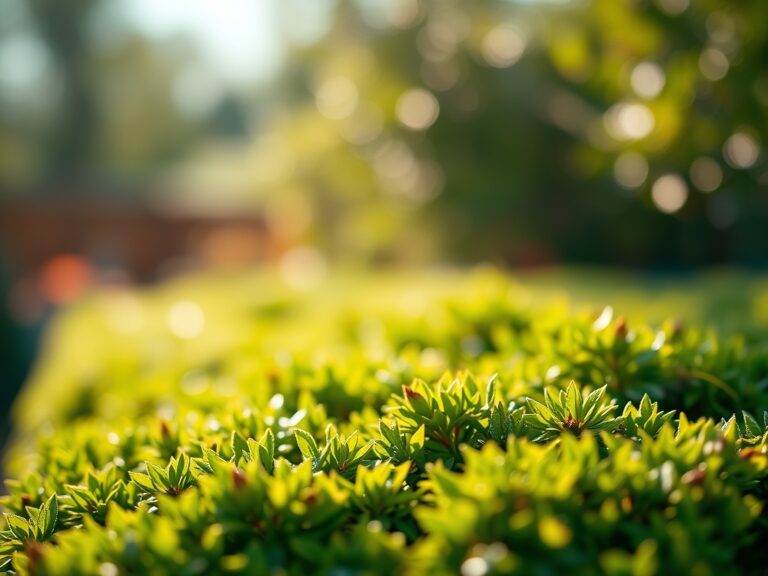
Damp earth releases geosmin as you disturb the topsoil; it is the scent of a functioning rhizosphere where microbial activity is at its peak. A trellis is more than a decorative frame. It is a structural necessity that must withstand the mechanical stress of wind and the increasing weight of plant tissue as turgor pressure keeps stems rigid. If the foundation fails, the vascular system of the climber collapses. Learning the precise steps to anchor a trellis base ensures that your vertical garden survives the transition from seedling to a heavy, mature canopy. You must account for the specific gravity of your soil and the expected biomass of the species you intend to cultivate. A failure to secure the base results in root shear and systemic plant death.
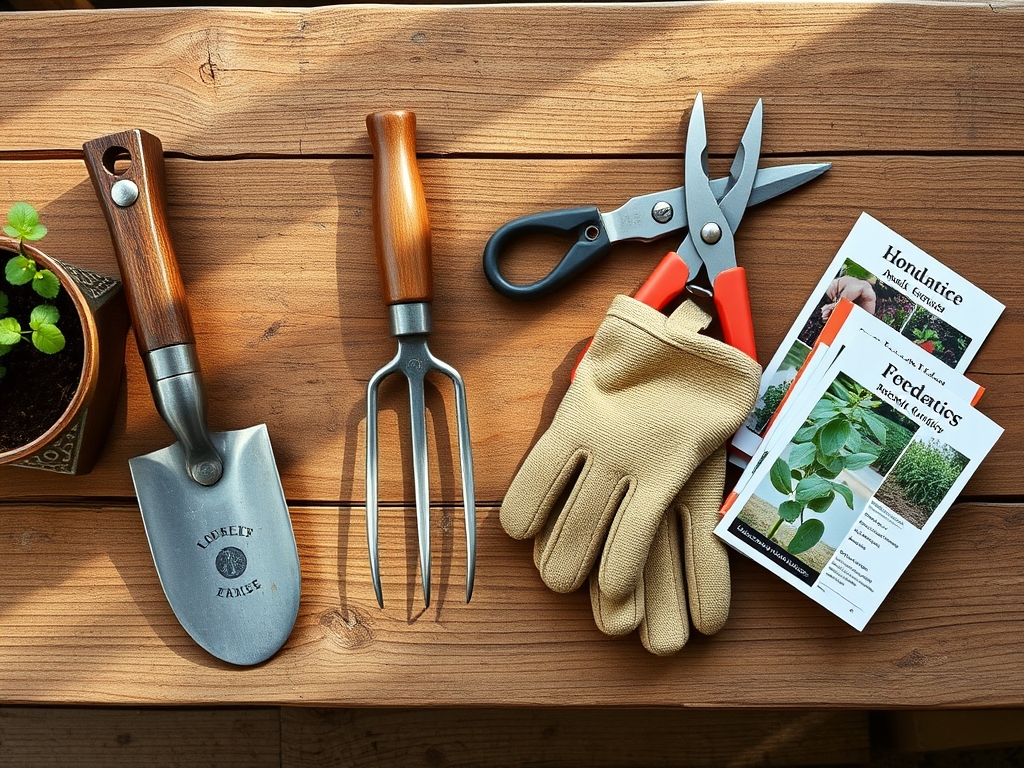
Materials:
The success of any vertical structure depends on the substrate. You require a friable loam with a Cation Exchange Capacity (CEC) above 15 meq/100g to ensure nutrient retention around the anchor points.
- Substrate: Aim for a soil pH between 6.2 and 6.8. This range optimizes the bioavailability of Phosphorus, which is essential for the root development that stabilizes the plant against the trellis.
- Nutrition: Incorporate a slow-release fertilizer with an NPK ratio of 5-10-5. High Phosphorus levels stimulate the lateral root branching necessary to lock the soil around the anchor.
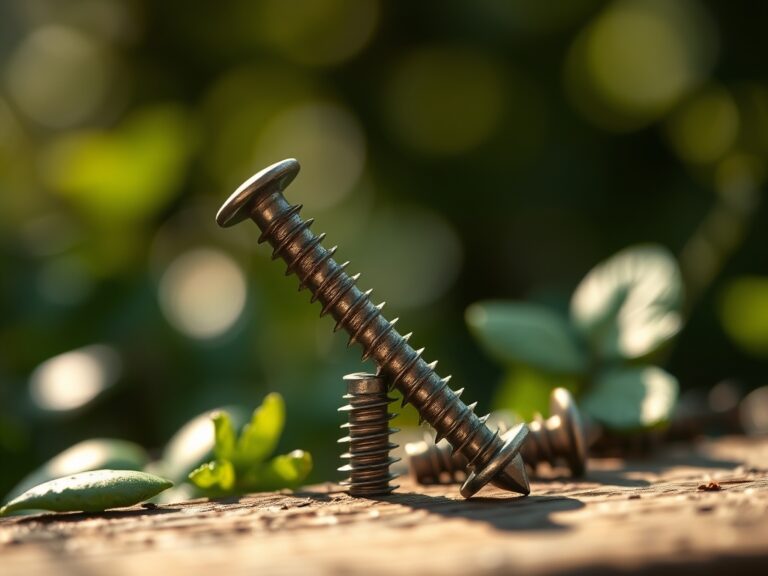
- Hardware: Use 18-inch galvanized steel rebar or heavy-duty earth augers. For wooden posts, utilize pressure-treated 4x4s rated for ground contact.
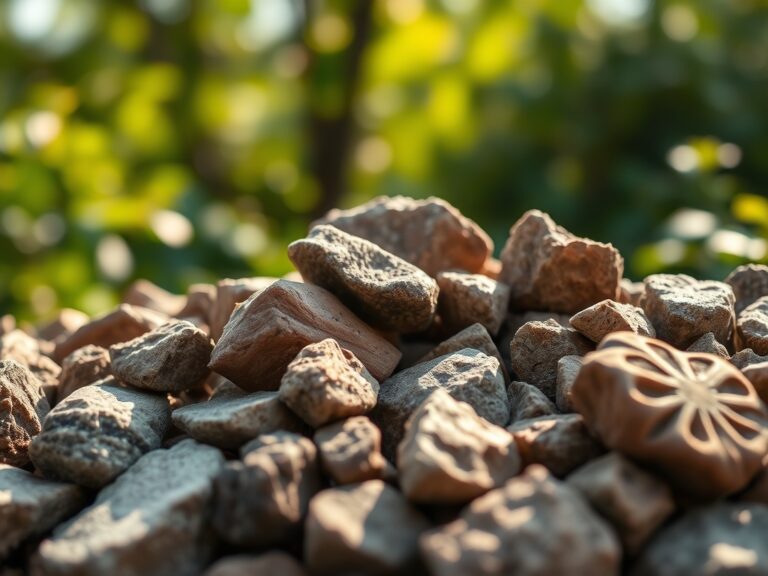
- Aggregates: Maintain a supply of 3/4-inch crushed limestone or pea gravel to facilitate drainage at the base of the anchor; this prevents anaerobic conditions and root rot.
Timing:
Timing is dictated by the thermal properties of your specific Hardiness Zone. In Zones 5 through 7, anchors must be set at least three weeks before the last spring frost. This allows the soil to settle and reach a consistent temperature of 55 degrees Fahrenheit before the plant enters its rapid vegetative growth phase.
The biological clock of the plant is unforgiving. Once a seedling moves from the cotyledon stage to the development of true leaves, its demand for structural support increases. You must have the trellis anchored before the plant begins its phototropic climb. If you install an anchor after the plant has established its primary root system, you risk damaging the delicate root hairs that facilitate water uptake.
Phases:

Sowing and Positioning
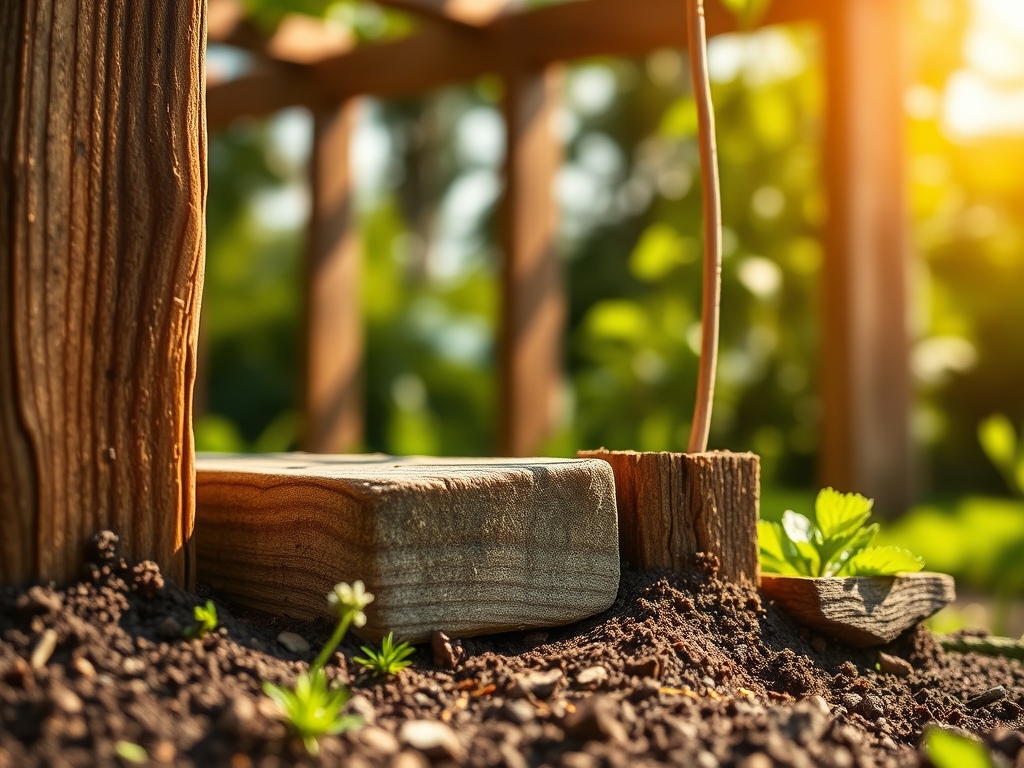
Excavate a hole 12 inches deep and 8 inches wide for each trellis leg. Ensure the bottom of the hole is compacted to prevent sinking. Position the anchor at a slight 5-degree inward angle to counteract the outward pull of the plant's weight.
Pro-Tip: Proper positioning exploits thigmotropism. When a climbing plant's tendrils make contact with a stable surface, they undergo a differential growth rate that allows them to coil. A stable anchor ensures these coils are tight and structurally sound.
Transplanting and Securing
Place your specimen 4 to 6 inches from the base of the anchored trellis. Backfill the anchor hole with a mixture of native soil and organic compost. Use a hori-hori knife to slice through any circling roots before planting; this encourages radial root growth which further stabilizes the soil around the anchor.
Pro-Tip: Utilizing mycorrhizal symbiosis during this phase is critical. Inoculating the soil with beneficial fungi increases the effective root surface area by up to 100 times. This biological web acts as a secondary anchoring system for the soil itself.
Establishing the Framework
As the plant begins its ascent, use soft garden twine to guide the main leader. Do not use wire; it can constrict the phloem and xylem as the stem thickens. Monitor the tension on the anchor points weekly.
Pro-Tip: This phase manages auxin suppression. By directing the main stem vertically, you utilize apical dominance to gain height quickly. If the trellis base is unstable, the plant may lean, shifting auxin concentrations and causing unwanted lateral branching too low on the structure.
The Clinic:
Physiological disorders often manifest when the physical environment is compromised.
- Symptom: Interveinal chlorosis on lower leaves.
- Solution: This indicates Magnesium deficiency. Apply Epsom salts (Magnesium Sulfate) at a rate of 1 tablespoon per gallon of water.
- Symptom: Wilting despite moist soil.
- Solution: This is likely Root Shear. If the trellis anchor moved during a wind event, it may have snapped the primary roots. Stabilize the anchor immediately and apply a high-phosphorus liquid feed to stimulate new root initials.
- Symptom: Leaf tip burn or marginal necrosis.
- Solution: This suggests Salt Accumulation or Potassium deficiency. Flush the soil with 3 gallons of water per square foot to leach excess salts and rebalance the NPK ratio to 10-10-10.
Maintenance:
Consistency is the hallmark of a professional horticulturist. Use a soil moisture meter to ensure the root zone stays between 60% and 80% field capacity. Generally, provide 1.5 inches of water per week delivered at the drip line via a soaker hose to minimize foliar moisture and fungal pathogens.
Inspect the anchor points every 30 days. Use bypass pruners to remove any dead or diseased wood (senescence) that adds unnecessary weight and wind resistance to the trellis. If you notice the soil pulling away from the anchor, top-dress with 2 inches of organic mulch to maintain moisture and soil density.
The Yield:
For flowering climbers, harvest when the first two florets on a spike are fully open. For edible crops like pole beans, harvest when the pods are 4 to 6 inches long but before the seeds bulge. Use a sharp blade to make a clean cut at a 45-degree angle.
To maintain "day-one" freshness, immediately plunge the cut stems into 40-degree Fahrenheit water. This rapid cooling reduces the respiration rate and preserves the sugars within the plant tissue. For edibles, store in a high-humidity environment at 35 to 40 degrees Fahrenheit to prevent wilting.
FAQ:
How deep should I bury trellis anchors?
Anchors should reach a minimum depth of 18 inches. In sandy soils or high-wind areas, increase this to 24 inches to reach more stable subsoil and prevent the lever effect from dislodging the structure during storms.
What is the best material for anchoring in clay?
Galvanized steel auger anchors are superior in clay. The heavy texture of clay provides high friction against the screw threads; this creates a mechanical bond that is difficult to break even under heavy biomass loads.
Can I use concrete to anchor my trellis?
Concrete provides maximum stability but can alter soil pH. If using concrete, ensure it is capped with soil and monitor for alkalinity. Use a sulfur-based soil amendment if the pH rises above 7.5 near the base.
When is the best time to check anchor tension?
Check tension during the mid-summer growth surge. This is when the plant's biomass is increasing most rapidly. High temperatures increase the rate of transpiration and growth; this puts the maximum physical load on the anchor system.