5 Quick Steps to Start No Till Vegetables
The smell of living soil in spring carries the promise of food without the diesel and dust of annual tillage. Learning how to start no till vegetables means abandoning the plow and embracing biology as the primary engine of soil structure. Earthworms, fungal hyphae, and bacterial colonies create pore spaces that tillage destroys in seconds. The method preserves cation exchange capacity, sequesters carbon in stable aggregates, and cuts labor by seventy percent once established. No till vegetable production is not a return to primitive methods. It is precision horticulture guided by soil science.
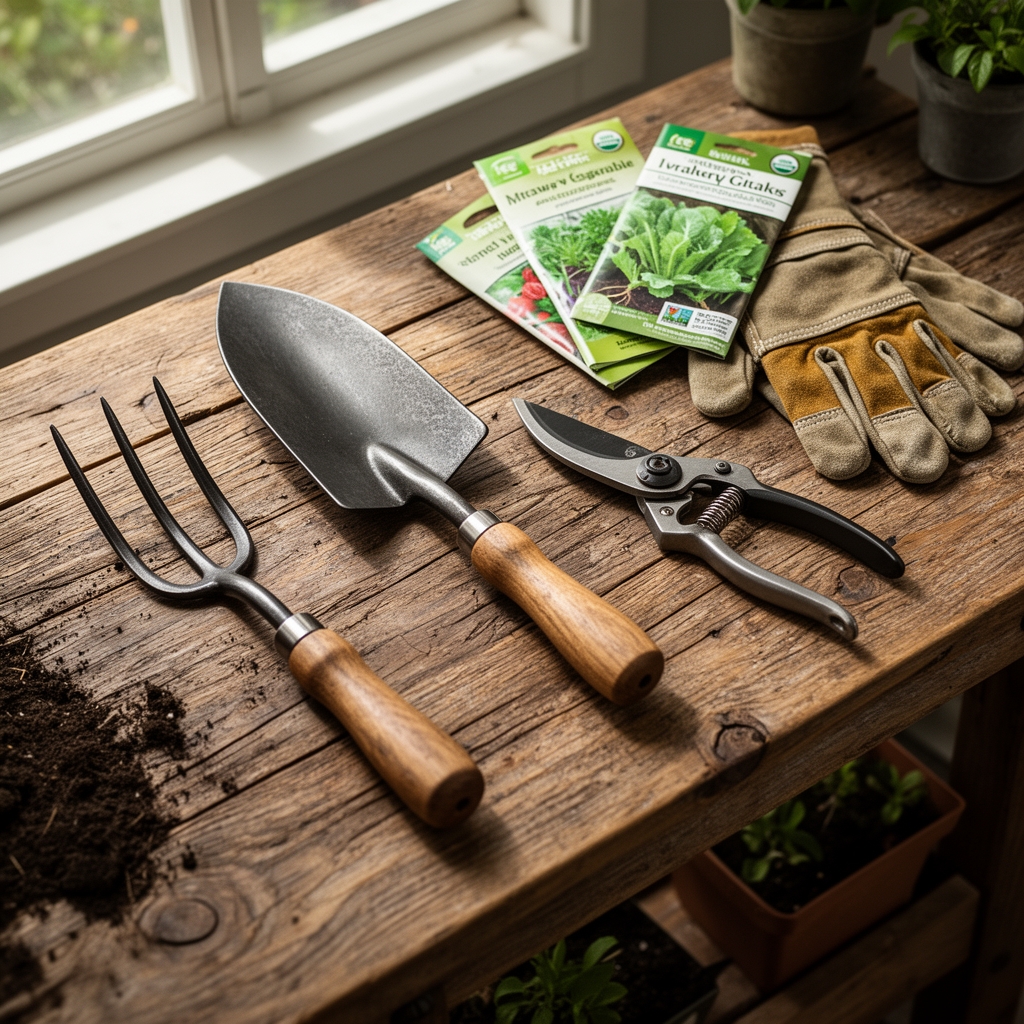
Materials
Building a no till system requires specific amendments and tools calibrated to soil pH and nutrient ratios.
Compost (pH 6.5–7.2, NPK approximately 1-1-1): Apply 2 inches annually to the soil surface. Fully decomposed compost from mixed feedstocks provides slow-release nitrogen and feeds beneficial microbes without disturbing soil structure.
Pelleted Organic Fertilizer (4-4-4 or 5-3-3): Use 2 pounds per 100 square feet at bed establishment. These blends contain bone meal, feather meal, and kelp, delivering phosphorus for root development and potassium for disease resistance.
Mycorrhizal Inoculant: Granular endo-mycorrhizae at 1 teaspoon per transplant hole. The fungal network extends root reach by 10 to 100 times, improving water uptake in undisturbed soil.
Occultation Tarp (Silage Tarp): Black woven polyethylene, minimum 5 mil thickness. Used for 2 to 4 weeks before planting to kill weeds through heat and darkness without herbicides.
Broadfork: 12-inch tines spaced 4 inches apart. This tool loosens compacted subsoil without inversion, preserving the stratified microbial community.
Soil pH Meter and NPK Test Kit: Test before establishment and annually. Target pH 6.2–6.8 for most vegetables. Adjust with lime (to raise) or sulfur (to lower).
Timing
Zone-appropriate scheduling prevents crop failure and maximizes biological activity.
In USDA Hardiness Zones 5 and 6, prepare beds 4 weeks before the last spring frost (typically April 15–May 15). Lay occultation tarps in mid-March when soil temperature reaches 40°F at 4-inch depth. This timing kills the first flush of annual weeds.
Zones 7 and 8 can begin bed prep in late February. Soil organisms become active at 50°F, so compost application in early March feeds microbial populations before transplanting begins in mid-March.
Zones 9 and 10 operate on a cool-season calendar. Establish beds in late September for October planting. Summer heat above 85°F suppresses mycorrhizal colonization rates by up to sixty percent.
Fall establishment in any zone allows 6 months of fungal network development before the primary growing season. Plan for occultation in August and compost layering in September.
Phases

Sowing Phase (Weeks 0–2):
Direct seed cool-season crops like carrots, lettuce, and spinach into compost-covered beds. Press seeds into contact with soil using a rake head or board. Seed-to-soil contact is critical because no till surfaces can remain fluffy for the first season.
Pro-Tip: Mix carrot seed with dry coffee grounds at a 1:4 ratio. The dark grounds mark sowing lines and deter carrot rust fly adults, which avoid the scent compounds.
Transplanting Phase (Weeks 2–6):
Set tomato, pepper, and brassica transplants 1 inch deeper than nursery depth. Bury the stem to the first true leaves. Adventitious roots form along buried stem tissue, compensating for reduced auxin distribution in denser no till soil.
Add 1 teaspoon mycorrhizal inoculant directly into each planting hole. Coat wet roots before setting. Fungal colonization occurs within 72 hours if soil temperature exceeds 55°F.
Pro-Tip: Transplant in late afternoon or under cloud cover. Root hair desiccation drops by forty percent when relative humidity exceeds sixty-five percent during the establishment window.
Establishing Phase (Weeks 6–12):
Mulch pathways with 4 inches of wood chips. Chips suppress perennial weeds and feed fungal communities, which dominate no till systems. Avoid mulching directly against stems to prevent collar rot.
Side-dress heavy feeders like tomatoes and squash with pelleted fertilizer at 1 tablespoon per plant when the first fruit sets. No till systems release nitrogen more slowly than tilled beds during year one.
Pro-Tip: Monitor earthworm counts by digging 1 cubic foot of soil. Healthy no till beds contain 10 or more earthworms per sample. Counts below 5 indicate insufficient organic matter or pH below 5.8.
Troubleshooting
Symptom: Yellowing lower leaves on tomatoes and peppers (chlorosis).
Solution: Nitrogen deficiency from immobilization. Soil microbes consume available nitrogen while decomposing high-carbon surface residues. Apply fish emulsion (5-1-1) at 2 tablespoons per gallon weekly for 3 weeks.
Symptom: Damping off in direct-seeded crops.
Solution: Poor air circulation at the soil surface. Reduce compost layer to 1 inch in the seed row. Excess moisture and low oxygen favor Pythium species.
Symptom: Slug damage on lettuce and brassicas.
Solution: Slug populations explode in moist surface mulch. Apply diatomaceous earth in a 2-inch band around plants. Reapply after rain.
Symptom: Stunted growth in legumes (beans, peas).
Solution: Rhizobium bacteria absent or inactive. Inoculate seeds with species-specific powder before sowing. No till soils may lack these nitrogen-fixing bacteria initially.
Symptom: Blossom end rot in tomatoes.
Solution: Calcium deficiency, often induced by inconsistent moisture. No till soils retain water better but surface drying misleads gardeners. Measure moisture at 4-inch depth with a probe.
Maintenance
Apply 0.5 inches of water twice weekly rather than 1 inch once weekly. Frequent shallow watering encourages surface rooting. Deep watering twice weekly pushes roots into the stable, moist subsoil that no till systems preserve.
Add 1 inch of compost every spring before planting. This replaces nutrients extracted by crops and maintains the organic matter cap that feeds soil biology.
Test soil pH and NPK each fall. No till systems can acidify over time as organic matter decomposes. Apply lime at 5 pounds per 100 square feet if pH drops below 6.0.
Rotate crop families annually within no till beds. Move solanaceous crops (tomatoes, peppers) to areas that grew legumes the prior year. This interrupts pest cycles and balances nutrient depletion patterns.
FAQ
How long before a no till bed reaches peak productivity?
Three years. Fungal networks require two seasons to establish. Earthworm populations double annually once surface disturbance stops.
Can I convert tilled beds to no till mid-season?
Yes. Stop tilling immediately and apply 2 inches of compost. Production will improve within 60 days as microbes recolonize.
Do no till beds need permanent edges?
Recommended but not mandatory. Boards or landscape timbers prevent compost slumping and define pathways. Use untreated wood to avoid contaminating soil.
What if my soil is heavy clay?
Use a broadfork once during initial conversion to fracture compaction. Add gypsum at 10 pounds per 100 square feet to improve calcium levels and aggregate stability. Clay soils benefit most from no till.
How do I kill perennial weeds without tilling?
Occultation tarps for 8 weeks in summer. Heat and darkness exhaust root reserves. Follow with 4 inches of compost to suppress regrowth.