6 Technical Steps to Build a Circular Form
Damp earth releases a sharp, metallic scent of geosmin as the spade cuts into the crust. A healthy plant maintains high turgor pressure; its cells are rigid and swollen with water. Achieving this structural integrity requires precise geometry in the garden. Mastering the steps to build a circular form ensures uniform light distribution and balanced nutrient uptake across the rhizosphere. Circularity prevents the edge effects common in rectangular beds and optimizes the root zone for maximum density.
Building a circle is a geometric and biological necessity for intensive cultivation. It minimizes the surface area to volume ratio, which reduces moisture loss through evaporation at the bed edges. When you execute the steps to build a circular form, you create a self-sustaining microclimate where the canopy closes faster, suppressing weed germination through light competition. This guide focuses on the technical precision required to establish a circular growing environment that supports high cation exchange capacity and optimal plant health.
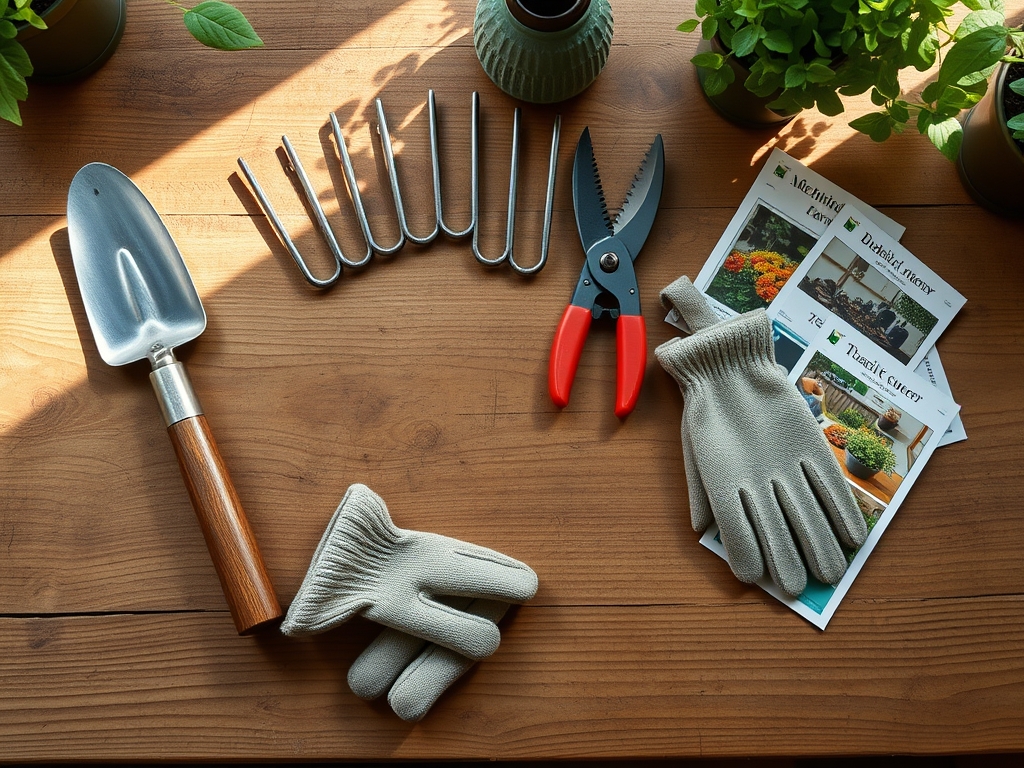
Materials:
The substrate is the foundation of the circular form. You must utilize a friable loam consisting of 40 percent sand, 40 percent silt, and 20 percent clay. This texture ensures adequate pore space for oxygen diffusion to the roots. The target soil pH must fall between 6.2 and 6.8 to ensure maximum bioavailability of micronutrients.
For the initial amendment, use a balanced NPK ratio of 10-10-10 at a rate of 1 pound per 100 square feet. Nitrogen (N) drives vegetative growth; Phosphorus (P) supports ATP production and root development; Potassium (K) regulates stomatal opening and water potential. If the Soil Cation Exchange Capacity (CEC) is low (below 10 meq/100g), incorporate organic matter to increase the soil's ability to hold positively charged ions like Calcium (Ca2+) and Magnesium (Mg2+).
Timing:
Successful installation depends on the thermal properties of your specific Hardiness Zone. In Zones 5 through 7, the ideal window for soil preparation begins when soil temperatures consistently reach 50 degrees Fahrenheit. Use a soil thermometer at a depth of 4 inches to confirm this baseline.
The "Biological Clock" of the plant dictates the urgency of the build. You must complete the circular form before the transition from the vegetative stage to the reproductive stage. For most annuals, this occurs when the photoperiod shifts or the plant reaches a specific node count. Early establishment allows the root system to colonize the volume of the circular bed before the plant redirects energy toward flowering and senescence.
Phases:

Sowing
Measure the center point of your intended circle and drive a stake into the ground. Attach a cord equal to the radius of your bed. Walk the perimeter while keeping the cord taut to mark the circumference. Use a hori-hori knife to slice the turf along this line. Remove all competing vegetation to expose the mineral soil. Sow seeds at a depth exactly three times the diameter of the seed.
Pro-Tip: Maintaining consistent seed depth ensures uniform emergence. This prevents auxin suppression, where taller, earlier-emerging plants shade out smaller ones, leading to uneven growth across the circular form.
Transplanting
When moving seedlings into the circular form, ensure the root ball is moist to maintain turgor pressure. Space plants in concentric circles starting from the center and moving outward. This hexagonal offset pattern maximizes the number of plants per square foot while ensuring each individual has access to a dedicated rhizosphere.
Pro-Tip: Inoculate the planting hole with mycorrhizal fungi. This symbiotic relationship extends the effective root surface area by up to 1,000 percent, significantly increasing the uptake of immobile nutrients like Phosphorus.
Establishing
During the first 14 days, the focus is on root anchorage. Avoid heavy fertilization during this period to prevent salt burn on delicate root hairs. Monitor the soil moisture daily. The soil should feel like a wrung-out sponge; saturated conditions lead to anaerobic pockets and root rot.
Pro-Tip: Use a soil moisture meter to keep the root zone between 20 and 40 centibars of tension. This range triggers the plant to seek water without inducing permanent wilting point stress, encouraging deeper root penetration.
The Clinic:
Physiological disorders often manifest as visual cues on the foliage. Identifying these early is critical for maintaining the integrity of the circular form.
-
Symptom: Interveinal chlorosis on young leaves (yellowing between green veins).
-
Solution: This indicates Iron (Fe) deficiency, often caused by a pH above 7.0.
-
Fix-It: Lower the pH using elemental sulfur or apply chelated iron foliar spray.
-
Symptom: Purpling of the underside of older leaves.
-
Solution: This is a classic sign of Phosphorus (P) deficiency.
-
Fix-It: Apply a high-phosphate fertilizer (e.g., 0-20-0) or bone meal at the drip line.
-
Symptom: Marginal necrosis (browning of leaf edges) on mature leaves.
-
Solution: This suggests Potassium (K) deficiency or salt accumulation.
-
Fix-It: Flush the soil with 2 inches of water to leach salts and apply potassium sulfate.
-
Symptom: General yellowing of the entire plant starting from the bottom.
-
Solution: Nitrogen (N) chlorosis. The plant is scavenging nitrogen from old growth to support new leaves.
-
Fix-It: Apply a quick-release nitrate-based fertilizer to restore chlorophyll production.
Maintenance:
Precision maintenance is the difference between a surviving garden and a thriving one. Deliver 1.5 inches of water per week directly at the drip line. Overhead watering increases the risk of fungal pathogens; use drip irrigation or a soaker hose to keep the foliage dry.
Utilize bypass pruners for clean cuts that heal quickly. Always sanitize your tools with a 10 percent bleach solution between plants to prevent the spread of vascular pathogens. Check the soil compaction twice a month. If the soil feels dense, use a broadfork to aerate the bed without overturning the soil horizons, which preserves the delicate microbial ecosystem.
The Yield:
Harvesting is a matter of timing and cellular chemistry. For most crops, harvest in the early morning when turgor pressure is at its peak and the plant is cool. This preserves the crispness of the tissues. Use a sharp hori-hori knife to make clean axial cuts.
Post-harvest handling is vital for "day-one" freshness. Immediately submerge harvested greens in 40-degree Fahrenheit water to remove field heat. This slows the rate of respiration and prevents the degradation of sugars and vitamins. For woody stems, recut the base under water to prevent air embolisms from blocking the xylem.
FAQ:
How do I calculate the area of my circular form?
Multiply the radius by itself, then multiply by 3.14 (Pi). For a 4-foot radius bed, the calculation is 4 x 4 x 3.14, resulting in 50.24 square feet of growing space.
What is the best way to prevent soil erosion in a circle?
Install a physical border such as cedar bender board or recycled plastic edging. This contains the friable loam and prevents nutrient runoff during heavy rain events exceeding 1 inch per hour.
Can I use the circular form for perennials?
Yes. Ensure the radius accounts for the mature spread of the species. Perennials require a deeper rhizosphere and higher organic matter content to sustain growth over multiple seasons in Zones 3 through 9.
How often should I test the soil pH?
Perform a professional soil test every 24 months. This monitors the Cation Exchange Capacity and ensures the pH remains in the 6.2 to 6.8 range for optimal nutrient solubility.
What tool is best for weeding a circular bed?
A circle hoe or a hori-hori knife allows for precision weeding without disturbing the root systems of your primary plants. Always remove weeds before they reach the reproductive stage to prevent seed bank accumulation.