10 Basic Steps to Use Smart Sensors
Modern agriculture demands precision. Soil moisture fluctuates hourly, nutrient uptake varies by crop stage, and environmental conditions shift faster than manual observation allows. The steps to use smart sensors begin with understanding that these devices translate chemical and physical properties into actionable data. A network of calibrated probes transforms guesswork into measured response, connecting root-zone conditions to irrigation controllers and nutrient injectors. This approach reduces water waste by 30-40% while optimizing cation exchange capacity in the active rhizosphere.
Materials

Soil-based sensors require substrates with balanced pH and mineral availability. Aim for a baseline pH of 6.0-6.5 for broadleaf crops and 5.5-6.0 for acid-loving species. Prepare the growing medium with a 4-4-4 organic meal or equivalent slow-release formulation that delivers nitrogen, phosphorus, and potassium at 0.5 lb per 10 square feet. Incorporate mycorrhizal fungi inoculant at a rate of 1 tablespoon per planting hole to enhance phosphorus uptake.
Select sensors with stainless-steel probes rated for continuous soil contact. Multi-parameter units measure volumetric water content, electrical conductivity, and temperature simultaneously. The gateway or hub requires a waterproof enclosure rated IP65 or higher. Power options include photovoltaic panels at 20-watt capacity for field installations or AC adapters for greenhouse environments. Data-logging intervals default to 15-minute readings, providing 96 data points per day per sensor.
Calibration solutions include a three-point pH standard set (4.0, 7.0, 10.0) and electrical conductivity reference fluids at 1.41 mS/cm and 12.88 mS/cm. A benchtop EC meter serves as backup verification. Cable lengths of 10 feet minimize signal loss while allowing flexible placement across beds.
Timing
Sensor installation aligns with frost-date windows. In USDA Hardiness Zones 7-9, deploy baseline arrays two weeks before last spring frost when soil temperatures stabilize above 50°F at 4-inch depth. Northern zones (4-6) require installation after soil thaw, typically mid-April to early May. Fall installations occur six weeks before first frost to capture pre-winter moisture dynamics.
Crop-specific timing matters. Transplant sensors for tomatoes and peppers appear one week before seedling transfer. Direct-seeded crops like carrots and lettuce benefit from pre-sowing installation, allowing real-time germination monitoring. Perennial systems in Zones 8-10 permit year-round deployment with recalibration every four months.
Phases

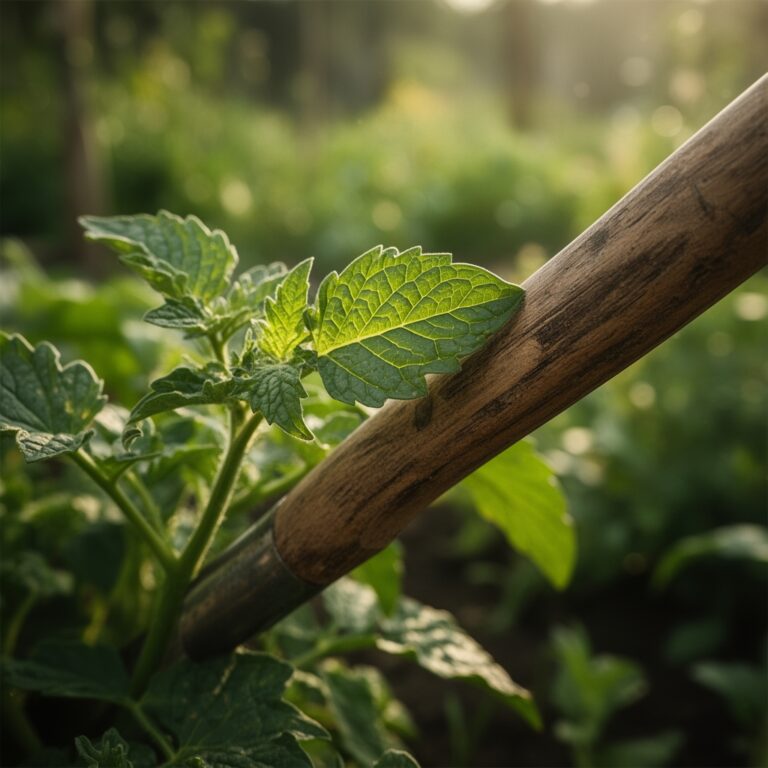
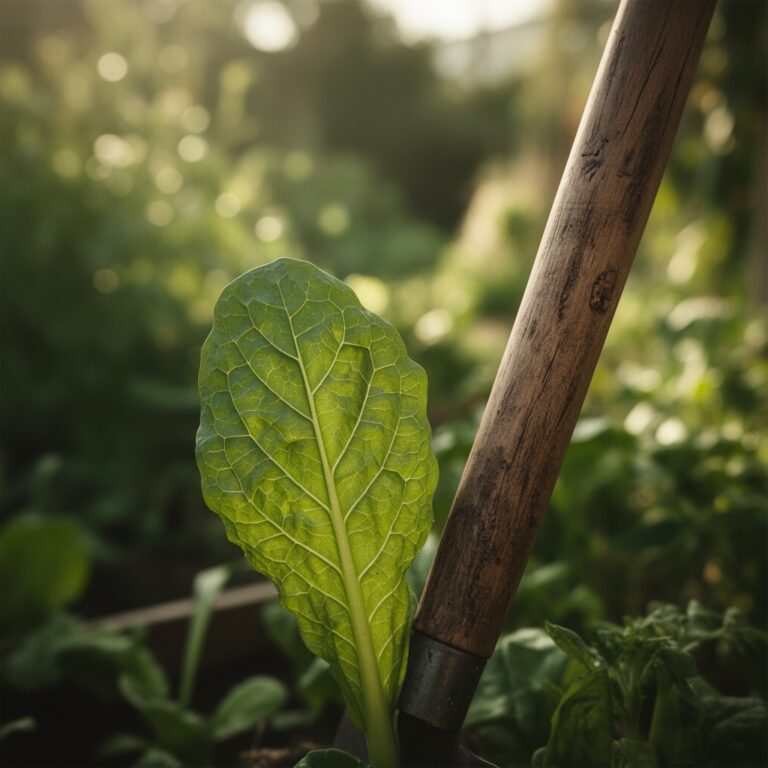
Sowing: Insert probes at 45-degree angles to minimize root disruption. Position sensors at two-thirds of anticipated root depth, typically 4 inches for greens and 8 inches for fruiting crops. Firm soil around probes to eliminate air pockets that distort readings. Electrical conductivity at sowing should measure 0.8-1.2 mS/cm, indicating sufficient starter nutrients without osmotic stress.
Pro-Tip: Apply granular sulfur at 2 oz per 100 square feet if baseline EC exceeds 2.0 mS/cm, waiting 72 hours before sowing to allow microbial conversion to sulfate.
Transplanting: Calibrate sensors 24 hours before moving seedlings. Soil moisture targets sit at 60-70% of field capacity, measured as 25-30% volumetric water content in loam soils. Auxin distribution concentrates in root tips during transplant shock, so maintain consistent moisture to prevent hormone imbalance. Position sensors 6 inches laterally from stem bases to capture active uptake zones without damaging taproots.
Pro-Tip: Dust roots with endomycorrhizal spores (Rhizophagus irregularis) at 0.5 grams per plant immediately before setting to accelerate hyphal colonization.
Establishing: Monitor sensor data at 6-hour intervals during the first 14 days. Adjust irrigation when volumetric water content drops below 22% in sandy soils or 28% in clay loams. Electrical conductivity should decline gradually from 1.2 mS/cm to 0.9 mS/cm as roots expand and nutrient uptake increases. Temperature differentials between 4-inch and 8-inch depths exceeding 5°F indicate inadequate mulch cover.
Pro-Tip: Prune apical meristems at 30-degree angles on day 10 post-transplant to redirect auxin flow and stimulate lateral branching.
Troubleshooting
Symptom: Erratic moisture readings fluctuating more than 10% within one-hour windows.
Solution: Check probe-to-soil contact. Remove sensor and reinsert with slurry of native soil and water to eliminate voids. Verify cable connections are free of corrosion.
Symptom: Electrical conductivity above 3.0 mS/cm with visible leaf margin burn.
Solution: Flush root zone with water volume equal to twice the container or bed depth. Retest after 48 hours. Apply gypsum at 5 lb per 100 square feet if sodium dominates the cation exchange.
Symptom: Temperature readings 8-12°F higher than ambient air in early morning.
Solution: Sensor positioned too shallow or exposed to direct sun. Relocate probe to 6-inch depth minimum and add 2 inches of straw mulch.
Symptom: Consistent moisture at 35% volumetric content but plants display wilting.
Solution: Root rot from Pythium or Phytophthora. Reduce irrigation frequency by 40%. Drench with Trichoderma harzianum at 1 x 10^6 CFU per gallon.
Symptom: pH drift from 6.2 to 5.1 over three weeks despite neutral inputs.
Solution: Microbial nitrification accelerating in high-nitrogen environments. Top-dress with dolomitic lime at 3 oz per square foot and incorporate to 2-inch depth.
Maintenance
Irrigate when sensors indicate volumetric water content below 20% in sandy loam or 25% in silt loam. Deliver 1 inch of water per irrigation event, measured as 0.62 gallons per square foot. Schedule events during early morning hours (5:00-8:00 AM) to minimize evaporative loss.
Recalibrate sensors every 120 days using manufacturer standards. Remove probes monthly and clean with distilled water and soft brush to prevent biofilm accumulation. Replace probes exhibiting drift greater than 0.2 pH units or 0.3 mS/cm after calibration.
Fertilize when EC drops below 0.7 mS/cm, applying liquid 3-1-2 formulation at 200 ppm nitrogen. Monitor response over 72 hours, targeting EC increase to 1.0-1.3 mS/cm.
FAQ
How deep should sensors sit in raised beds?
Position at one-half to two-thirds of bed depth, typically 6 inches in 12-inch beds. Avoid placement in the bottom 2 inches where drainage distorts readings.
Can sensors work in hydroponic systems?
Yes. Use submersible models rated for continuous liquid immersion. Calibrate for solution culture at 1.5-2.5 mS/cm and pH 5.5-6.0.
What is acceptable calibration drift?
Replace sensors drifting more than 0.3 pH units or 0.5 mS/cm annually. Temperature drift above 2°F requires immediate replacement.
How many sensors per growing area?
One sensor per 50 square feet in uniform media. Increase density to one per 25 square feet in variable topography or mixed crop zones.
Do wireless sensors interfere with plant growth?
No. Radio frequencies at 900 MHz or 2.4 GHz operate well outside photosynthetic or hormonal response ranges.