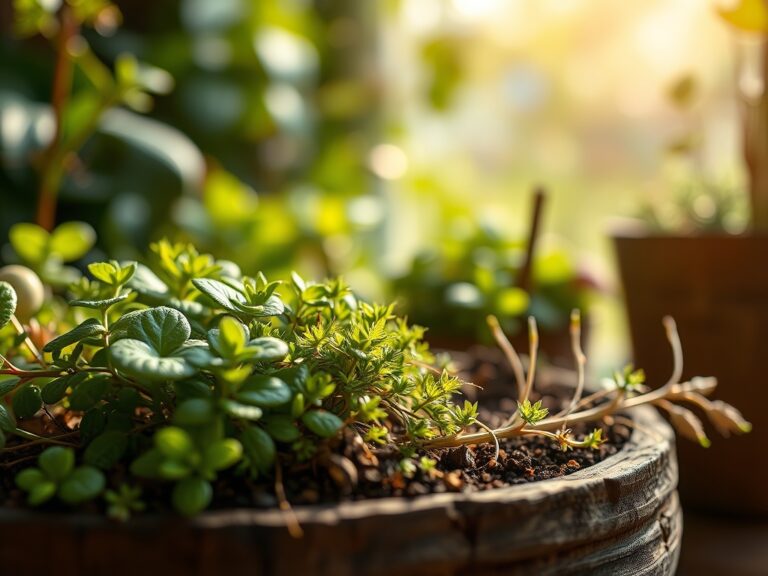
7 Simple Steps to Get Free Plant Cuttings
Turgor pressure within a succulent stem feels like a pressurized hydraulic line under the thumb. The smell of damp, anaerobic decomposition in a neglected pot contrasts sharply with the earthy, fungal scent of a healthy rhizosphere. Mastering the steps to get free plant cuttings requires an understanding of cellular biology rather than simple luck. Every node contains undifferentiated meristematic cells capable of transforming into a new root system under the right hormonal triggers. Success depends on the precision of the cut and the immediate management of moisture loss. You are not just snapping a branch; you are performing a surgical intervention to hijack the plant's natural regenerative cycle. By manipulating auxin levels and maintaining strict humidity controls, you can bypass the nursery economy entirely. This process demands a clinical approach to sanitation and a deep knowledge of seasonal growth flushes to ensure the parent plant remains productive while the new clone establishes its own vascular network.
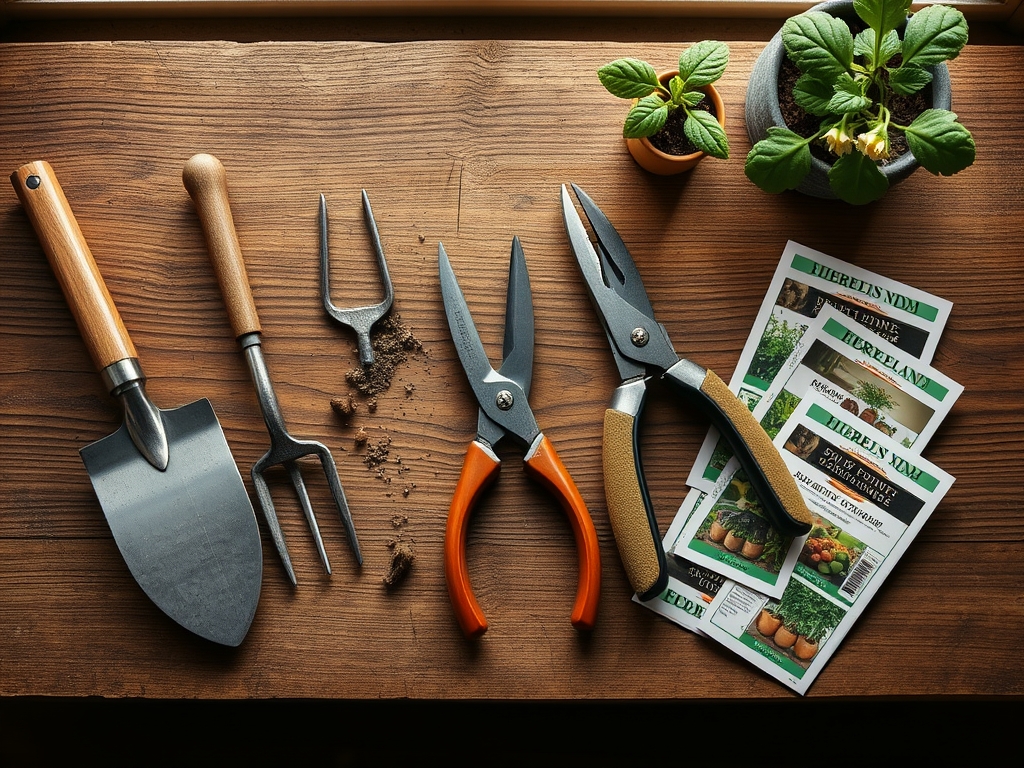
Materials:
Propagation success begins with the substrate. You require a medium with a high Cation Exchange Capacity (CEC) to hold essential nutrients while maintaining a **pH between 5.8 and 6.2**. For soft-tissue cuttings, use a sterile mix of 50 percent perlite and 50 percent peat moss. This creates a friable loam texture that allows for gas exchange at the root zone.
Specific nutrient ratios are critical during the rooting phase. Avoid high-nitrogen fertilizers that encourage leafy growth at the expense of root development. Look for a starter fertilizer with an NPK ratio of 1-2-1 or similar. High phosphorus levels (the middle number) facilitate ATP transfer and cellular division in the developing root primordia. Ensure your water source is dechlorinated; a high chlorine content can inhibit the delicate mycorrhizal symbiosis required for long term nutrient uptake.
Timing:
Timing is dictated by the plant's internal biological clock and your local Hardiness Zone. In USDA Zones 7 through 9, the window for softwood cuttings typically opens between May and July. This is the period when the plant is in a vigorous vegetative state, characterized by high sap flow and flexible stems that have not yet undergone lignification.
Hardwood cuttings require a different strategy. These are taken during the dormant season, usually six weeks before the first predicted frost. At this stage, the plant has entered senescence; it has pulled carbohydrates back into the root system and woody tissues. For most temperate species, this occurs when soil temperatures drop below 45 degrees Fahrenheit. Taking cuttings during the transition from the vegetative to the reproductive stage (flowering) is generally unsuccessful because the plant's energy is diverted toward seed production rather than root initiation.
Phases:
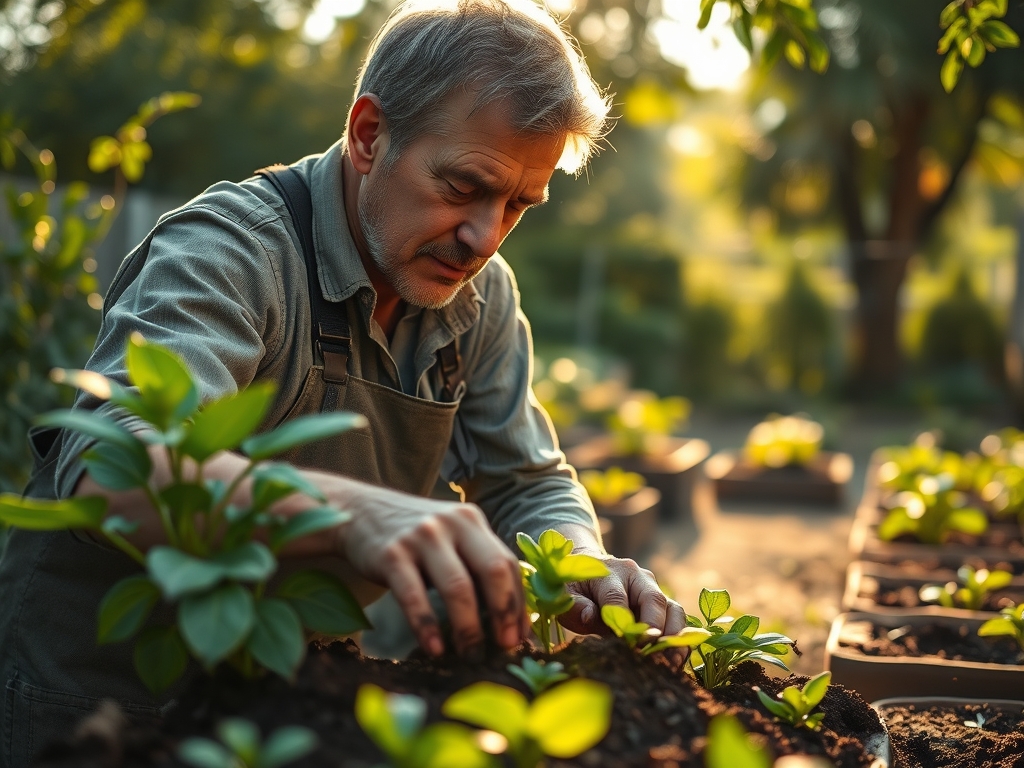
Sowing and Preparation
Before making a single cut, hydrate the donor plant. A plant with high turgor pressure has a significantly higher survival rate. Use a bypass pruner sterilized with 70 percent isopropyl alcohol to prevent the transmission of pathogens. Locate a lateral shoot and cut at a 45-degree angle approximately 0.25 inches below a node.
Pro-Tip: Removing the apical bud (the tip) suppresses auxin dominance. By removing the primary growth point, you force the plant to redirect its hormonal energy toward the base of the cutting, accelerating the formation of adventitious roots.
Transplanting to Medium
Strip the lower leaves to expose at least two nodes. These nodes are the sites of the highest concentration of meristematic tissue. Dip the wounded end into a rooting hormone (Indole-3-butyric acid) and insert it into your pre-moistened substrate. Firm the medium around the stem to eliminate air pockets that cause tissue desiccation.
Pro-Tip: Maintain a consistent 70 to 75 percent humidity level around the foliage. This reduces the transpiration rate, preventing the cutting from wilting before it develops the vascular capacity to pull water from the soil.
Establishing the Clone
Place the cuttings under indirect light. Direct UV exposure will lead to photo-oxidation and rapid death. Once you observe new leaf emergence, usually within 14 to 21 days, the cutting has likely established a functional root system. Gradually introduce the plant to lower humidity levels over a period of five days.
Pro-Tip: Monitor for phototropism. If the cuttings lean aggressively toward a light source, they are expending too much energy on elongation and not enough on root density. Rotate the trays 180 degrees every 24 hours to ensure balanced structural growth.
The Clinic:
Physiological disorders often mimic nutrient deficiencies. Use this diagnostic guide to troubleshoot your propagation tray.
- Symptom: Yellowing of lower leaves (Chlorosis).
Solution: This is often a Nitrogen deficiency. The plant is mobile-loading nitrogen from old growth to support new tissue. Apply a diluted 5-5-5 liquid fertilizer at quarter strength. - Symptom: Soft, brown mush at the base of the stem.
Solution: This is "Damping Off," caused by fungal pathogens in overly saturated soil. Reduce watering frequency and improve airflow. Ensure the substrate temperature stays above 65 degrees Fahrenheit. - Symptom: Purple tinting on the underside of leaves.
Solution: This indicates Phosphorus deficiency, often triggered by cold soil temperatures (below 55 degrees) which lock out phosphorus uptake regardless of its presence in the soil. - Fix-It: If the cutting appears stunted with "burnt" leaf edges, check the electrical conductivity (EC) of your water. High salt buildup in the medium prevents osmosis; flush the pot with distilled water to reset the salt balance.
Maintenance:
Precision maintenance is the difference between a surviving plant and a thriving one. Use a soil moisture meter to ensure the medium stays at a "moist but not saturated" level. For established clones in 4-inch pots, provide 1.5 inches of water per week delivered at the drip line to encourage roots to expand outward.
Use a hori-hori knife to check for root circling every four weeks. If the roots are beginning to mat against the container wall, it is time to up-pot. Prune any leggy growth using sharp bypass pruners to encourage a bushy habit. Maintain a clean environment by removing any fallen leaf litter immediately; decaying organic matter is a primary vector for spider mites and fungus gnats.
The Yield:
When harvesting cuttings from edible herbs or flowering perennials, timing is paramount for "day-one" freshness. Harvest in the early morning, specifically between 6:00 AM and 8:00 AM, when the plant's moisture content is at its peak. Use a sharp blade to make clean cuts, avoiding any crushing of the vascular bundles (xylem and phloem).
Immediately place the cut ends into a container of cool water. For woody herbs like rosemary or lavender, strip the bottom two inches of leaves to prevent submerged decay. Store the harvested material in a cool, dark location until you are ready to process it. This minimizes metabolic activity and preserves the essential oils and sugars within the tissue.
FAQ:
What is the best time of day to take cuttings?
Take cuttings in the early morning when turgor pressure is highest. This ensures the plant cells are fully hydrated, which reduces transplant shock and prevents immediate wilting after the vascular connection to the parent plant is severed.
Can I use tap water for my cuttings?
Tap water often contains chlorine and fluoride which can damage sensitive root primordia. Use filtered or rainwater with a pH between 6.0 and 7.0. If using tap water, let it sit for 24 hours to allow chlorine to dissipate.
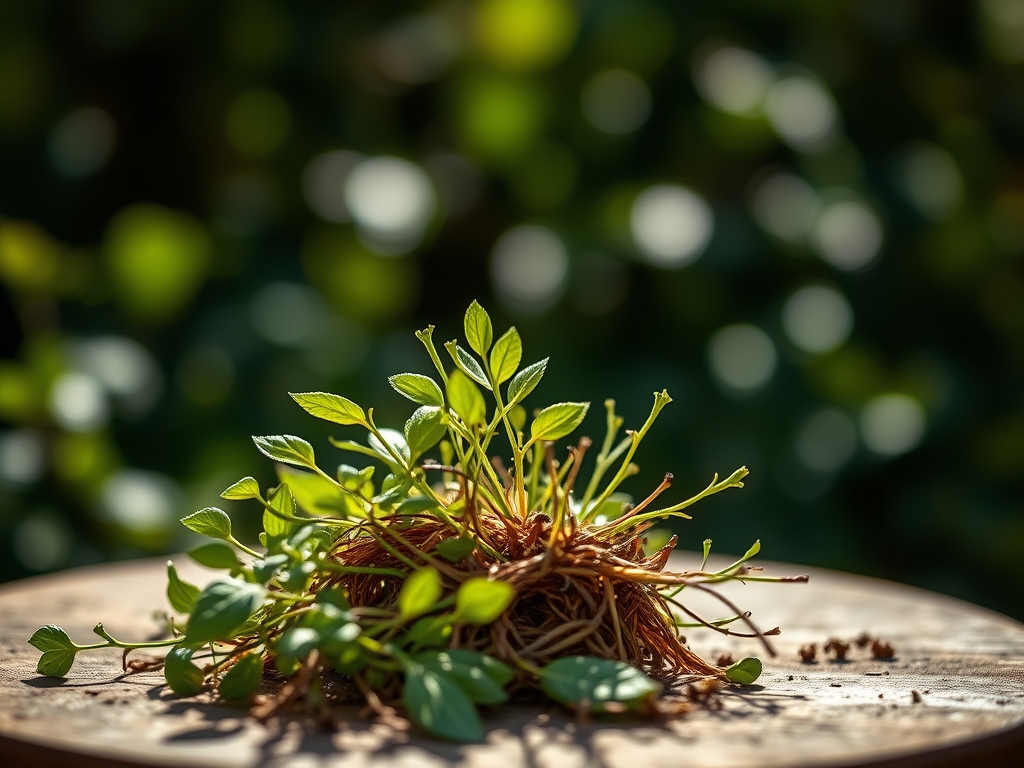
How do I know if my cutting has rooted?
Gently tug on the base of the cutting after 14 days. If you feel resistance, adventitious roots have begun to anchor into the substrate. Do not pull hard; the new roots are fragile and easily snapped from the stem.
Why are my cuttings rotting instead of rooting?
Rot is typically caused by poor drainage or contaminated tools. Ensure your medium is 50 percent drainage material like perlite. Sterilize all equipment with alcohol to eliminate pathogens that thrive in the high-humidity environment required for propagation.