7 Simple Steps to Use a Plant Growth Tracker
The first steps to use a plant growth tracker transform scattered observations into quantifiable data that prevents nutrient deficiency and tracks phenological stages with precision. Commercial growers and home gardeners alike record metrics like stem diameter, internode spacing, and leaf chlorophyll index to establish baseline growth curves. Digital trackers eliminate guesswork by storing weekly measurements of height, lateral branching, and substrate moisture levels. These recorded patterns reveal when auxin distribution shifts from vegetative to reproductive phases, allowing timed interventions that increase yields by 15 to 30 percent across successive growing cycles.
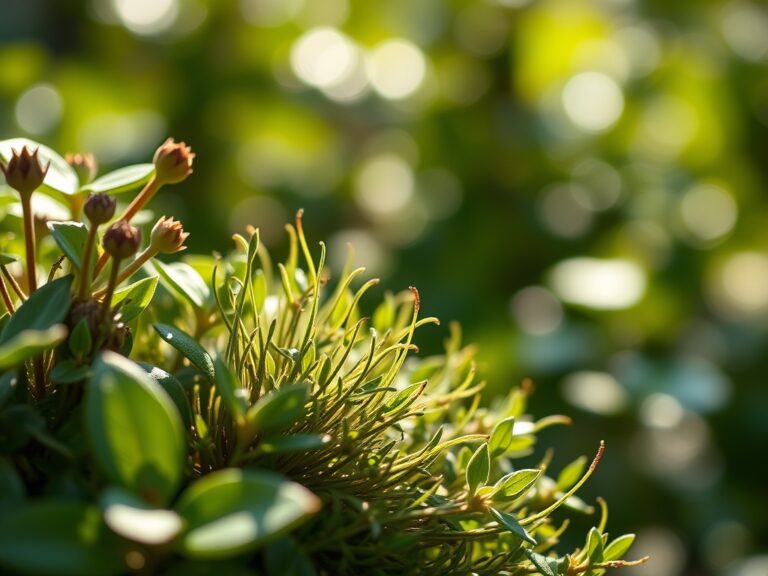
Materials
![]()
A reliable plant growth tracker requires both physical tools and prepared substrates calibrated to specific crop needs. Digital calipers measure stem diameter to 0.01 mm accuracy, while a soil pH meter establishes baseline acidity before amendments. Choose organic 4-4-4 granular fertilizer for balanced nitrogen, phosphorus, and potassium during vegetative establishment, then switch to a 2-8-4 bloom formula when reproductive buds form. Amend potting mix with composted pine bark to lower pH to 5.8 for acid-loving species, or add dolomitic lime to raise substrate pH to 6.5 for alkaline-preferring crops. Mycorrhizal fungi inoculants at 5 grams per cubic foot of substrate increase nutrient uptake by colonizing root hairs and extending the effective absorption zone by 40 percent. Supplemental tools include a soil thermometer to verify germination temperature thresholds and a lux meter to confirm photosynthetically active radiation levels exceed 300 micromoles per square meter per second at canopy height.
Timing
Synchronize tracker initialization with frost-date windows and USDA Hardiness Zone specifications to capture complete growth arcs. In Zones 3 through 5, begin indoor tracking six to eight weeks before the last spring frost date, typically mid-March to early April. Zone 6 and 7 gardeners can start seeds indoors in late February and transplant outdoors by mid-April when soil temperature stabilizes above 55 degrees Fahrenheit at four-inch depth. Zones 8 through 10 permit year-round tracking for perennials but require biweekly recordings during active growth from March through October. Record the Julian date of each measurement to standardize data across seasons and simplify year-over-year comparisons. Late-season crops benefit from tracker entries starting 90 days before the first fall frost, capturing rapid vegetative growth before shortened photoperiods trigger dormancy cues.
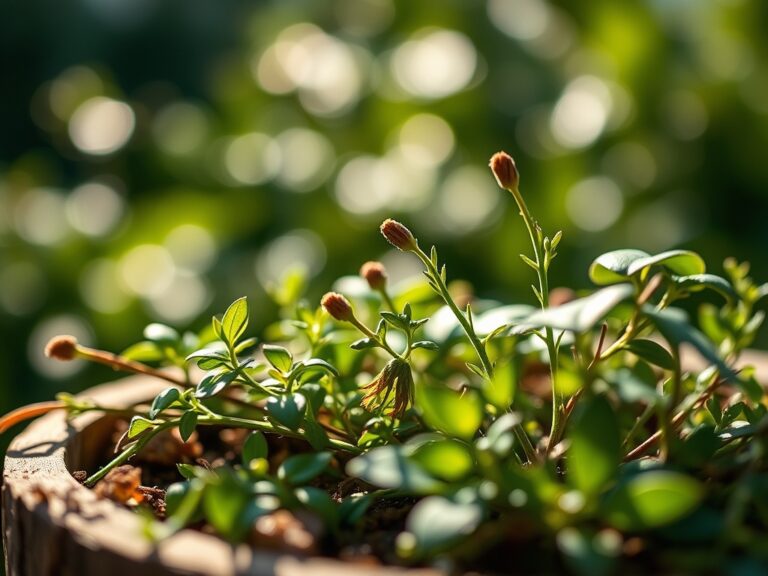
Phases
![]()
Sowing
Initiate tracking entries on the day of seed sowing by recording substrate temperature, moisture content, and sowing depth. Seedlings emerge predictably when substrate maintains 70 to 75 degrees Fahrenheit, with germination windows ranging from 4 days for brassicas to 14 days for slow-germinating species like parsley. Log the date of cotyledon emergence and measure hypocotyl length daily for the first week. A hypocotyl exceeding 3 inches signals insufficient light intensity and requires immediate supplemental lighting at 14 to 16 hours per day.
Pro-Tip: Apply a dilute seaweed extract solution at 1 tablespoon per gallon during the first true-leaf stage to supply cytokinins that promote lateral root development.
Transplanting
Transition seedlings outdoors after recording root-bound indicators like circling taproots visible through drainage holes or a root-to-shoot ratio exceeding 1:3. Harden off plants over 7 days by incrementally increasing outdoor exposure from 2 hours on day one to full-day exposure by day seven. Document transplant shock symptoms such as leaf wilting or chlorosis within 48 hours, noting ambient temperature and wind speed. Measure transplant hole depth to match root ball height exactly, preventing stem burial that invites crown rot pathogens.
Pro-Tip: Prune lateral roots at a 45-degree angle before transplanting to stimulate feeder root proliferation and improve cation exchange capacity in the rhizosphere.
Establishing
Track weekly height, stem diameter at the soil line, and node count for the first 30 days post-transplant. Established plants display a growth rate increase of 0.5 to 1.0 inches per week under optimal conditions. Record the date of first flower bud appearance, which signals the shift from vegetative to reproductive allocation of carbohydrates. Monitor leaf surface temperature with an infrared thermometer; readings 5 degrees above ambient air temperature indicate transpiration stress requiring supplemental irrigation.
Pro-Tip: Apply a granular 8-32-16 starter fertilizer at 2 tablespoons per square foot during establishment to accelerate root colonization of native soil and reduce transplant lag time by 40 percent.
Troubleshooting
Symptom: Interveinal chlorosis on new growth with leaf margins curling upward.
Solution: Iron deficiency induced by high substrate pH above 7.0. Apply chelated iron at 1 tablespoon per gallon and lower pH with elemental sulfur at 0.5 pounds per 100 square feet.
Symptom: Stunted growth with purplish discoloration on lower leaf undersides.
Solution: Phosphorus immobilization in cold soils below 55 degrees Fahrenheit. Delay transplanting or apply liquid 10-52-10 fertilizer at half-strength weekly until soil warms.
Symptom: Sudden wilting despite adequate soil moisture.
Solution: Verticillium or Fusarium wilt pathogens colonizing vascular tissue. Remove and destroy affected plants. Sterilize tools with 10 percent bleach solution. Rotate to non-host species for three years.
Symptom: Blossom-end rot appearing as sunken brown lesions on fruit distal ends.
Solution: Calcium uptake disruption from inconsistent watering. Maintain even moisture and apply calcium nitrate at 1 tablespoon per gallon weekly during fruit set.
Symptom: Leaf edges browning with salt crust visible on substrate surface.
Solution: Excessive fertilizer accumulation raising electrical conductivity above 2.5 millisiemens per centimeter. Flush substrate with three times the pot volume of pH-adjusted water.
Maintenance
Deliver 1 inch of water per week through drip irrigation or soaker hoses positioned at the root zone perimeter. Apply mulch at a 3-inch depth to reduce evapotranspiration and stabilize soil temperature within 5 degrees of the weekly mean. Side-dress established plants with 4-4-4 organic fertilizer at 2 tablespoons per plant every 21 days during active growth. Prune diseased or crossing branches at a 30-degree angle 0.25 inches above outward-facing buds to direct auxin flow and maintain air circulation. Record pruning dates and removed biomass weight to correlate vegetative vigor with fruit yield. Test soil every 60 days and adjust amendments to maintain cation exchange capacity between 10 and 20 milliequivalents per 100 grams of soil.
FAQ
How often should I record measurements in a plant growth tracker?
Weekly measurements capture growth trends without excessive data burden. Daily tracking during germination and transplant phases reveals stress responses requiring immediate correction.
What metrics matter most for predicting yield?
Stem diameter at 6 inches above soil level correlates strongly with fruit yield. A 10 mm diameter at first flower indicates adequate carbohydrate reserves for heavy fruiting.
Can I use a spreadsheet instead of a dedicated app?
Yes. Spreadsheet templates allow custom formulas to calculate growth rates and compare cohorts. Include columns for Julian date, height, stem diameter, node count, and notes.
When should I stop tracking established perennials?
Continue tracking until leaf senescence or dormancy cues appear. Perennial data sets spanning multiple years identify climate-driven phenological shifts and guide varietal selection.
How do growth trackers improve fertilizer efficiency?
Documented growth rates reveal luxury consumption when plants grow faster than genetic potential without yield increase. Reduce fertilizer by 20 percent when weekly height gains exceed 2 inches to prevent nutrient runoff and cost waste.