9 Best Flexible Plywood for Curves
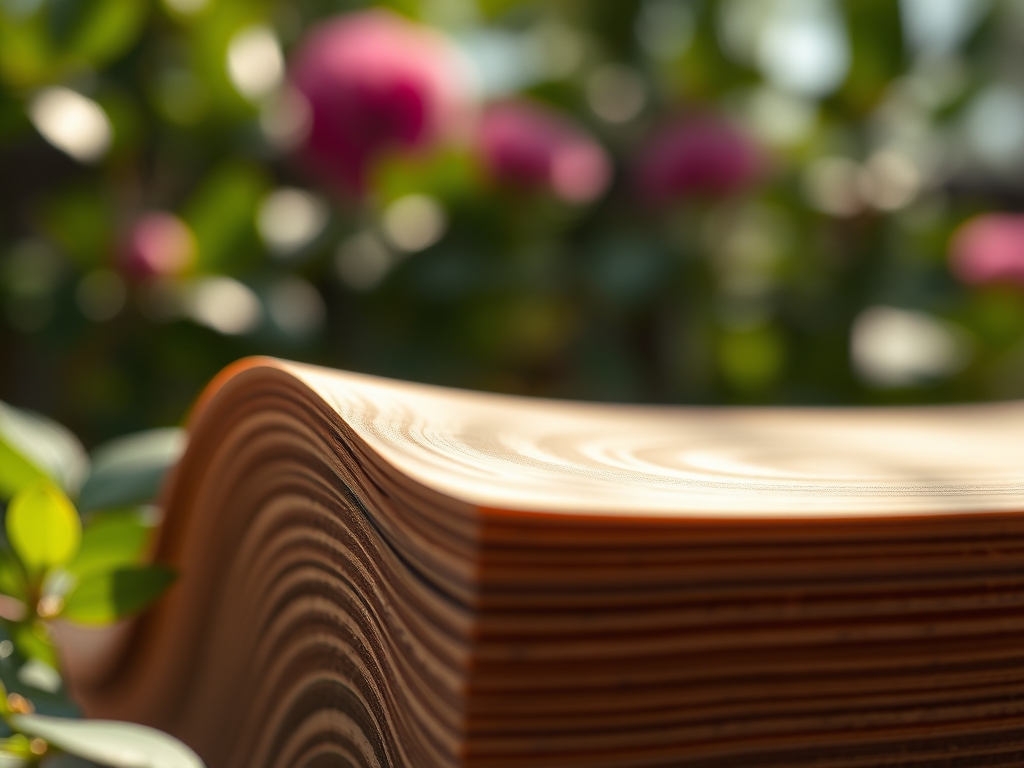
The scent of damp, decaying organic matter signals a high cation exchange capacity in the rhizosphere; a fundamental indicator of soil health that mirrors the structural integrity required for complex woodworking. Just as a plant maintains turgor pressure to remain upright, high-quality timber relies on cellular density to withstand mechanical stress. When constructing garden planters or curved landscape features, selecting the best flexible plywood for curves is a technical necessity to prevent structural senescence. This material must possess a specific grain orientation that allows for extreme manipulation without fracturing the lignin bonds. In high-humidity environments where soil moisture remains constant, the choice of substrate for your build determines whether the structure survives the season or succumbs to fungal decay.
Materials:

Success in the garden begins with a friable loam substrate characterized by a pH range of 6.2 to 6.8. This acidity level ensures that micronutrients like iron and manganese remain bioavailable to the root system. For heavy feeders, an NPK ratio of 10-10-10 provides a balanced start; however, as the plant matures, a shift to 5-10-15 encourages robust vascular development and bloom density. The physical texture of the soil should be granular enough to allow for oxygen diffusion but dense enough to retain moisture at the 12-inch depth mark. Avoid compacted clays which lead to anaerobic conditions and root necrosis.
- Lauan Plywood (1/8 inch): Ideal for tight radii; requires a high-quality sealant.
- Bending Birch: Features cross-grain lamination for superior structural memory.
- Italian Poplar: Low density but high elasticity; perfect for internal garden forms.
- Kerfed Radiata Pine: Pre-slotted to allow for aggressive 90-degree bends.
- Marine-Grade Okoume: Necessary for high-moisture zones near irrigation lines.
- Wacky Wood: A specialized ply where all grains run in one direction.
- Flexi-Ply: Often coated in resin to resist the humic acids found in soil.
- Bending Lauan: The industry standard for cost-effective curved edging.
- Aero-Ply: Used in high-stress applications where weight-to-strength ratios are critical.
Timing:
Hardiness Zones 4 through 9 dictate the primary window for structural installations and planting. In Zone 7, the frost-free date typically lands in mid-April; this is the critical moment to transition from indoor propagation to outdoor hardening. The biological clock of the plant is governed by the photoperiod, where a shift to shorter nights triggers the transition from vegetative growth to reproductive senescence. Monitor the soil temperature with a probe; do not transplant until the 6-inch depth consistently reads 60 degrees Fahrenheit. Planting too early in cold, saturated soils leads to "damping off," a fungal infection that attacks the hypocotyl.
Phases:
Sowing
Begin seeds in a sterile medium to prevent early-stage pathogens. Maintain a consistent temperature of 72 degrees Fahrenheit for optimal germination rates. Ensure the seeds are buried at a depth exactly twice their diameter to provide sufficient leverage for the emerging radicle.
Pro-Tip: Proper seed depth ensures the emerging seedling can shed its seed coat through friction; this process is essential for the initial expansion of cotyledons to begin photosynthesis.
Transplanting
When the second set of true leaves appears, move the specimens into the final garden bed. Use a hori-hori knife to cut a clean hole, ensuring the root ball is not compressed. The soil must be pre-moistened to prevent transplant shock, which occurs when the plant cannot maintain turgor pressure during the move.
Pro-Tip: Apply a mycorrhizal inoculant to the root zone during transplanting to establish a symbiotic relationship that increases the surface area for water and phosphorus absorption by up to 100 times.
Establishing
During the first 21 days, the plant focuses on downward root expansion rather than upward foliage growth. This is the "settling" phase where the auxin hormones concentrate in the root tips to drive gravitropism. Avoid high-nitrogen fertilizers during this window to prevent leggy growth that lacks structural integrity.
Pro-Tip: Pinching off early flower buds redirects the plant's metabolic energy toward root development and structural lignification; this results in a more resilient specimen capable of higher yields later in the season.
The Clinic:
Physiological disorders often mimic pest damage but are rooted in environmental stressors.
- Symptom: Blossom End Rot.
- Solution: This is a calcium transport issue, not a deficiency in the soil. Maintain consistent moisture levels at 1.5 inches per week to ensure calcium moves through the xylem efficiently.
- Symptom: Interveinal Chlorosis.
- Solution: Yellowing between green veins indicates a magnesium deficiency or a pH imbalance above 7.2. Apply a foliar spray of Epsom salts (magnesium sulfate) at a rate of 1 tablespoon per gallon.
- Symptom: Leaf Curl (Physiological).
- Solution: Often caused by high transpiration rates during heat spikes. Provide 30 percent shade cloth when temperatures exceed 90 degrees Fahrenheit to reduce water loss.
Fix-It for Nitrogen Chlorosis: If lower leaves turn pale yellow while the rest of the plant remains green, the plant is scavenging nitrogen for new growth. Side-dress with blood meal or a high-nitrogen liquid feed to restore the chlorophyll density.
Maintenance:
Precision maintenance requires the right instrumentation. Use a soil moisture meter daily to ensure the root zone remains at 40 to 60 percent field capacity. Apply exactly 1.5 inches of water per week at the drip line; overhead watering increases the risk of foliar pathogens like powdery mildew. Use bypass pruners to remove any necrotic tissue at a 45-degree angle to prevent water from pooling on the wound. For woody perennials, maintain a 3-inch layer of organic mulch to suppress weeds and regulate soil temperature fluctuations, but keep the mulch 2 inches away from the main stem to prevent crown rot.
The Yield:
Harvesting is a matter of cellular timing. For leafy greens, harvest in the early morning when turgor pressure is at its peak; this ensures the leaves are crisp and full of water. For fruiting crops, look for "full slip" or a specific color change that indicates peak brix levels (sugar content). Use a sharp knife to make clean cuts; tearing the stem creates a jagged wound that the plant must expend energy to seal through suberization. Post-harvest, immediately submerge the produce in 40-degree Fahrenheit water to remove field heat and slow the rate of respiration, preserving "day-one" freshness for several days.
FAQ:
What is the best flexible plywood for curves in outdoor planters?
Marine-grade Okoume or resin-treated Wacky Wood are the superior choices. These materials resist the humic acids and constant moisture found in active garden beds, preventing delamination and structural failure over multiple growing seasons.
How do I fix yellow leaves on my plants?
Check the soil pH first. If the pH is between 6.0 and 7.0, the issue is likely nitrogen deficiency. Apply a high-nitrogen fertilizer (NPK 10-5-5) to the rhizosphere to restore chlorophyll production and leaf vigor.
How much water do my garden plants actually need?
Most garden crops require 1 to 1.5 inches of water per week. Use a rain gauge to track precipitation and supplement with drip irrigation at the base of the plant to maintain consistent soil moisture at the 6-inch depth.
When is the best time to transplant seedlings?
Transplant after the first frost-free date when the soil temperature reaches 60 degrees Fahrenheit. Ensure the seedling has at least two sets of true leaves and has been hardened off for 7 to 10 days to prevent shock.