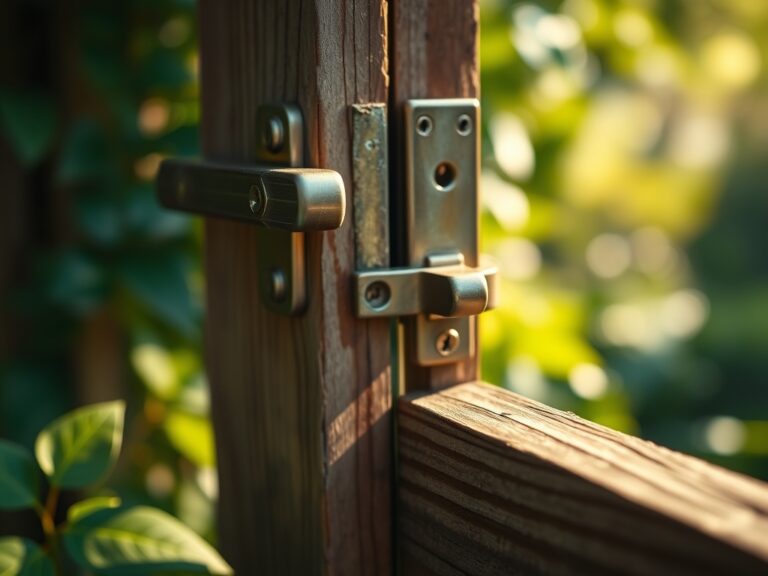
7 Sturdy Ways How to Build a Raised Cedar Bed
Crushing a handful of sun-warmed, friable loam reveals the structural integrity of your garden; the earthy scent of geosmin indicates a healthy microbial population. When you understand how to build a raised cedar bed, you are not merely constructing a box; you are engineering a controlled microclimate. Western Red Cedar (Thuja plicata) contains natural thujaplicins, which are organic compounds that resist fungal decay and rot. This durability is essential when maintaining the high turgor pressure required for succulent vegetable growth. A raised system allows for precision control over the rhizosphere, ensuring that drainage remains optimal even during heavy vernal rains. By elevating the planting plane, you increase the soil temperature by 5 to 10 degrees Fahrenheit compared to the surrounding earth. This thermal advantage accelerates seed germination and extends the metabolic window of your crops. Success depends on structural rigidity and the chemical composition of the substrate within.
Materials:
The structural foundation requires **2-inch by 6-inch or 4-inch by 4-inch cedar timbers**. Avoid chemically treated lumber to prevent the leaching of heavy metals into the soil profile. For the substrate, aim for a **pH range of 6.2 to 6.8**, which optimizes the availability of macronutrients. The ideal mix consists of 40 percent high-quality compost, 40 percent topsoil, and 20 percent aeration components like perlite or coarse sand.
Specific NPK (Nitrogen-Phosphorus-Potassium) ratios must be tailored to the crop. A standard 5-10-10 ratio works well for root development, while a 10-10-10 balanced fertilizer supports general vegetative growth. The physical texture must be a friable loam; if you squeeze a handful, it should form a ball that shatters easily when poked. This texture ensures a high Cation Exchange Capacity (CEC), allowing the soil to hold onto essential positively charged ions like Calcium (Ca2+) and Magnesium (Mg2+).
Timing:
In Hardiness Zones 5 through 7, construction should occur in late autumn or early spring, at least four weeks before the last predicted frost. This window allows the soil to settle and the microbial life to stabilize. The biological clock of your plants is governed by the photoperiod; as day length increases, plants transition from vegetative growth to reproductive stages. Building the bed early ensures that the soil temperature reaches at least 55 degrees Fahrenheit for cool-season crops like Brassicas, or 65 degrees Fahrenheit for thermophilic species like Solanaceae. Monitoring the soil temperature with a probe is more accurate than following calendar dates, as it directly influences the metabolic rate of the root system.
Phases:
Sowing
Directly sow seeds at a depth approximately three times their diameter. Ensure the soil remains consistently moist to facilitate the imbibition phase of germination.
Pro-Tip: Maintain uniform seed-to-soil contact to trigger phytochrome activity. This light-sensing pigment tells the seed it is at the correct depth to begin photosynthesis before its energy reserves are depleted.
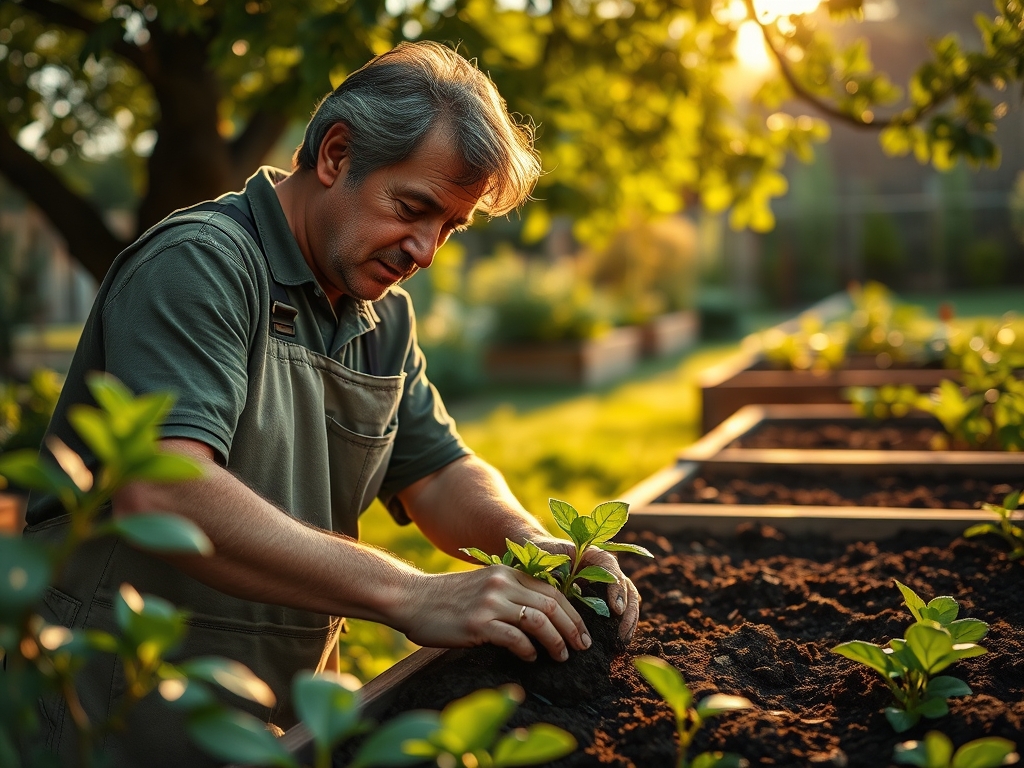
Transplanting
When moving seedlings from flats to the cedar bed, handle them by the cotyledons rather than the delicate hypocotyl. Dig a hole twice the size of the root ball and backfill with the specialized NPK mix.
Pro-Tip: Inoculate the planting hole with mycorrhizal fungi. This symbiotic relationship extends the reach of the root system, increasing the surface area for phosphorus absorption and water uptake.
Establishing
During the first 14 days, the plant focuses on root expansion. Monitor for wilting, which indicates a loss of turgor pressure.
Pro-Tip: Avoid excessive nitrogen application during this phase to prevent auxin suppression. High nitrogen can lead to rapid leaf growth at the expense of a robust root architecture, making the plant vulnerable to drought later in the season.
The Clinic:
Physiological disorders often stem from environmental stressors rather than pathogens.
- Symptom: Blossom End Rot (dark, leathery spots on the bottom of fruit).
- Solution: This is a Calcium deficiency caused by erratic watering. Maintain consistent moisture levels to ensure the transpirational stream carries Calcium to the fruit.
- Symptom: Interveinal Chlorosis (yellowing between green leaf veins).
- Solution: This typically indicates Magnesium or Iron deficiency. Check the pH; if it is above 7.0, the plant cannot uptake these micronutrients. Apply chelated iron or Epsom salts (Magnesium Sulfate).
- Symptom: Nitrogen Chlorosis (uniform paling of older leaves).
- Solution: Apply a high-nitrogen organic liquid fertilizer, such as fish emulsion, to provide an immediate boost to chlorophyll production.
Fix-It: For general nutrient lockout, flush the bed with distilled water to reduce salt buildup and re-test the pH levels.
Maintenance:
Precision irrigation is the cornerstone of a productive cedar bed. Apply 1.5 inches of water per week at the drip line using a soaker hose or drip system. This prevents foliar diseases by keeping the canopy dry. Use a soil moisture meter to verify that the moisture has penetrated at least 6 inches deep.
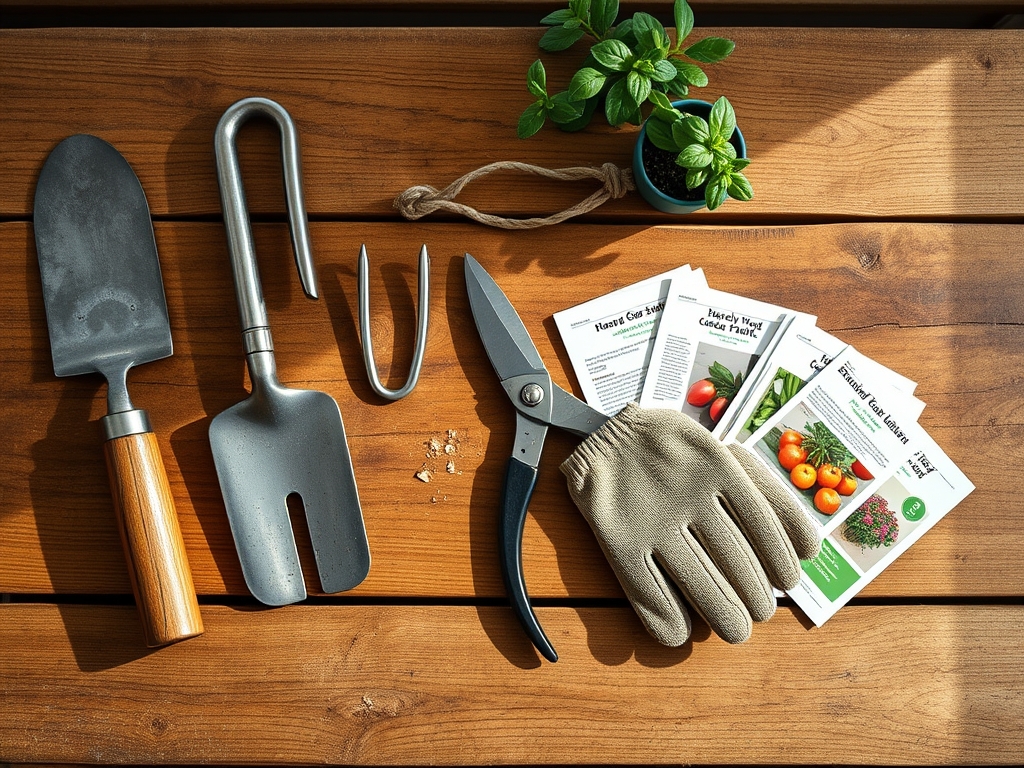
Keep a hori-hori knife sharpened for weeding; its serrated edge is ideal for severing taproots below the soil surface. Use bypass pruners for clean cuts that minimize tissue damage and prevent the entry of pathogens. Mulch the surface with 2 inches of organic straw to suppress weed germination and reduce evaporation rates. Check the structural integrity of the cedar corners annually; while rot-resistant, the outward pressure of wet soil can cause bowing if not reinforced with internal corner braces.
The Yield:
Harvesting is a physiological intervention that must be timed to peak sugar or oil content. For most vegetables, harvest in the early morning when turgor pressure is at its maximum and the plant is hydrated. Use a sharp blade to make clean cuts, avoiding any tearing of the vascular tissue.
Post-harvest handling is critical for "day-one" freshness. Immediately submerge leafy greens in cold water to remove field heat and slow down the rate of senescence. For fruiting crops, store in a cool, dark location to maintain the integrity of the cell walls. By reducing the metabolic rate of the harvested material, you preserve the nutritional density and flavor profile developed in the cedar bed.
FAQ:
What is the best wood for a raised bed?
Western Red Cedar is superior due to its high concentration of thujaplicins. These natural oils resist rot and insect infestation for 10 to 15 years, making it the most durable chemical-free option for organic food production.
How deep should a raised cedar bed be?
A minimum depth of 12 inches is required for most crops. This provides sufficient volume for root expansion and ensures adequate drainage. For deep-rooted perennials or root vegetables like carrots, a depth of 18 to 24 inches is optimal.
Do I need to line a cedar raised bed?
Lining is not strictly necessary for cedar, but a geotextile fabric can prevent soil migration through gaps. Avoid plastic liners, as they trap moisture against the wood, accelerating decay and preventing necessary gas exchange within the rhizosphere.
What is the best soil mix for cedar beds?
A blend of 40% compost, 40% topsoil, and 20% perlite provides the ideal balance of nutrient density and drainage. This mixture ensures a high Cation Exchange Capacity and maintains the friable texture required for healthy root penetration.