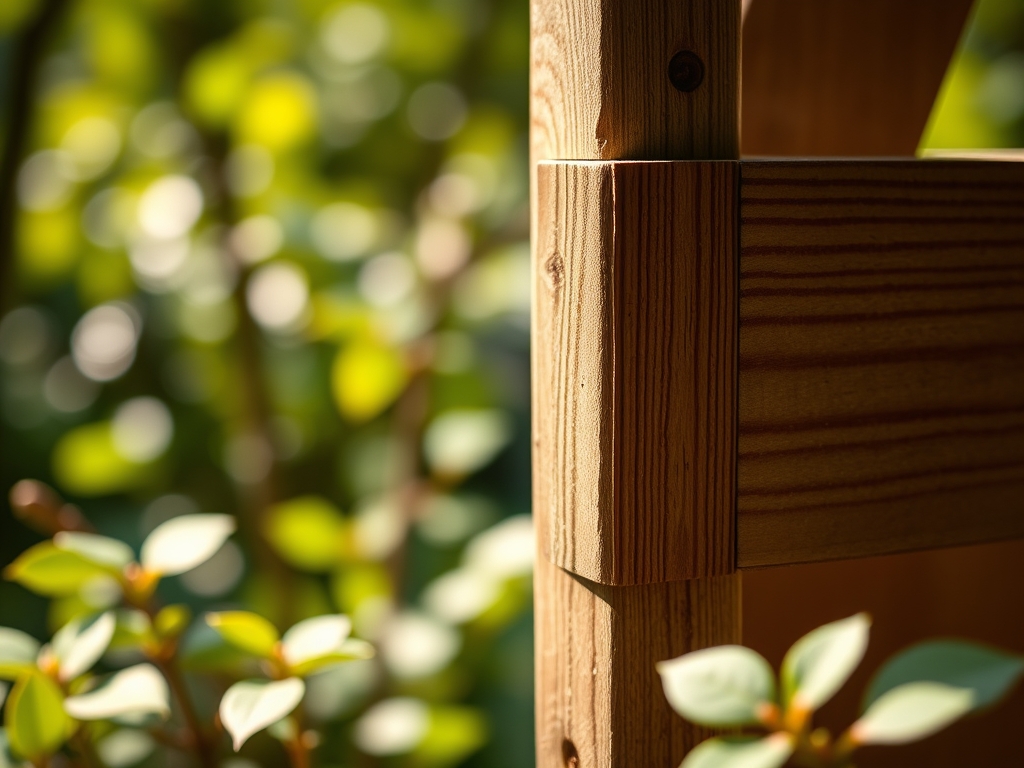
5 Quick Steps to Assemble Corner Brackets
The smell of damp earth and the iron tang of wet mulch signal the start of a productive growing season. A successful raised bed begins with structural integrity; if the frame fails, the soil column collapses and disrupts the delicate rhizosphere you have spent months cultivating. Learning the steps to assemble corner brackets is the first phase of securing a stable environment for root development. Without a rigid 90 degree angle, the lateral pressure from 2000 pounds of saturated loam will bow the timber and cause catastrophic moisture loss. Proper assembly ensures the interior corners remain flush, preventing the leaching of essential nitrates and maintaining the turgor pressure of your crops. Focus on the mechanical stability of the frame before the first seed touches the substrate.
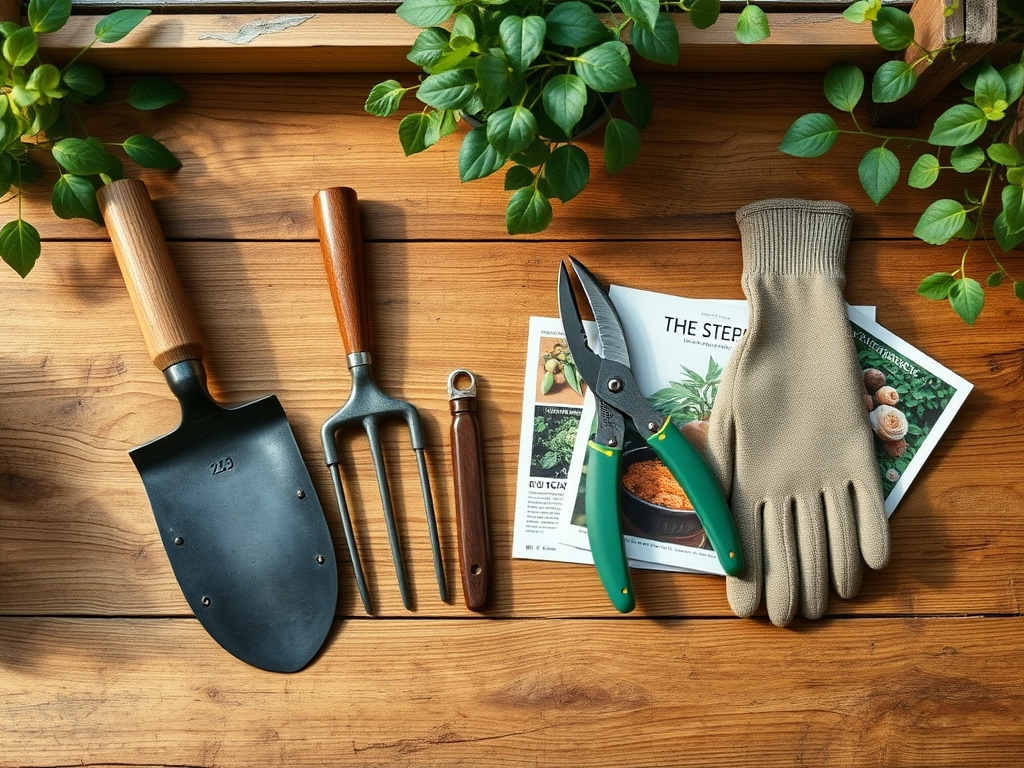
Materials:
For a high performance raised bed, the substrate should be a friable loam with a **pH between 6.2 and 6.8**. This range optimizes the Cation Exchange Capacity (CEC), allowing the root hairs to effectively swap hydrogen ions for essential cations like calcium and magnesium. Your nutrient profile should start with a base **NPK ratio of 5-10-5** to prioritize root establishment over excessive foliage.
The physical texture must be gritty enough to prevent compaction. Use a blend of 40 percent compost, 40 percent topsoil, and 20 percent coarse perlite or sharp sand. This ratio ensures a high porosity rate, allowing oxygen to reach the aerobic bacteria that drive the nitrogen cycle. Avoid heavy clays that suffocate the root zone or pure peats that become hydrophobic when dry.
Timing:
The construction and filling of your beds must align with your local Hardiness Zone. In Zones 5 through 7, the window for assembly opens four weeks before the last predicted frost date. This allows the soil temperature to stabilize above 50 degrees Fahrenheit (10 Celsius) before sowing.
Understanding the biological clock of your plants is essential. The transition from the vegetative stage to the reproductive stage is governed by the photoperiod. If you assemble your beds too late in the spring, you risk heat stress during the critical flowering window. Aim to have your brackets secured and your soil settled at least fourteen days before transplanting to allow the microbial community to colonize the new organic matter.
Phases:

Sowing
Once the corner brackets are locked and the frame is level, sow your seeds at a depth exactly three times the diameter of the seed. For small seeds like carrots, this may only be 1/8 inch. Ensure the soil is firmed down to establish capillary action, which draws moisture from the lower layers to the germinating seed.
Pro-Tip: Maintain consistent moisture to trigger the imbibition phase. If the seed coat dries out after it has begun to swell, the embryo will suffer irreversible cellular collapse. This is the biological why behind the need for a stable, bracketed frame that prevents soil desiccation at the edges.
Transplanting
When moving seedlings from the nursery to the bed, minimize root disturbance to prevent transplant shock. Use a hori-hori knife to cut a clean vertical hole. Set the plant so the crown is level with the soil surface. This prevents crown rot while ensuring the root system can access the nutrient dense upper horizon of the soil.
Pro-Tip: Inoculate the planting hole with mycorrhizal fungi. This symbiotic relationship extends the reach of the root system by up to 100 times, significantly increasing the uptake of phosphorus and micronutrients.
Establishing
During the first 21 days, the plant focuses on downward root growth rather than upward biomass. This is driven by auxin suppression in the lateral buds as the plant prioritizes the primary taproot or fibrous root network. Monitor the soil moisture daily using a soil moisture meter to ensure the top 4 inches remain hydrated.
Pro-Tip: Avoid high nitrogen fertilizers during this phase. Excessive nitrogen can lead to "leggy" growth where the vascular system cannot support the weight of the foliage, making the plant susceptible to wind damage.
The Clinic:
Physiological disorders often mimic infectious diseases but are usually rooted in environmental or nutritional imbalances.
- Blossom End Rot: This appears as a sunken, leathery spot on the base of the fruit. It is caused by a calcium deficiency, often triggered by inconsistent watering rather than a lack of calcium in the soil.
- Bolting: This is the premature transition to the reproductive stage, usually caused by heat stress or fluctuating day lengths. The plant sends up a flower stalk and the foliage becomes bitter.
- Nitrogen Chlorosis: Identified by the uniform yellowing of older, lower leaves while the veins remain slightly green. Fix it by applying a liquid kelp or fish emulsion with an NPK of 5-1-1.
- Magnesium Deficiency: Characterized by interveinal chlorosis (yellowing between the veins) on older leaves. Apply 1 tablespoon of Epsom salts per gallon of water as a foliar spray to bypass soil lockout issues.
Maintenance:
Precision is the difference between a surviving plant and a thriving one. Deliver 1.5 inches of water per week directly at the drip line. Avoid overhead watering, which increases the humidity in the canopy and invites fungal pathogens.
Use bypass pruners for clean cuts; ragged tears create entry points for bacteria. Remove any yellowing or senescing leaves immediately to redirect the plant's energy toward new growth and fruit production. Check the soil compaction once a month. If the soil feels dense, use a garden fork to gently aerate the perimeter without flipping the soil layers, which preserves the delicate fungal hyphae.
The Yield:
Harvesting is a biological calculation. For leafy greens, harvest in the early morning when turgor pressure is at its peak; this ensures the leaves are crisp and have the highest nutrient density. For fruiting bodies like tomatoes or peppers, wait for full color saturation, which indicates the sugars have reached their maximum concentration.
Post harvest, immediately submerge leafy crops in a cold water bath to remove field heat. This slows the rate of respiration and prevents the degradation of vitamins. For root crops, brush off excess soil but do not wash them until you are ready to consume them, as moisture on the skin can lead to storage rot.
FAQ:
How do I prevent the brackets from rusting?
Use stainless steel or powder coated galvanized steel brackets. These materials resist the corrosive effects of moist soil and organic acids found in compost. Ensure all hardware is rated for outdoor use to prevent structural failure over time.
What size screws should I use for corner brackets?
Use 2.5 inch or 3 inch structural screws. These provide enough bite into the timber to resist the outward pressure of the soil. Pre drill pilot holes to prevent the wood from splitting, which compromises the bracket's grip.
Can I use cedar for the frame?
Cedar is the gold standard for raised beds due to its natural resistance to rot and insects. It contains thujaplicins, which are natural antifungal agents. While more expensive, cedar lasts significantly longer than untreated pine in high moisture environments.
How often should I check the bracket tension?
Inspect the brackets every spring before planting. The freeze thaw cycle can cause wood to expand and contract, potentially loosening the screws. Tighten any hardware that has backed out to ensure the bed remains structurally sound for the season.