6 Basic Ways How to Plan an Indoor Garden
The scent of damp, pasteurized peat moss and the crisp snap of a leaf under high turgor pressure define the professional indoor growing environment. Success is not found in aesthetic whimsy but in the calculated manipulation of microclimates. Learning how to plan an indoor garden requires a fundamental understanding of cellular respiration and gas exchange within a confined space. You must transition from a casual observer to a biological manager who views every square inch of shelf space as a high production zone.
Effective planning begins with a spatial audit of your light availability and ambient humidity. Most residential environments hover at 30 percent relative humidity; however, a thriving indoor canopy requires 50 to 60 percent to prevent excessive transpiration. By mapping your floor plan against PAR (Photosynthetically Active Radiation) values, you ensure that every photosynthetic organism receives the specific photon flux density required for its metabolic rate. This technical approach transforms a hobby into a repeatable science.
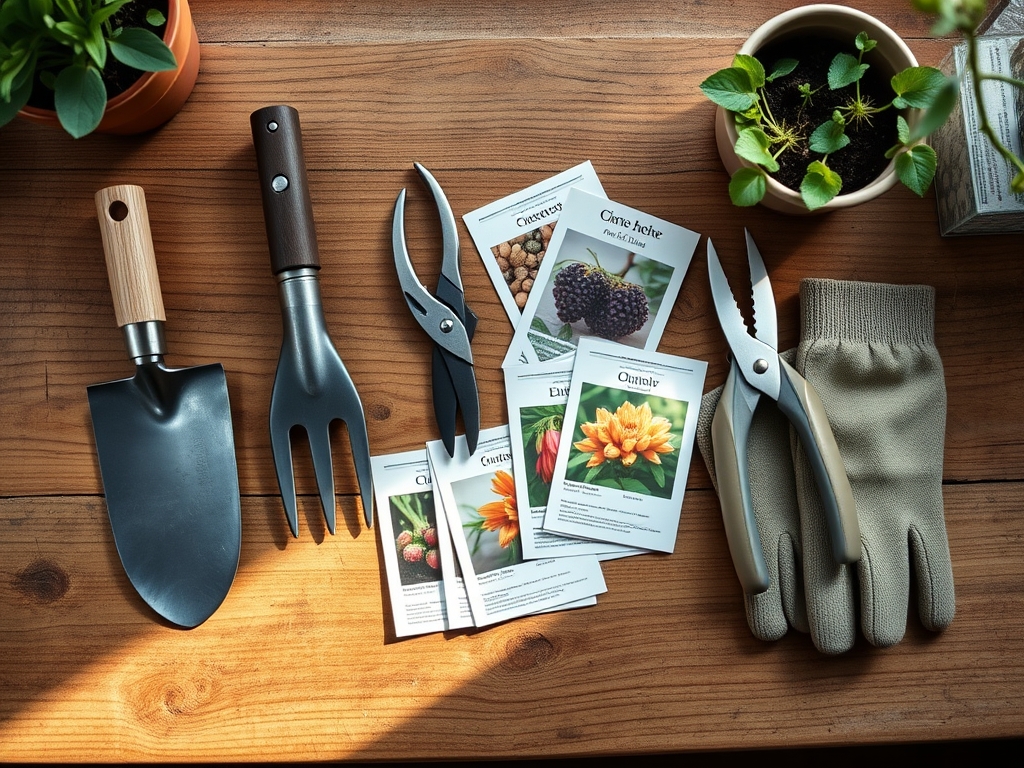
Materials:
The foundation of an indoor system is the substrate. Avoid standard “potting soil” in favor of a friable loam or a soilless mix designed for high Cation Exchange Capacity (CEC). A professional mix typically consists of 60 percent sphagnum peat or coconut coir for moisture retention; 30 percent perlite or pumice for aeration; and 10 percent vermiculite to facilitate nutrient ion exchange.
Target a pH range of 5.8 to 6.5 for most indoor species. This range ensures that micronutrients like iron and manganese remain bioavailable rather than becoming chemically locked in the substrate. For vegetative growth, select a fertilizer with an NPK ratio of 3-1-2. This high nitrogen content supports chlorophyll production. During flowering or fruiting stages, pivot to a 1-3-2 ratio to provide the phosphorus necessary for ATP energy transfer and reproductive development. The physical texture must be porous enough to allow oxygen to reach the rhizosphere; roots that cannot breathe will succumb to anaerobic pathogens within 48 hours.
Timing:
While indoor gardens are shielded from external weather, they are still tethered to the biological clock. Even under artificial lights, many plants respond to the subtle shifts in atmospheric pressure and ambient temperature that correlate with Hardiness Zones. If you are starting seeds indoors to transplant outside, you must calculate your "Last Frost Date" with precision. For instance, in Zone 6, seeds for Solanaceae species should be sown 8 weeks before the average last frost of May 15.
The biological clock is primarily governed by the photoperiod. Vegetative stages typically require 14 to 16 hours of light, mimicking the long days of summer. To trigger the reproductive stage (flowering), you must reduce the light cycle to a strict 12 hours of light and 12 hours of total darkness. This shift signals the plant to redirect its energy from leaf production to seed and fruit development. Failure to maintain a consistent dark period can cause "hermaphroditism" or a complete stall in growth due to hormonal confusion.
Phases:
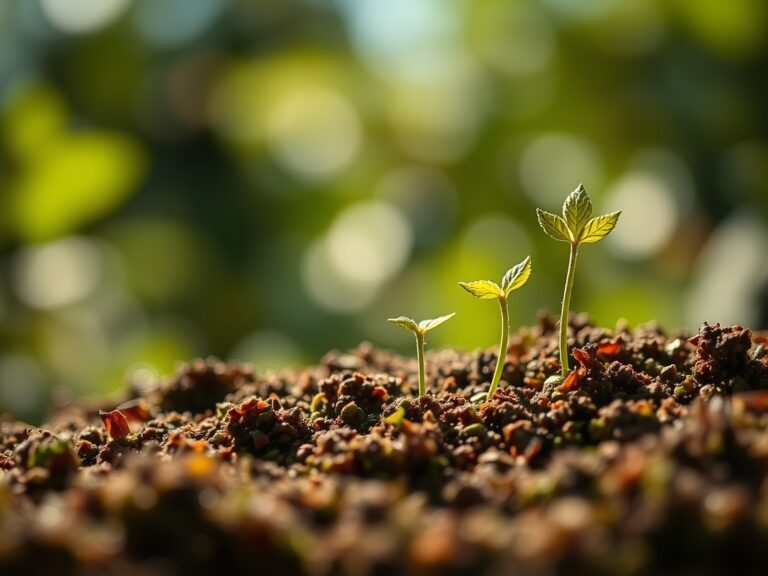
Sowing
Place seeds at a depth exactly two times their diameter. Maintain a constant substrate temperature of 70 to 75 degrees Fahrenheit using a waterproof heat mat.
Pro-Tip: Use bottom-heat to encourage rapid cell division in the radicle. This works because heat increases the kinetic energy of enzymes, accelerating the metabolic breakdown of the seed's endosperm.
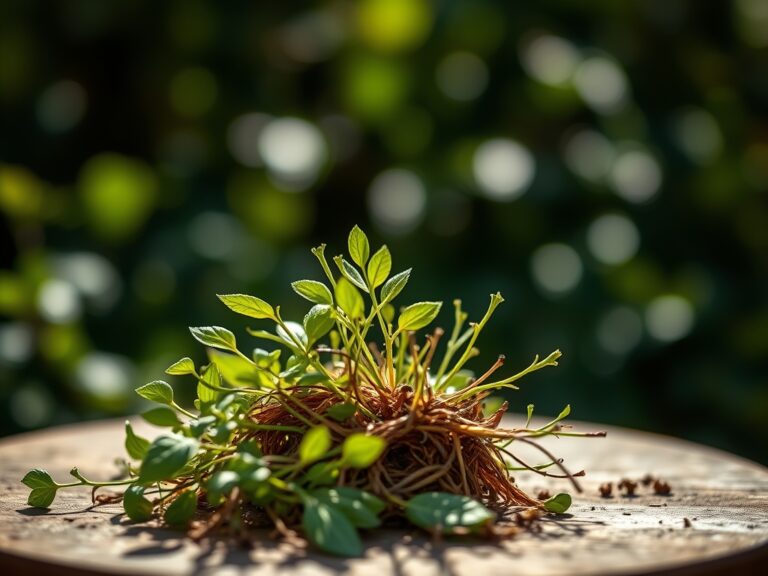
Transplanting
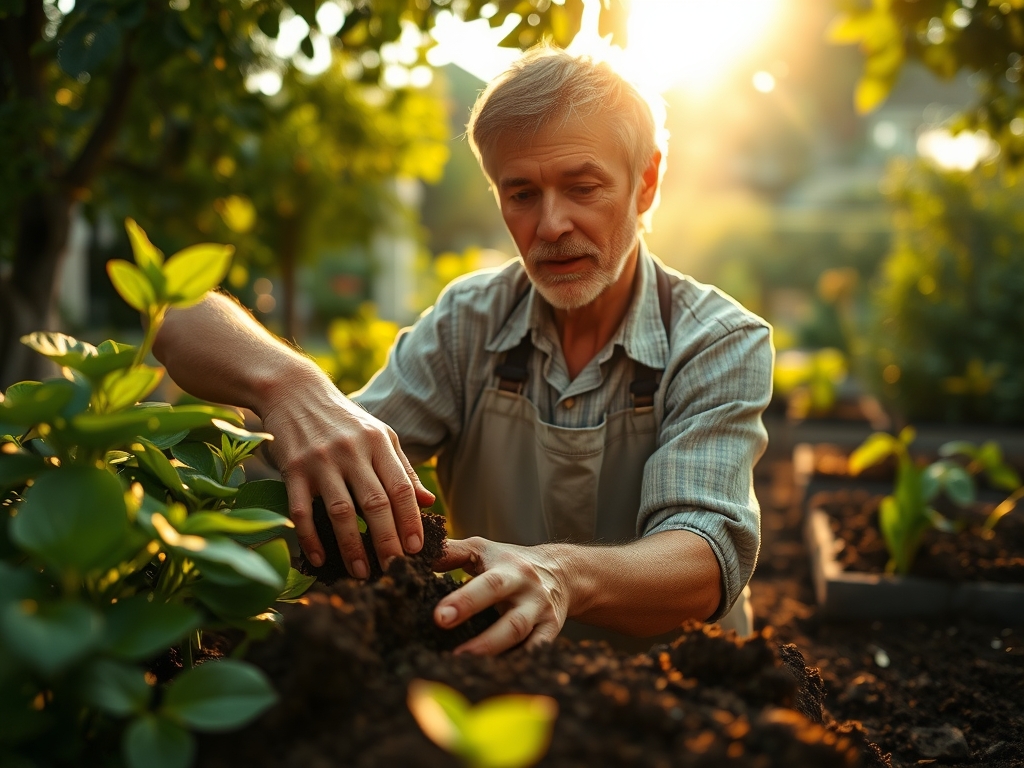
Move seedlings when the second set of "true leaves" appears. Handle the plant only by the root ball or the leaves; never the stem. A crushed stem severs the xylem and phloem vessels, ending the plant's ability to transport water.
Pro-Tip: Dust the root zone with mycorrhizal fungi during this phase. This creates a symbiotic relationship where the fungi extend the root's reach, increasing phosphorus uptake by up to 100 percent.
Establishing
Once transplanted, focus on structural integrity. Use oscillating fans to provide a gentle breeze. This mechanical stress triggers the production of lignin in the stems, making them thick and woody rather than spindly.
Pro-Tip: Practice "auxin suppression" by pinching off the apical meristem (the top growth tip). This forces the plant to redirect growth hormones to lateral buds, resulting in a bushier, more productive plant architecture.
The Clinic:
Physiological disorders often mimic infectious diseases. Accurate diagnosis requires a systematic review of the plant's environment.
-
Symptom: Interveinal Chlorosis (yellowing between green veins).
Solution: This is a classic Magnesium deficiency.
Fix-It: Apply a foliar spray of 1 teaspoon of Epsom salts per gallon of water to bypass root lockout and deliver magnesium directly to the stomata. -
Symptom: Tip Burn on new growth.
Solution: Calcium deficiency or low humidity causing "localized calcium localized deficiency."
Fix-It: Increase airflow and ensure the pH is above 6.0; calcium is immobile and requires consistent transpiration to move through the plant. -
Symptom: Edema (water-soaked bumps on leaf undersides).
Solution: Excessive water uptake during high humidity.
Fix-It: Reduce watering frequency and increase room temperature to facilitate better evaporation. -
Symptom: Spindly, "leggy" stems.
Solution: Phototropism (stretching toward a weak light source).
Fix-It: Lower your LED or fluorescent fixtures to within 6 to 12 inches of the canopy.
Maintenance:
Precision maintenance prevents systemic failure. Use a soil moisture meter to verify that the root zone is at a "4" or "5" on a 10-point scale before adding water. For most 5-gallon containers, apply approximately 0.5 gallons of water per week, ensuring 10 percent of that volume drains out the bottom to flush out accumulated mineral salts.
Keep a hori-hori knife for precise root pruning if a plant becomes pot-bound. Use bypass pruners for all foliage removal; anvil-style pruners crush the vascular tissue, leaving the plant vulnerable to Botrytis. Sanitize your tools with 70 percent isopropyl alcohol between every plant to prevent the mechanical transmission of viroids. Monitor the "drip line"—the perimeter of the foliage—as this is where the most active feeder roots are located.
The Yield:
Harvesting is the final stage of the plan. For leafy greens, harvest in the early morning when turgor pressure is at its peak; this ensures the leaves are crisp rather than wilted. Use a sharp blade to make a clean cut at a 45-degree angle to prevent water from pooling on the wound, which can lead to stem rot.
For flowering plants, monitor the trichomes or resin glands. When 70 percent of these glands have shifted from clear to a milky white or amber hue, the plant has reached peak secondary metabolite production. Post-harvest, immediately lower the temperature of the produce to 40 degrees Fahrenheit to slow down the rate of senescence (cellular aging). This "cold chain" preservation maintains the sugar content and structural integrity of your harvest.
FAQ:
How much light do indoor plants actually need?
Most edible plants require 20 to 30 moles of light per square meter per day. For leafy greens, aim for 12 to 15 moles. Measure this using a PAR meter to ensure your fixtures provide adequate photon density.
What is the best way to prevent root rot?
Ensure your substrate contains at least 20 percent perlite for drainage. Only water when the top two inches of soil feel dry. Root rot is caused by anaerobic conditions that allow Pythium fungi to colonize oxygen-deprived roots.
Can I use tap water for my indoor garden?
Tap water often contains chlorine and fluoride which can damage sensitive root hairs. Let tap water sit in an open container for 24 hours to allow chlorine to dissipate, or use a reverse osmosis system for high-value plants.
How do I know if my grow light is too close?
Observe the top leaves for "bleaching" or curling. If the leaf temperature exceeds the ambient air temperature by more than 5 degrees Fahrenheit, the light is too close. Use an infrared thermometer to check canopy temperatures regularly.