8 Simple Steps to a Budget Indoor Garden
The smell of damp, oxygenated earth and the firm turgor of a hydrated leaf define the success of a controlled environment. Achieving this does not require a commercial greenhouse budget; it requires an understanding of plant physiology and resource management. By following the primary steps to a budget indoor garden, you can transform a sterile living space into a high yield botanical site. Success depends on mastering the microclimate of your home, focusing on light intensity and substrate quality rather than expensive aesthetics.
Establishing a functional indoor garden starts with identifying south facing windows or utilizing affordable LED shop lights that provide the necessary PAR (Photosynthetically Active Radiation). You must prioritize the metabolic needs of the plant over decorative containers. Plastic nursery pots or upcycled food grade buckets provide the same drainage capabilities as expensive ceramic vessels. A budget approach focuses on the rhizosphere, the area of soil surrounding the roots, where the actual chemical work of growth occurs. By understanding cation exchange and nutrient availability, you ensure that every dollar spent on inputs translates directly into biomass.
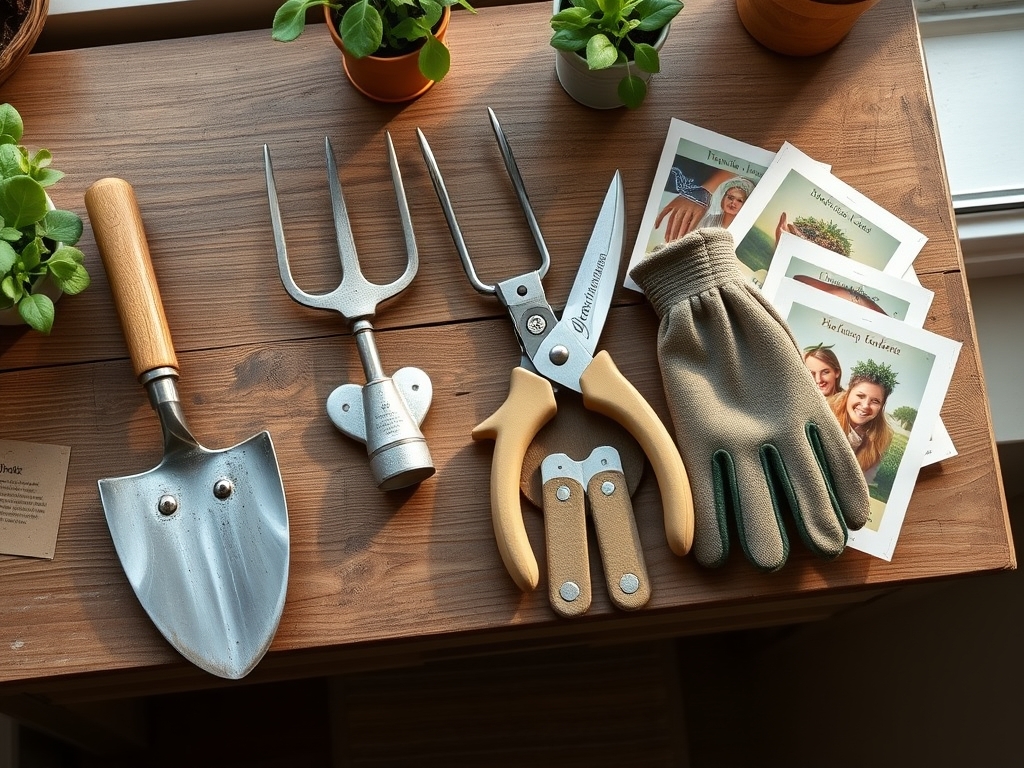
Materials:
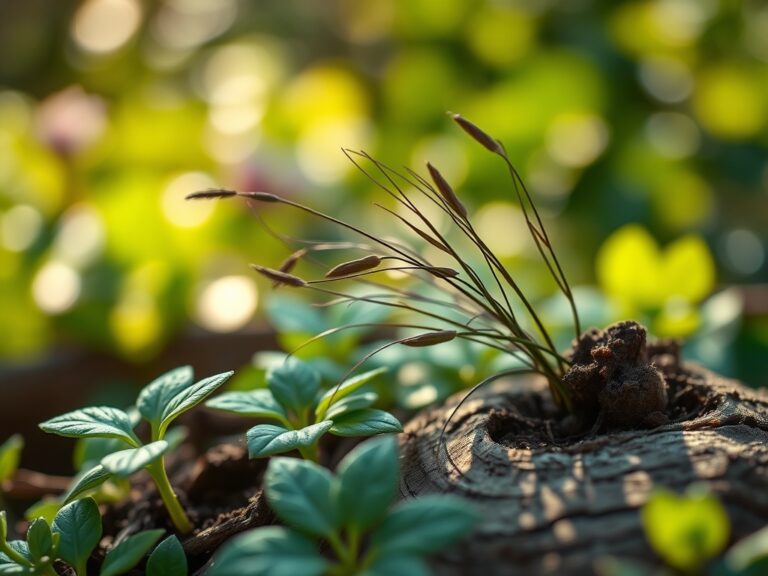
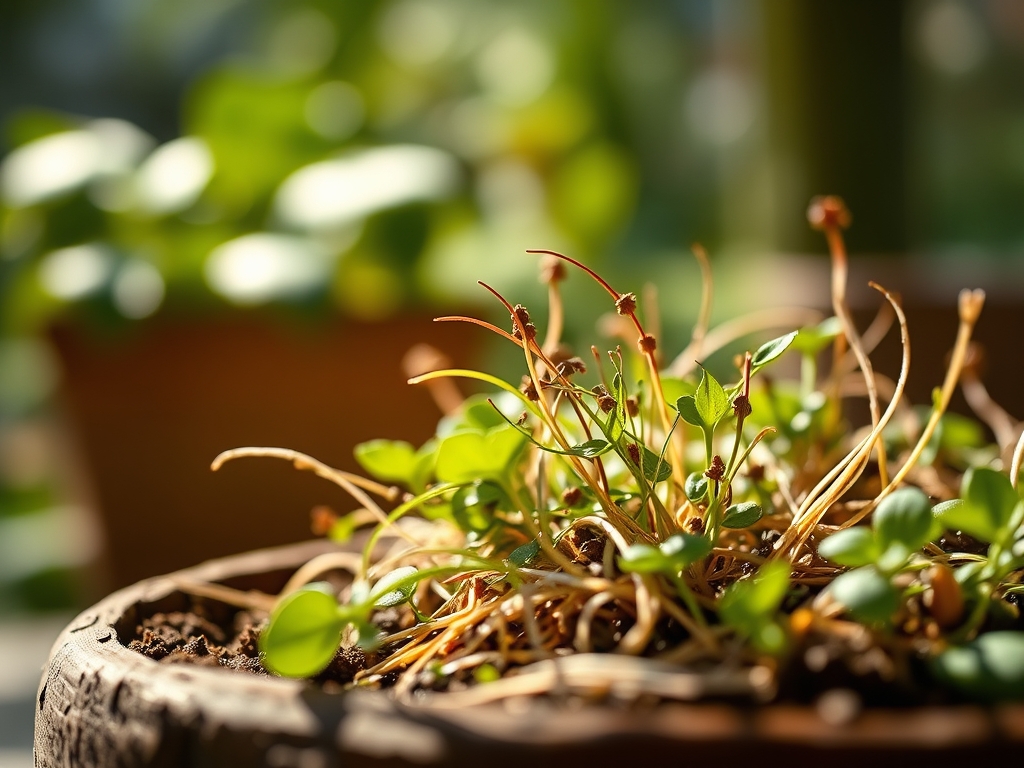
The foundation of your indoor garden is the substrate. Avoid "cheap" topsoil which lacks aeration and often harbors pathogens. Instead, create a custom blend that maintains a pH of 6.0 to 6.8 for optimal nutrient bioavailability. The ideal texture is a friable loam that crumbles under slight pressure but retains enough moisture to support turgidity.
- Substrate Base: Use coconut coir or peat moss. These materials have a high Cation Exchange Capacity (CEC), allowing them to hold onto positively charged nutrients like Potassium and Magnesium.
- Aeration: Mix in 20 percent perlite or coarse sand to prevent compaction.
- Nutrition: For the vegetative stage, utilize a fertilizer with an NPK ratio of 3-1-2. High Nitrogen levels are essential for chlorophyll production. For flowering or fruiting stages, pivot to a 1-3-2 ratio to support reproductive development without excessive leaf elongation.
- Containers: Ensure every pot has at least four drainage holes. Stagnant water at the root zone leads to anaerobic conditions and root rot.
Timing:
While indoor gardening bypasses traditional Hardiness Zones, your local climate still dictates ambient humidity and light duration. In Zones 3 through 6, indoor heating during winter months can drop relative humidity below 20 percent, causing rapid transpiration and leaf scorch. Conversely, in Zones 8 through 10, high ambient humidity may increase the risk of fungal pathogens like powdery mildew.
The "Biological Clock" of your garden is governed by the photoperiod. Most indoor plants require 12 to 16 hours of light to remain in the vegetative stage. When you reduce light exposure to 10 or 12 hours, you trigger senescence or the reproductive phase in many species. Monitor the transition closely; the plant will shift its energy from leaf production to root strengthening and seed development.
Phases:
Sowing
Begin with high quality seeds or cuttings. Place seeds at a depth approximately twice their diameter. Maintain a consistent soil temperature of 65 to 75 degrees Fahrenheit to ensure enzymatic activity triggers germination.
Pro-Tip: Use a heat mat to maintain soil temperature. This accelerates the metabolic rate of the embryo, ensuring a higher germination percentage and preventing seeds from rotting in cold, damp soil.
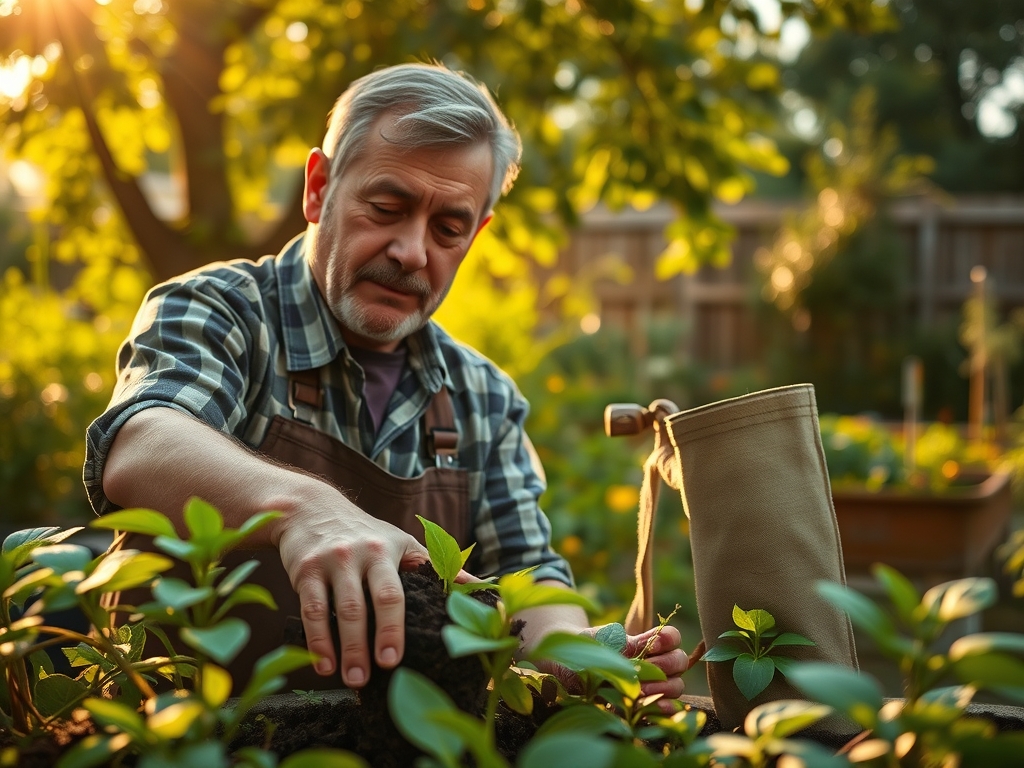
Transplanting
Move seedlings once they have developed their second set of "true leaves." This is the point where the plant moves beyond the energy stored in the seed and begins active photosynthesis. Handle the root ball with extreme care to avoid damaging the fine root hairs.
Pro-Tip: Inoculate the root zone with mycorrhizal fungi during transplanting. This creates a symbiotic relationship where the fungi extend the root system's reach, significantly increasing the uptake of Phosphorus and water.
Establishing
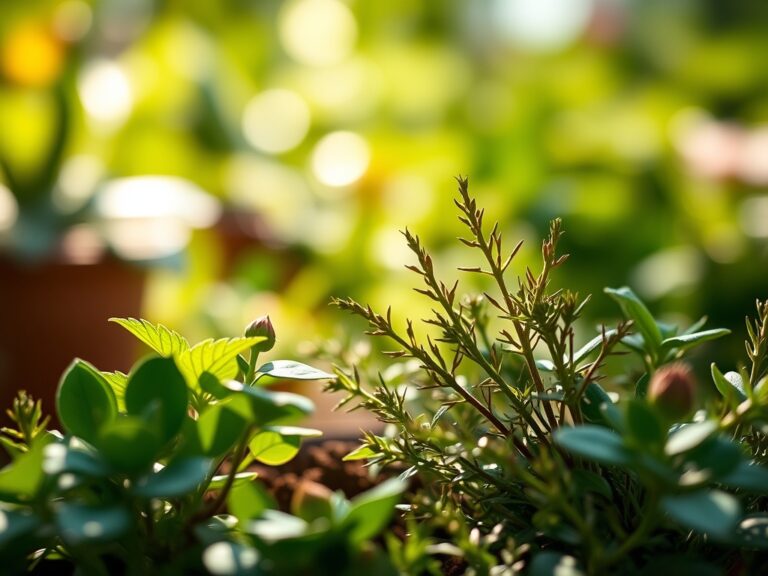
During the first three weeks post transplant, focus on structural integrity. If plants become "leggy," increase light intensity immediately. Use a small fan to create a gentle breeze; this mechanical stress strengthens the cell walls in the stem through a process called thigmomorphogenesis.
Pro-Tip: Pinch off the terminal bud (the very top growth point) to suppress auxin dominance. This encourages lateral branching, resulting in a bushier, more productive plant rather than a single tall, weak stalk.
The Clinic:
Physiological disorders are often mistaken for pests. Analyze the plant's appearance systematically to identify the root cause.
- Symptom: Interveinal chlorosis (yellowing between green leaf veins) on older leaves.
Solution: This indicates a Magnesium deficiency. Apply a solution of one tablespoon of Epsom salts per gallon of water to restore chlorophyll function. - Symptom: Tip burn on new growth.
Solution: This is often a sign of Calcium immobility caused by inconsistent watering or high humidity. Ensure steady airflow to facilitate transpiration. - Symptom: General yellowing (chlorosis) starting at the bottom of the plant.
Solution: Nitrogen deficiency. The plant is "mining" nitrogen from old leaves to support new growth. Apply a high Nitrogen liquid fertilizer (e.g., 5-1-1 fish emulsion). - Symptom: Wilting despite wet soil.
Solution: Root rot caused by Pythium. The roots have become necrotic. Repot in fresh, sterile substrate and reduce watering frequency.
Maintenance:
Precision is the difference between a surviving plant and a thriving one. Use a soil moisture meter to check the root zone before watering. Do not water on a calendar schedule; water when the top 1.5 inches of soil feels dry to the touch.
For pruning, use sharpened bypass pruners to make clean cuts. Ragged tears invite pathogens. If you are managing larger indoor shrubs or woody herbs, a hori-hori knife is invaluable for weeding and root pruning during repotting. Maintain a strict cleaning regimen; remove any fallen or necrotic foliage immediately to prevent the breeding of fungus gnats or the spread of botrytis.
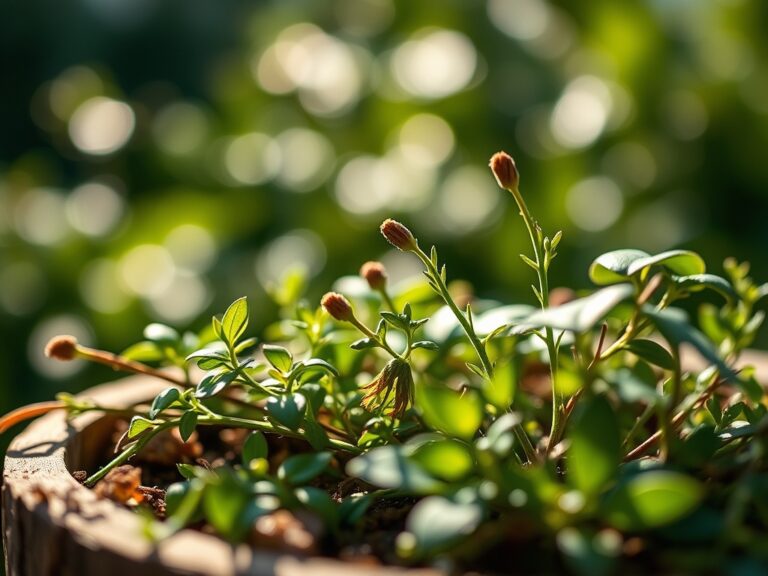
The Yield:
Harvesting at the peak of physiological maturity ensures maximum nutrient density and flavor. For leafy greens, harvest in the early morning when turgor pressure is at its highest. This prevents wilting and extends the shelf life of the produce. For herbs, harvest before the plant begins its reproductive cycle (flowering), as the essential oil concentration drops once the plant focuses on seed production.
Post harvest, submerge greens in cold water (40 degrees Fahrenheit) to remove field heat and maintain crispness. For woody herbs, store stems in a glass of water like a bouquet or wrap them in a damp paper towel and refrigerate.
FAQ:
What is the best budget light for indoor plants?
Full spectrum LED shop lights are the most cost effective option. Ensure they provide at least 2,000 to 3,000 lumens per square foot. Position them 6 to 12 inches above the canopy to prevent light burn while maximizing intensity.
How do I fix "leggy" seedlings on a budget?
Legginess is caused by insufficient light. Move the plants to a brighter location or lower your light source. You can also gently "pot up" the seedling, burying the elongated stem up to the first set of leaves to provide stability.
Can I use garden soil for my indoor pots?
No. Garden soil is too dense and lacks the necessary pore space for indoor containers. It also contains weed seeds and soil borne pathogens. Always use a sterile, soilless mix containing peat or coir for indoor applications.
How often should I fertilize my indoor garden?
During the active growing season, fertilize every two to four weeks using a half strength liquid solution. In winter, as growth slows due to lower light levels, reduce fertilization to once every eight weeks to prevent salt buildup in the substrate.