6 Easy Steps to Start a Neighbor Plant Swap
The smell of damp earth and the crisp snap of a leaf with high turgor pressure define the success of a horticultural project. When you learn how to start a neighbor plant swap, you are not merely trading aesthetics; you are managing a localized genetic exchange of adapted cultivars. Success requires technical precision and a deep understanding of plant physiology to ensure that every division and seedling survives the transition between different garden microclimates and soil profiles.
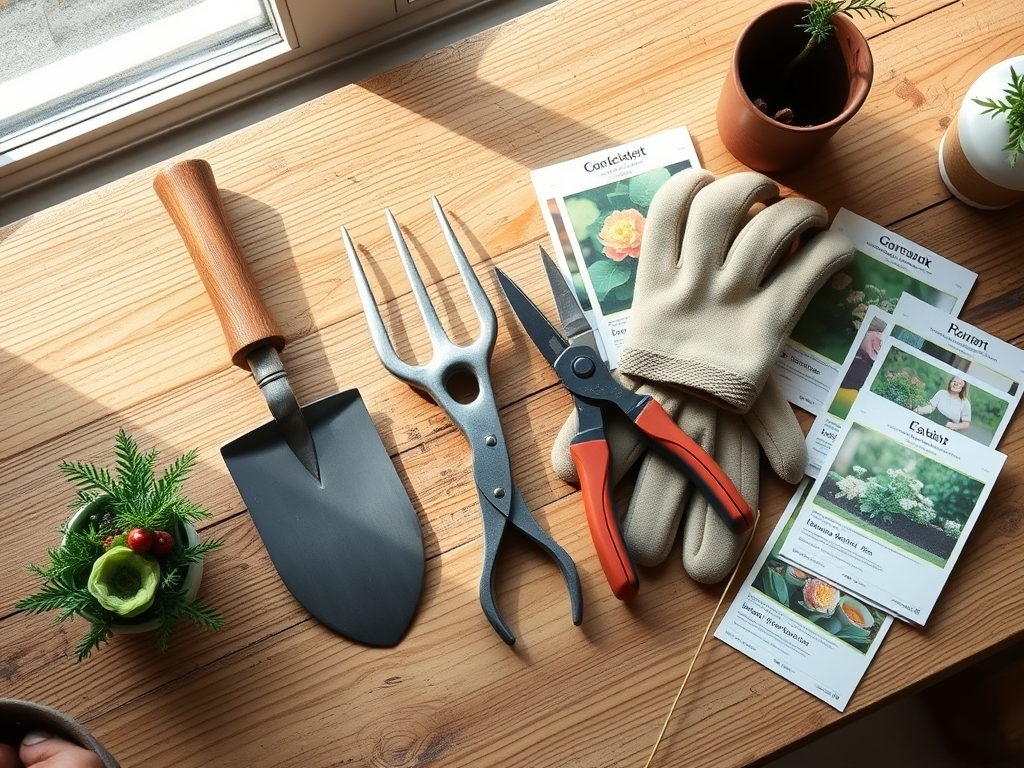
Materials:
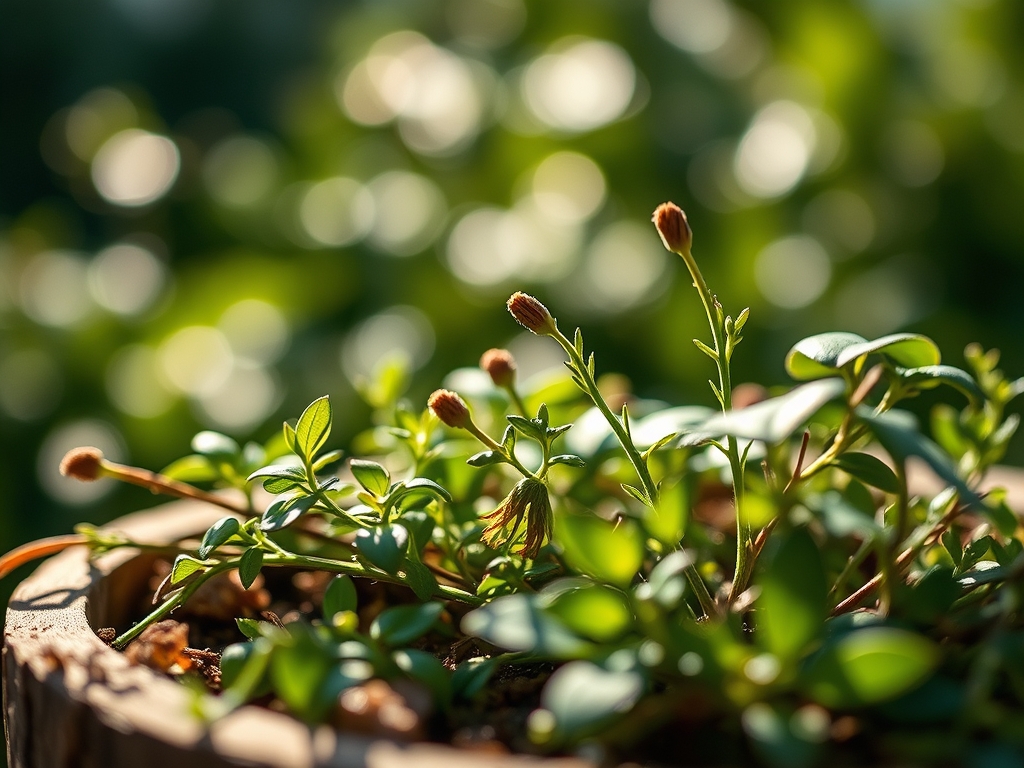
Participants must provide specimens housed in a friable loam substrate. This ideal texture consists of approximately 40 percent sand, 40 percent silt, and 20 percent clay. This ratio ensures optimal pore space for oxygen diffusion to the rhizosphere. Soil pH should be stabilized between **6.0 and 7.0** to maximize nutrient bioavailability.
For vegetative growth, ensure plants have been treated with a balanced NPK ratio of 10-10-10. If trading flowering perennials, a higher phosphorus ratio such as 5-10-5 is required to support ATP production and flower initiation. Every container should be labeled with the specific Cation Exchange Capacity (CEC) of the potting medium if known; a higher CEC indicates a greater ability to hold essential cations like Potassium (K+) and Magnesium (Mg2+).
Timing:
Timing is dictated by the United States Department of Agriculture (USDA) Hardiness Zones. In Zones 5 through 7, the optimal window for a swap occurs between the last spring frost and the summer solstice. This period aligns with the plant's transition from dormancy to the vegetative stage. You must monitor the biological clock of the species involved. For instance, perennials should be divided when they are in the early vegetative stage, typically when shoots are 2 to 4 inches in height.
Avoid swapping during the reproductive stage (flowering), as the plant redirects metabolic energy toward seed production rather than root establishment. Scheduling the event during a period of high relative humidity and overcast skies reduces the risk of transpiration stress. Aim for a soil temperature of at least 55 degrees Fahrenheit to ensure immediate root activity upon transplanting.
Phases:
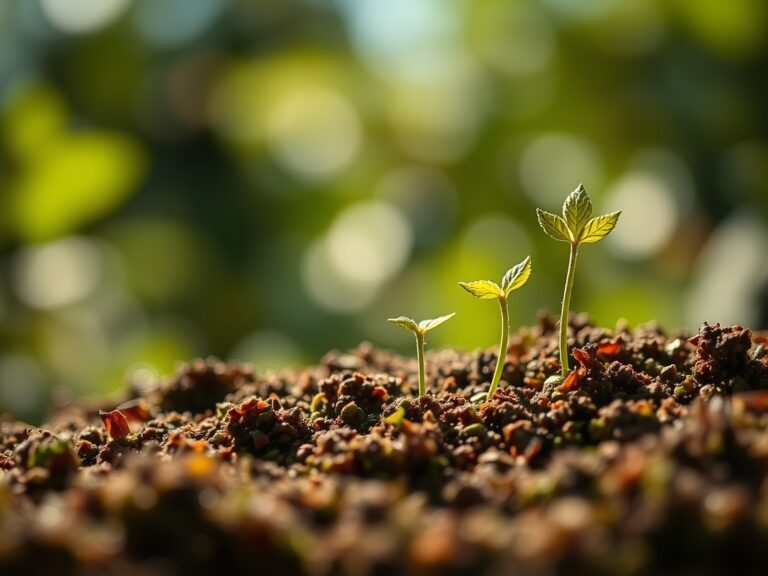
Sowing and Preparation
Prepare the plant for the swap at least 14 days in advance. If starting from seed, use a sterile, soilless medium to prevent damping-off caused by fungal pathogens. Ensure seedlings have at least two sets of true leaves before they are considered viable for trade.
Pro-Tip: Maintain consistent moisture to prevent a loss of turgor pressure. This is vital because cell expansion is driven by the internal hydrostatic pressure against the cell wall; without it, the plant cannot maintain its structural integrity during transport.
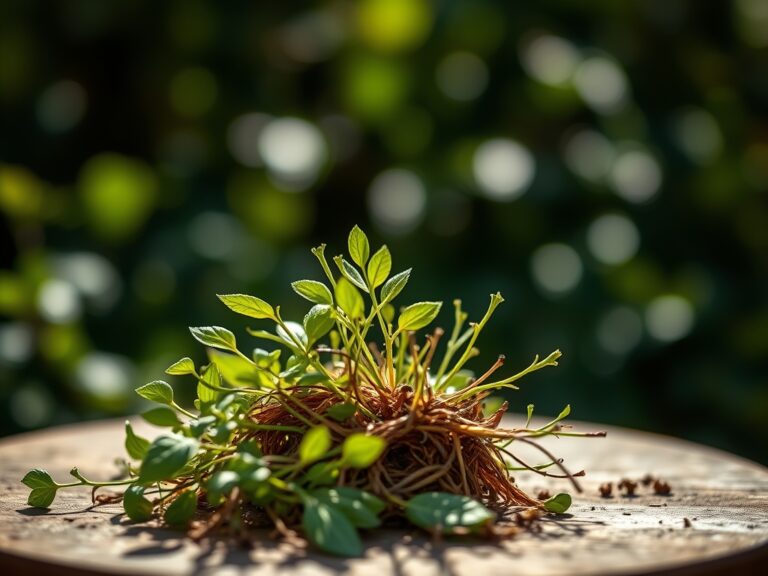
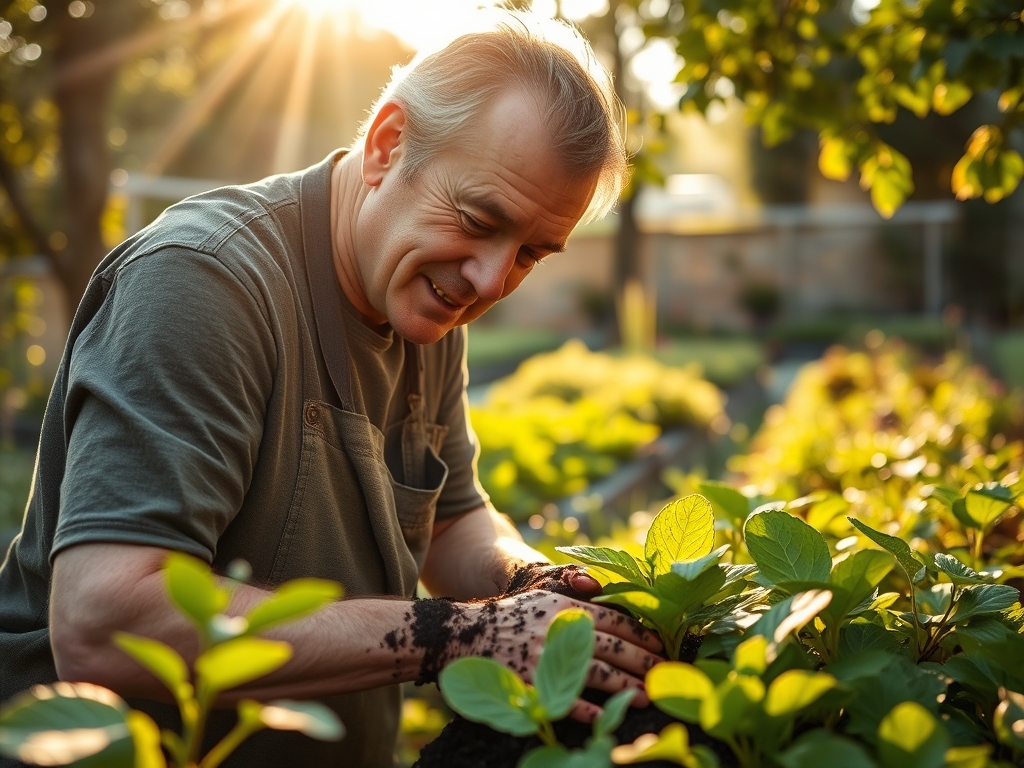
Transplanting and Division
When dividing mature perennials, use a sharp hori-hori knife to make clean cuts through the crown. Each division must contain at least three healthy buds or "eyes" and a substantial portion of the root mass. Immediately place the division into a container with moist substrate to prevent the fine root hairs from desiccation.
Pro-Tip: Minimize exposure to direct sunlight during this phase to suppress auxin degradation. Auxins are phytohormones that regulate root development; keeping the root zone shaded and cool ensures these hormones remain concentrated where they are needed for rapid re-establishment.
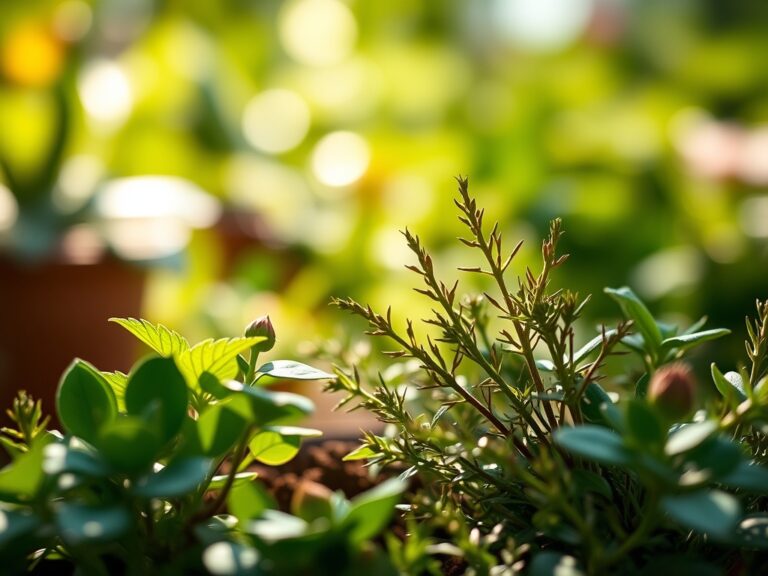
Establishing the Swap
Organize the swap area by light requirements: Full Sun (6+ hours), Partial Shade (3 to 6 hours), and Full Shade (less than 3 hours). Use a soil moisture meter to verify that all hosted plants are at a consistent moisture level of level 3 or 4 on a standard 10-point scale.
Pro-Tip: Encourage participants to include a small amount of "home soil" to promote mycorrhizal symbiosis. These beneficial fungi form a mutualistic relationship with plant roots, significantly increasing the surface area for water and nutrient absorption in the new environment.
The Clinic:
Physiological disorders can compromise a swap. Use the following diagnostic criteria to identify and resolve issues before trading.
Symptom: Interveinal chlorosis on young leaves.
Solution: This indicates an Iron (Fe) deficiency, often caused by a pH above 7.5. Apply a chelated iron foliar spray to bypass soil lock-up.
Symptom: Marginal necrosis (browning of leaf edges) on older leaves.
Solution: This is a classic sign of Potassium (K) deficiency. Supplement the soil with sulfate of potash to restore osmotic regulation within the plant cells.
Symptom: Purpling of the underside of leaves.
Solution: This suggests Phosphorus (P) deficiency, common in cold soils below 50 degrees Fahrenheit. Move the plant to a warmer location to increase P-uptake.
Fix-It for Nitrogen Chlorosis: If the entire leaf turns a uniform pale yellow, the plant is nitrogen-starved. Apply a liquid fertilizer with a 20-0-0 ratio for immediate nitrogen availability to restore chlorophyll production.
Maintenance:
Post-swap care is critical for survival. Instruct recipients to provide exactly 1.5 inches of water per week delivered directly at the drip line. This encourages roots to grow outward and downward rather than circling the base. Use bypass pruners to remove any damaged foliage or spent blooms (deadheading) to redirect energy back into root development.
Monitor the soil daily with a soil moisture meter inserted 4 inches deep. If the plant shows signs of wilting despite moist soil, it may be experiencing transplant shock; provide temporary shade using a 40 percent shade cloth to reduce the transpiration rate until the vascular system recovers.
The Yield:
For swaps involving edible crops or cut flowers, timing the harvest is a matter of cellular chemistry. Harvest leafy greens in the early morning when the dew point is high and the plant is at maximum turgidity. For flowers, cut stems at a 45-degree angle using a hori-hori knife or sharp shears and plunge them immediately into 100-degree Fahrenheit water. This "hardening" process removes air bubbles from the xylem, ensuring the plant remains fresh for the maximum duration. For seeds, wait until the seed head has undergone complete senescence and the moisture content is below 15 percent before collecting.
FAQ:
How do I prevent the spread of soil-borne pathogens?
Always use sterilized pots and fresh, high-quality potting mix. Inspect every plant for signs of root rot or discoloration. Require participants to wash root systems if they are moving plants from areas known for specific soil issues or invasive species.
What is the best way to transport delicate seedlings?
Place seedlings in a shallow tray and secure them with dampened newspaper to maintain humidity. Keep them in a temperature-controlled vehicle between 65 and 75 degrees Fahrenheit. Avoid placing them in a trunk where ethylene gas or heat can accumulate.
How do I label plants for a swap?
Use waterproof markers on plastic stakes. Include the botanical name, USDA Hardiness Zone, preferred soil pH, and NPK requirements. Providing a brief history of the mother plant's performance in local soil helps the new owner manage the specimen effectively.
Can I swap plants that are currently in bloom?
It is not recommended. Flowering requires significant metabolic energy. If you must swap a blooming plant, prune the flowers off using bypass pruners before the event. This forces the plant to prioritize root establishment and vegetative recovery in its new location.