5 Best Community Plant Events
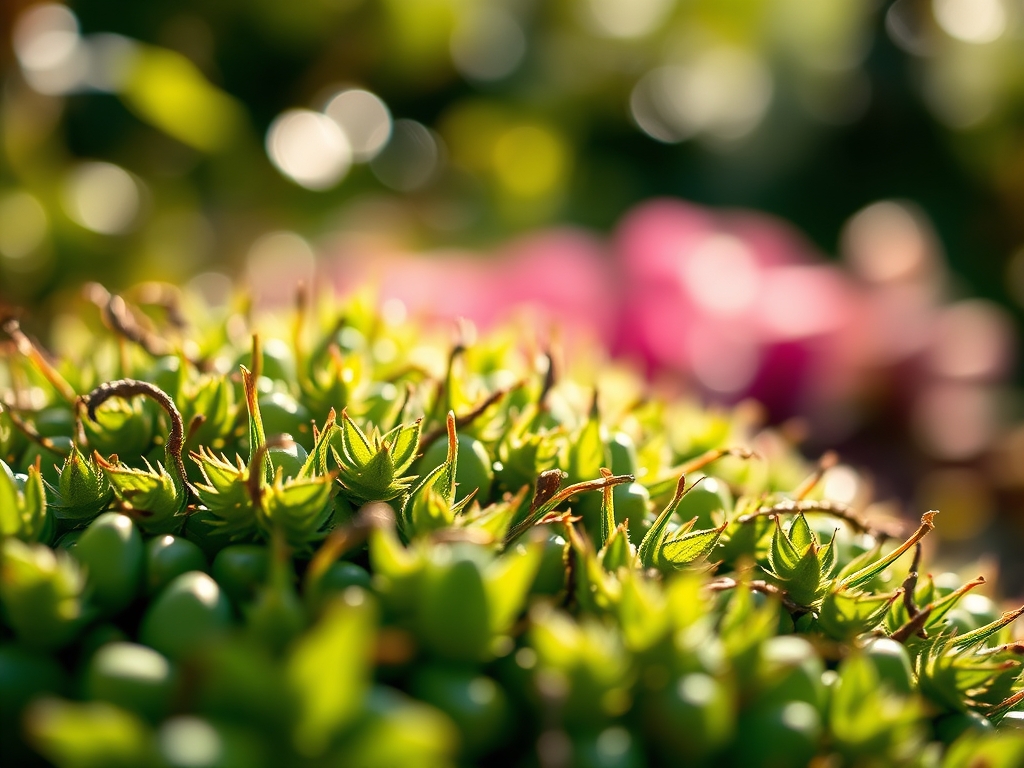
Damp earth releases geosmin as the spade cuts through the rhizosphere; the scent signals a transition from dormancy to active growth. A healthy leaf maintains high turgor pressure; its cells are rigid with water and nutrient transport. Participating in the best community plant events requires more than a casual interest; it demands technical precision and an understanding of botanical systems. These gatherings serve as critical hubs for exchanging rare cultivars and localized horticultural data. Success at a high-level plant swap or botanical auction depends on the physiological state of the specimens you bring and the scientific rigor of your preparation. Whether you are navigating a massive seed exchange or a specialized orchid show; the goal remains the same: the acquisition and preservation of superior genetic material. You must evaluate every specimen by its node spacing; stem diameter; and the absence of necrotic tissue. A community event is a laboratory in the field; where the currency is biological vigor and the data is shared through years of trial in specific microclimates.
Materials:
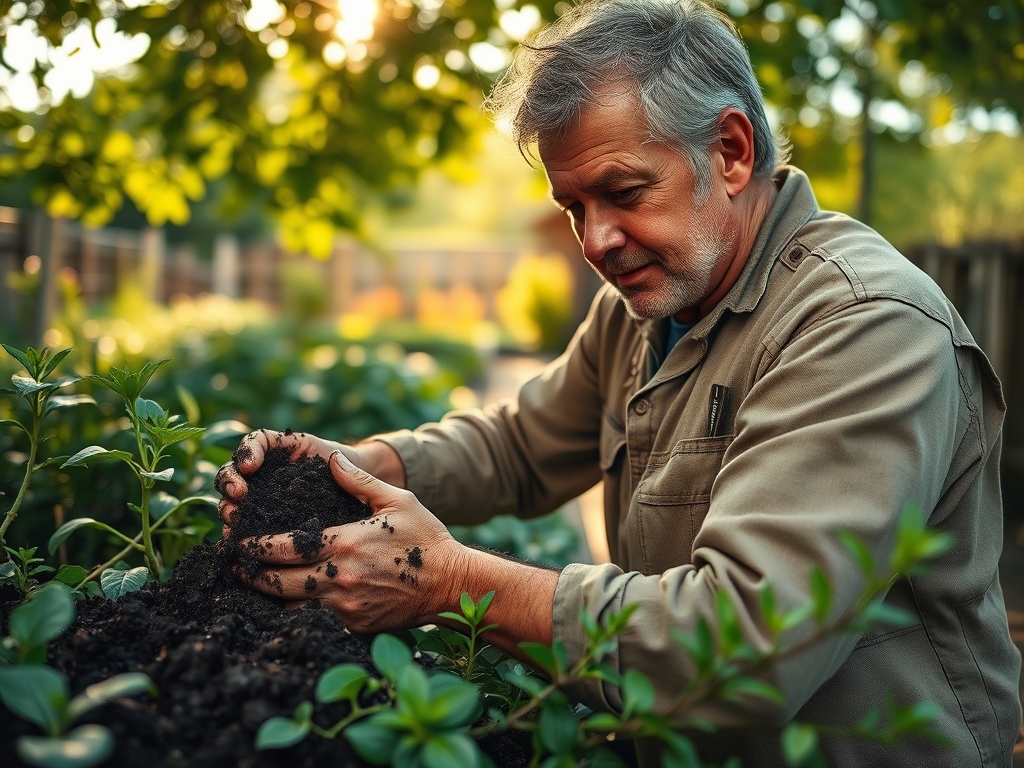
Substrate quality determines the Cation Exchange Capacity (CEC); which is the soil’s ability to hold and release essential nutrients like potassium; calcium; and magnesium. For most container-based community swaps; use a **friable loam** consisting of 40 percent sand; 40 percent silt; and 20 percent clay. This texture ensures adequate macropores for oxygen diffusion to the root zone.
Target a soil pH between 6.2 and 6.8 for general nursery stock to maximize nutrient bioavailability. Specific NPK (Nitrogen-Phosphorus-Potassium) ratios should be tailored to the plant's current life cycle. Use a 10-10-10 balanced fertilizer for general maintenance. For flowering specimens destined for exhibition; shift to a 5-10-5 ratio to prioritize phosphorus for floral induction without triggering excessive vegetative elongation. Ensure the potting medium has a high organic matter content to buffer against rapid pH fluctuations during transport to the event.
Timing:
Hardiness Zones 5 through 9 represent the primary corridor for the best community plant events in North America. Timing is dictated by the "Biological Clock;" or the transition from vegetative growth to reproductive stages. Most spring swaps occur 14 to 21 days after the last predicted frost when soil temperatures stabilize at 60 degrees Fahrenheit. This window ensures that transplants are not shocked by lingering cold fronts.
Autumn events focus on the onset of senescence; where plants move nutrients from leaves to root systems. These should be scheduled 6 to 8 weeks before the first hard freeze to allow for root establishment. Photoperiodism also plays a role; as decreasing day length triggers the production of abscisic acid; signaling the plant to prepare for dormancy. Monitoring these windows ensures that the material traded is physiologically prepared for the stress of relocation.
Phases:
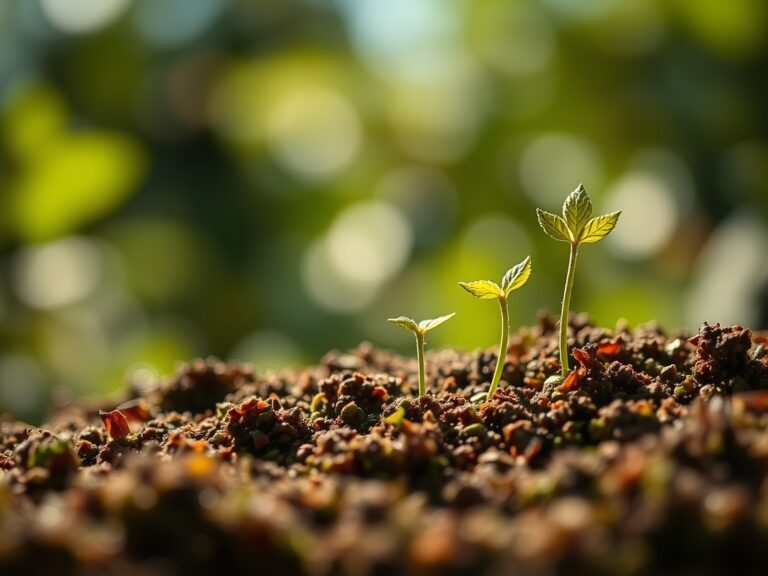
Sowing
Begin seeds in a sterile medium at a depth of two to three times the seed diameter. Maintain a consistent temperature of 70 to 75 degrees Fahrenheit for optimal germination rates. Use bottom heat to stimulate cellular division in the radicle.
Pro-Tip: Maintain high humidity to prevent the seed coat from hardening; which allows the plumule to emerge without mechanical resistance. This process is driven by turgor pressure; where internal water force breaks the seed hull.
Transplanting
When the second set of true leaves appears; move the seedling to a larger vessel. Handle the plant only by the cotyledons or the root ball to avoid crushing the vascular tissues in the stem. Ensure the new substrate is pre-moistened to prevent "wicking" moisture away from the delicate root hairs.
Pro-Tip: Inoculate the root zone with mycorrhizal fungi during this phase. This symbiotic relationship expands the surface area of the root system; increasing the plant's ability to uptake phosphorus and water in competitive community garden environments.
Establishing
Place the plants in a location with controlled light exposure to begin the hardening-off process. Gradually increase UV exposure over 7 to 10 days. Monitor the leaf angle; a drooping leaf indicates a loss of turgor and potential xylem collapse.
Pro-Tip: Pinch back the terminal bud to stimulate auxin suppression. By removing the apical meristem; you encourage lateral branching and a more robust; compact architecture; which is highly valued at competitive plant exchanges.
The Clinic:
Physiological disorders often mimic pathogen attacks but are frequently rooted in environmental stress or nutrient imbalances.
-
Symptom: Interveinal chlorosis (yellowing between green veins) on young leaves.
-
Solution: This indicates an Iron deficiency. Apply a chelated iron foliar spray or adjust soil pH to below 7.0 to unlock existing iron stores.
-
Symptom: Leaf tip burn or marginal necrosis.
-
Solution: This is often caused by excessive soluble salts in the substrate. Flush the container with three times the volume of water to leach out concentrated fertilizers.
-
Symptom: Purplish tint on the underside of older leaves.
-
Solution: This is a classic Phosphorus deficiency. Apply a high-phosphorus bone meal or liquid 0-10-0 supplement to restore energy transfer (ATP) within the plant.
-
Fix-It for Nitrogen Chlorosis: If the entire plant turns pale green or yellow starting from the bottom; apply a high-nitrogen fish emulsion (5-1-1). Nitrogen is mobile; the plant is scavenging it from old growth to support new meristems.
Maintenance:
Precision maintenance is the hallmark of a master horticulturist. Provide exactly 1.5 inches of water per week; delivered directly to the drip line to avoid wetting the foliage; which can invite fungal spores. Use a soil moisture meter to verify that the moisture has penetrated at least 6 inches into the soil profile.
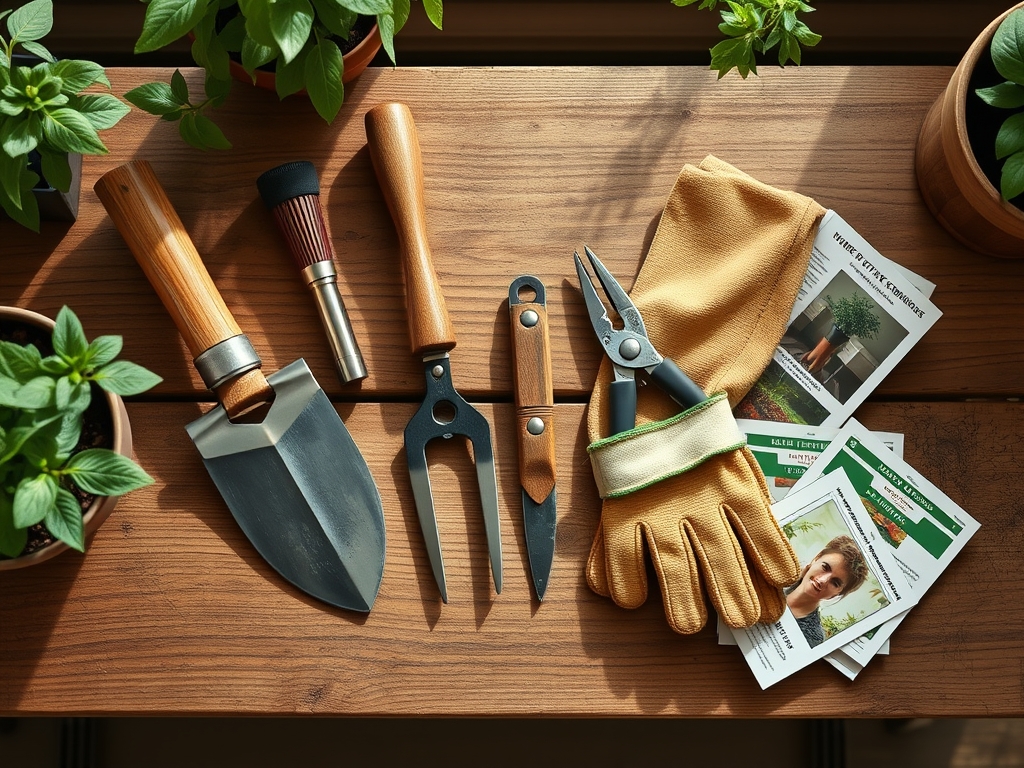
When pruning; use bypass pruners for clean; surgical cuts that minimize tissue trauma. For dividing perennials at a community event; a hori-hori knife is the standard tool for slicing through dense rhizomes while preserving the integrity of the root crown. Always disinfect tools with a 70 percent isopropyl alcohol solution between plants to prevent the mechanical transmission of pathogens.
The Yield:
Harvesting for a community event requires timing the "peak vigor" of the specimen. For flowering plants; harvest when the first bud is in the "puffy" stage but not yet fully open; this preserves the plant's energy for the recipient. For edible exchanges; harvest leafy greens in the pre-dawn hours when sugar concentrations and turgor are at their highest.
Post-harvest handling is critical. Immediately submerge the root ball in a slurry of water and kelp extract to reduce transplant shock. Keep the specimens in a shaded; cool environment (approximately 55 to 60 degrees Fahrenheit) to slow the metabolic rate and prevent rapid transpiration. This ensures "day-one" freshness and a high survival rate once the plant is introduced to its new environment.
FAQ:
What is the best way to transport plants to an event?
Secure plants in crates to prevent shifting. Cover foliage with a light; breathable cloth to reduce transpiration rates caused by wind during transit. Maintain a stable temperature between 60 and 75 degrees Fahrenheit to avoid metabolic shock.
How do I check for pests at a swap?
Inspect the undersides of leaves and the leaf axils for mechanical damage or residues. Use a 10x hand lens to look for microscopic movement. Healthy specimens should have uniform color and firm; upright stems without localized wilting.
Can I bring plants in garden soil?
It is discouraged. Garden soil is heavy and may contain pathogens or weed seeds. Use a soilless peat or coco-coir based mix to ensure the specimen is lightweight; sterile; and has optimal drainage for the duration of the event.
What information should I include on the plant label?
Include the botanical name; cultivar; date of last fertilization; and preferred USDA Hardiness Zone. Note the specific light requirements (e.g., "Full Sun; 6+ hours") and the soil pH where the plant was previously thriving to assist the new owner.