9 Expert Ways How to Take a Botanical Garden Tour
The scent of damp, decomposing mulch and the high turgor pressure of a waxy Magnolia leaf define the professional landscape. Learning how to take a botanical garden tour requires moving beyond casual observation to a systematic analysis of plant physiology and spatial design. You are not there to look at flowers; you are there to audit a living laboratory where soil chemistry and light physics dictate every biological outcome. A successful tour involves dissecting the relationship between the rhizosphere and the canopy.
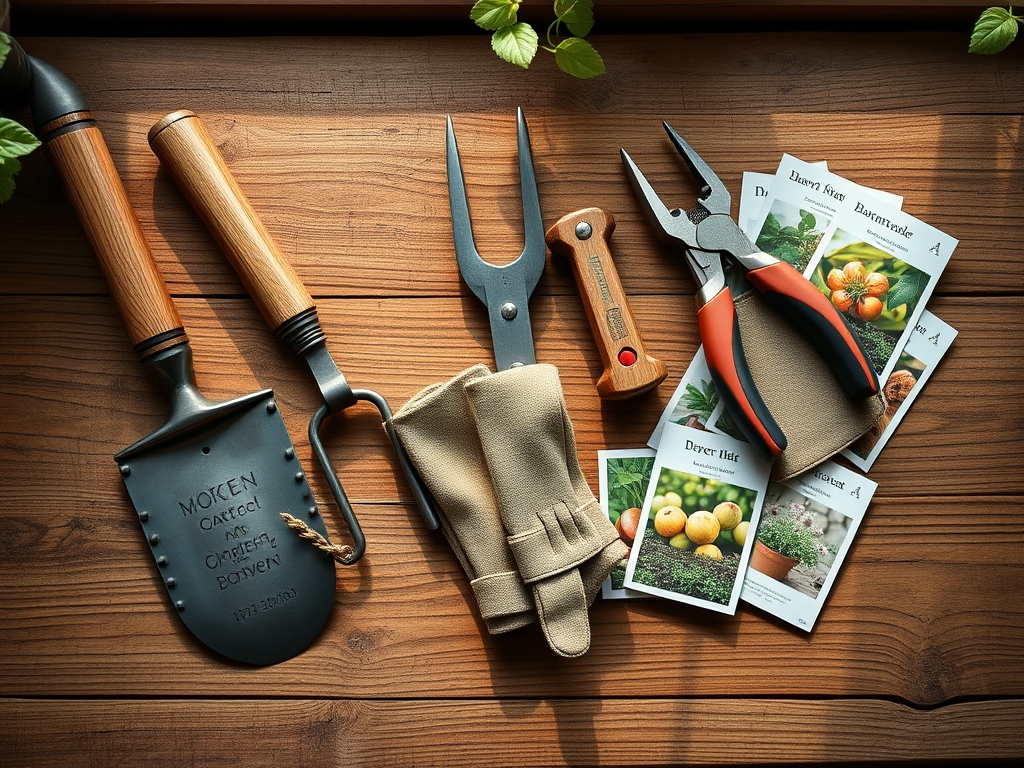
Materials:
The foundation of any elite botanical collection is the substrate. Most managed gardens maintain a friable loam with a Cation Exchange Capacity (CEC) above 20 meq/100g. This ensures the soil can hold essential cations like calcium and magnesium.
- Acidophilic Collections (Azaleas, Blueberries): These require a soil pH between 4.5 and 5.5. The NPK ratio is typically a 4-3-3 with sulfur to maintain acidity.
- General Ornamentals: These thrive in a pH of 6.2 to 6.8. A balanced 10-10-10 slow-release fertilizer is the standard for maintaining steady growth without salt buildup.
- Arid/Xeric Zones: These require high-drainage substrates with at least 40 percent inorganic grit. The NPK focus shifts to 5-10-15 to prioritize root development and water retention over lush foliage.
Timing:
Botanical garden tours must be synchronized with the local frost-date windows and Hardiness Zones. In USDA Zones 5 through 7, the most critical transition occurs during the spring vernal equinox when soil temperatures reach a consistent 55 degrees Fahrenheit. This marks the shift from dormancy to the vegetative stage.
The "Biological Clock" of a garden is governed by the photoperiod. Short-day plants begin their reproductive stage as nights lengthen, while long-day plants require at least 14 hours of light to trigger flowering. To see peak physiological activity, visit during the transition from the vegetative stage to the reproductive stage, typically 45 to 60 days after the last killing frost.
Phases:

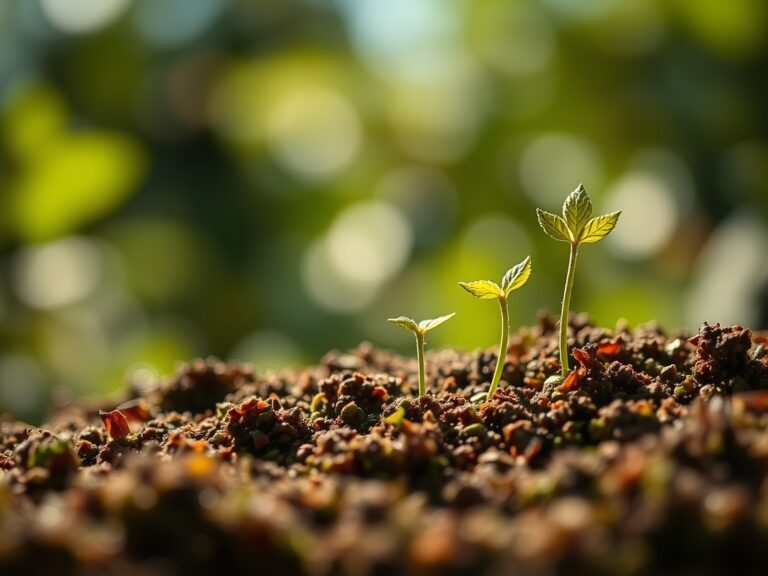
Sowing and Germination
Observe the nursery sections of the garden. Professionals often use bottom heat at 70 degrees Fahrenheit to increase metabolic rates in seeds. This stage is about overcoming seed coat dormancy through scarification or stratification.
Pro-Tip: Watch for uniform emergence. This is driven by photoblastism, where specific light wavelengths trigger the hormonal shift from gibberellins to abscisic acid, ensuring the seedling has sufficient energy to reach the surface.
Transplanting and Hardening Off
When touring the transition zones, look for plants recently moved from greenhouses to the field. These specimens undergo a "hardening" process where the cuticle thickens to prevent desiccation.
Pro-Tip: Notice how gardeners prune the terminal buds of young plants. This utilizes auxin suppression; by removing the apical meristem, they force lateral bud development, resulting in a bushier, structurally sound plant.
Establishing the Rhizosphere
As you walk the perennial borders, focus on the base of the plants. An established plant has a symbiotic relationship with mycorrhizal fungi. This fungal network extends the root system's reach, increasing phosphorus uptake by up to 300 percent.
Pro-Tip: Look for mulch layers kept 3 inches away from the trunk. This prevents crown rot and ensures gas exchange remains high in the root zone, supporting aerobic microbial activity.
The Clinic:
A botanical tour is an opportunity to diagnose physiological disorders. If a plant looks substandard, analyze the symptoms through a chemical lens.
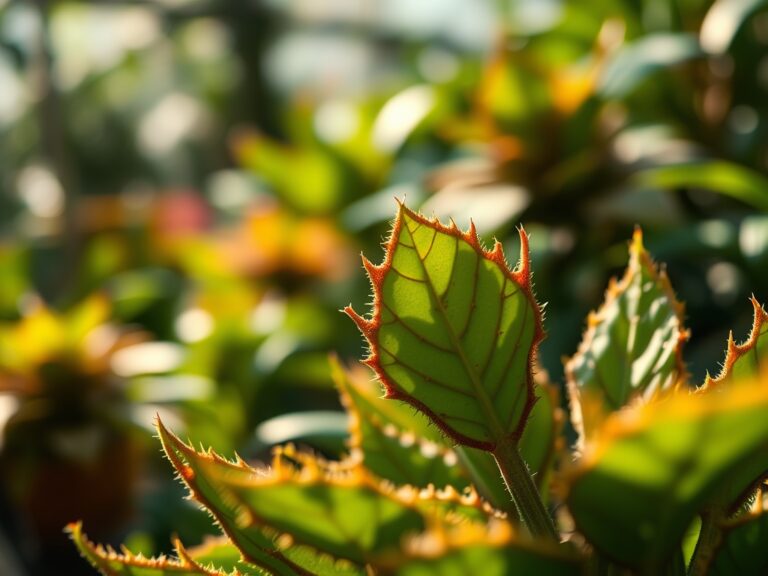
- Symptom: Interveinal Chlorosis. The veins remain green while the leaf tissue turns yellow.
- Diagnosis: Iron deficiency, often caused by a pH above 7.2.
- Fix-It: Apply chelated iron or lower the pH using elemental sulfur.
- Symptom: Leaf Tip Burn. Brown, crispy edges on new growth.
- Diagnosis: High salt index in the soil or inconsistent moisture.
- Fix-It: Leach the soil with 3 inches of water to flush out excess fertilizer salts.
- Symptom: Purpling of Lower Leaves.
- Diagnosis: Phosphorus deficiency, common in cold soils below 50 degrees Fahrenheit.
- Fix-It: Apply a high-phosphate fertilizer (0-20-0) once soil temperatures rise.
- Symptom: Stunted Growth with Dark Green Foliage.
- Diagnosis: Phosphorus toxicity or extreme compaction.
- Fix-It: Aerate the soil to a depth of 8 inches to restore oxygen levels to the roots.
Maintenance:
Precision maintenance is what separates a botanical garden from a backyard. Professional curators utilize a soil moisture meter daily to ensure the root zone stays between 60 and 80 percent field capacity. Most woody ornamentals require exactly 1.5 inches of water per week delivered at the drip line, not the trunk.
Pruning is done with surgical precision using bypass pruners for clean vascular cuts that heal quickly. For invasive root management or deep weeding, the hori-hori knife is the standard tool. It allows for the extraction of taproots without disrupting the surrounding soil structure or the delicate fungal hyphae.
The Yield:
In the edible or cutting sections of a botanical garden, the yield is a result of precise timing. Harvesting occurs when sugar levels (Brix) are at their peak, usually in the early morning when turgor pressure is highest.
To maintain "day-one" freshness, stems should be cut at a 45-degree angle and immediately submerged in water at 100 degrees Fahrenheit. This heat reduces the viscosity of the water, allowing for faster uptake through the xylem. For fruits, the "abscission layer" at the stem indicates biological ripeness; if the fruit does not release with a gentle twist, the ethylene levels are insufficient.
FAQ:
What is the best time of day for a tour?
Arrive at sunrise. This is when turgor pressure is at its maximum, and you can observe "guttation," where plants excrete excess water through leaf margins. It provides the most accurate view of plant health before midday transpiration stress.
How do I identify nutrient deficiencies quickly?
Check the old growth versus the new growth. If the bottom leaves are yellowing, it is likely a mobile nutrient deficiency like Nitrogen. If the new tips are distorted, it is an immobile nutrient issue like Calcium.
What should I look for in soil quality?
Observe the soil color and structure. Dark, crumbly soil indicates high organic matter and a healthy Cation Exchange Capacity. If you see water pooling on the surface, the soil likely has high clay content or severe compaction.
Why are some plants labeled with zones?
Labels indicate the USDA Hardiness Zone, which is based on the average annual minimum winter temperature. This tells you if the plant's cellular structure can survive local freezing without the water in its vacuoles crystallizing and rupturing.
How do professionals manage soil pH?
They use elemental sulfur to lower pH for acid-loving plants and dolomitic lime to raise it. They test the soil every six months because irrigation water and nitrogen fertilizers naturally shift the pH over time.