6 Easy Ways How to Grow Desert House Plants
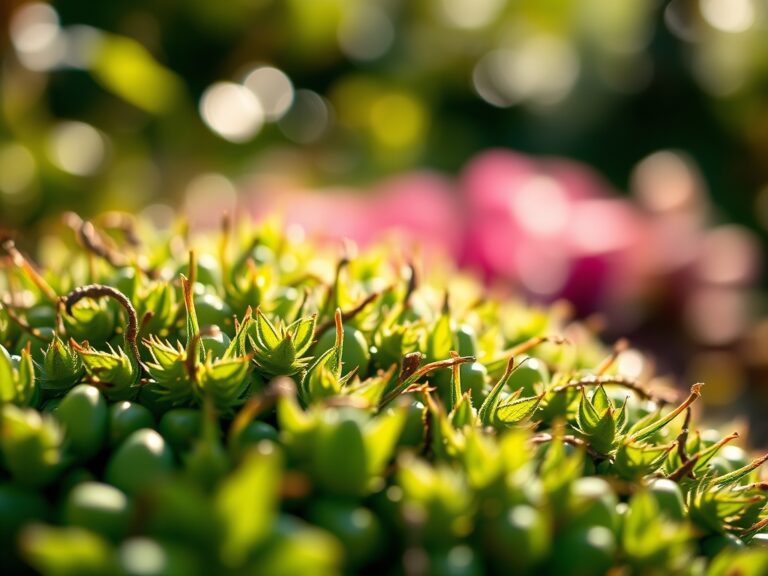
Healthy desert flora is defined by turgor pressure; the rigid cellular structure of a succulent leaf should resist a firm squeeze without yielding. Mastering how to grow desert house plants requires a departure from standard indoor gardening logic. These species have evolved in high-irradiance, low-moisture environments where nutrient availability is sparse and drainage is instantaneous. To succeed, the grower must replicate the harsh cycle of saturation and drought. This process begins with understanding the rhizosphere. Desert roots are often shallow but expansive; they are designed to capture surface moisture before it evaporates. If you provide a heavy, peat-based soil, you induce root rot within weeks. Success is measured by the color of the epidermis and the strength of the spines. A healthy plant exhibits a deep, consistent hue and firm skin. When you master the balance of light intensity and substrate porosity, these plants transform from static decor into thriving biological specimens.
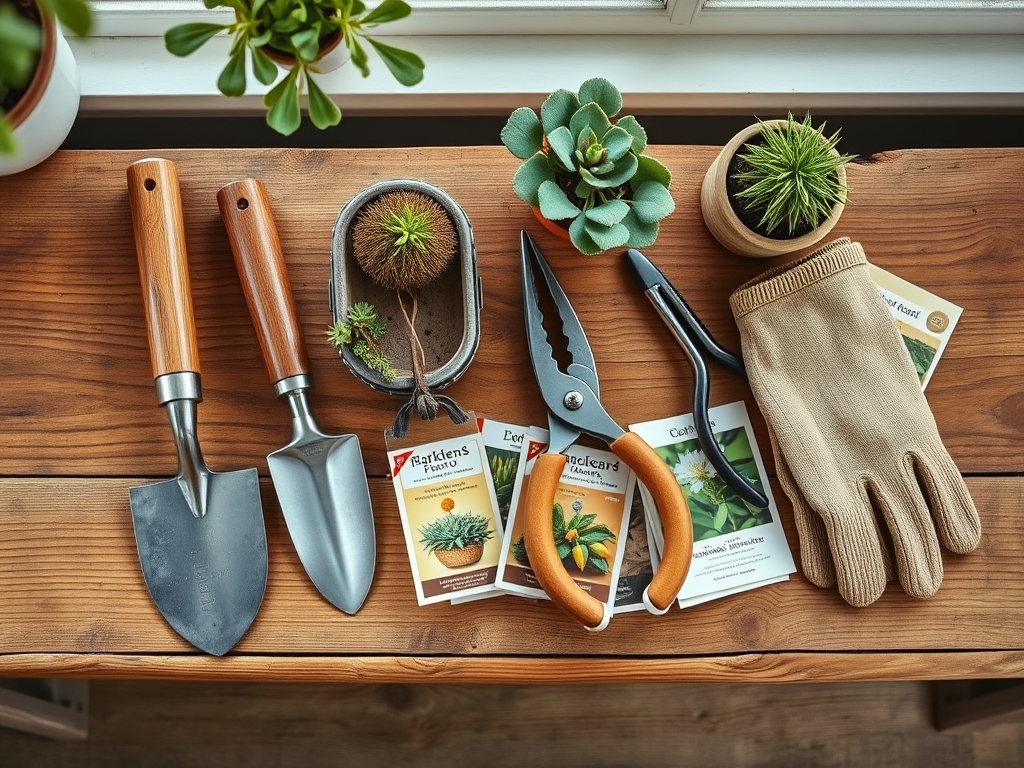
Materials:
The substrate for desert species must be a **friable loam** with high porosity and low organic matter. Aim for a **soil pH between 6.0 and 7.5**. A standard mix should consist of **40 percent coarse poultry grit or perlite**, **40 percent composted bark**, and **20 percent sandy loam**. This ratio ensures a low **Cation Exchange Capacity (CEC)**, preventing the buildup of salts that can burn sensitive root hairs.
Nutrient requirements are specific. During the active growth phase, use a fertilizer with an NPK ratio of 5-10-10 or 10-15-10. The higher phosphorus (P) and potassium (K) levels support root development and cellular wall integrity rather than excessive, weak vegetative growth. Avoid high nitrogen (N) formulas; they cause rapid, "leggy" growth that cannot support its own weight. Use a soil moisture meter with a ten-inch probe to ensure the core of the root ball is dry before adding supplemental nutrients.
Timing:
Desert house plants generally follow a strict biological clock dictated by the photoperiod. Most species enter a dormant state during the winter months when light duration drops below 10 hours per day. While these plants are kept indoors, they still respond to the external solar cycle. For those in Hardiness Zones 8 through 11, many desert plants can be moved outdoors once the minimum overnight temperature consistently stays above 55 degrees Fahrenheit.
The transition from the vegetative stage to the reproductive stage (flowering) is usually triggered by a period of "cool-dry" dormancy. Between November and February, reduce water by 70 percent and maintain ambient temperatures between 50 and 60 degrees Fahrenheit. This stressor signals the plant to conserve energy for spring bud development. If this cycle is ignored, the plant will remain in a perpetual vegetative state, eventually leading to senescence without ever producing seeds or flowers.
Phases:

Sowing and Germination
When starting from seed, use a shallow nursery tray filled with a sterilized, fine-grit mix. Maintain a consistent temperature of 75 to 85 degrees Fahrenheit using a bottom-heat mat. Surface-sow the seeds, as many desert species require light to trigger germination. Keep the humidity high until the first true leaves appear, then immediately remove the cover to prevent fungal pathogens.
Pro-Tip: High light intensity during early germination prevents etiolation. This is a biological response where the plant elongates its stem in search of light; a process driven by auxin concentration in the shaded side of the stem.
Transplanting
Move seedlings or store-bought plants when they have outgrown their current vessel by no more than one inch in diameter. Use a hori-hori knife to gently loosen the root ball. If the roots are "pot-bound," make three shallow vertical cuts to encourage outward growth. Ensure the plant is situated at the same depth as its previous container to avoid stem rot.
Pro-Tip: After transplanting, wait 7 to 10 days before watering. This allows any microscopic root tears to callous over, preventing soil-borne bacteria from entering the plant's vascular system.
Establishing
The establishment phase lasts roughly one full growing season. During this time, the plant focuses on building a robust root system. Position the plant in a south-facing window where it receives at least 6 to 8 hours of direct solar radiation. Monitor the "bloom" on the leaves; a waxy coating that acts as a natural sunscreen.
Pro-Tip: Desert plants often engage in CAM photosynthesis (Crassulacean Acid Metabolism). They keep their stomata closed during the day to prevent water loss and open them at night to exchange gases. Do not mist these plants during the day, as it disrupts this gas exchange.
The Clinic:
Symptom: Yellowing from the bottom up (Nitrogen Chlorosis)
Solution: This indicates a lack of mobile nutrients. Apply a liquid kelp or balanced fertilizer at half-strength. Ensure the soil pH is not above 8.0, as high alkalinity locks out nutrient uptake.
Symptom: Soft, blackened base (Root Rot/Pythium)
Solution: This is a physiological disorder caused by anaerobic conditions. Remove the plant from the pot, excise all mushy roots with sterilized bypass pruners, and repot in a dry, high-grit substrate.
Symptom: Stretching and pale color (Etiolation)
Solution: The plant is light-starved. Gradually move the specimen to a higher-lumen environment. Note: The stretched portion will not shrink; you must prune it back to encourage compact new growth.
Symptom: White, cotton-like clusters (Mealybugs)
Solution: These are sap-sucking insects. Treat by dabbing individual clusters with a cotton swab soaked in 70 percent isopropyl alcohol. For larger infestations, use an insecticidal soap, but test a small area first to ensure the plant's cuticle isn't damaged.
Maintenance:
Precision is the difference between a surviving plant and a thriving one. For most desert house plants, apply 1.5 inches of water every two to three weeks during the summer. Water should be applied at the drip line (the edge of the pot) rather than directly against the stem to prevent crown rot. Always use room-temperature water to avoid shocking the root system.
Pruning is rarely necessary but should be done with bypass pruners to ensure clean cuts. Remove any dead or necrotic tissue immediately to prevent it from becoming a vector for disease. If you are working with spined species, use heavy leather gloves or tongs. Every six months, use a soil moisture meter to check for "dry pockets" in the soil where the substrate may have become hydrophobic. If this occurs, bottom-water the plant by sitting the pot in a tray of water for 30 minutes to rehydrate the peat components.
The Yield:
While most desert house plants are grown for foliage, some species like Aloe Vera or Opuntia provide harvests. For Aloe, harvest the outermost, mature leaves first. Use a sharp knife to cut as close to the base as possible. To maintain "day-one" freshness, wrap the cut end in foil and refrigerate, or extract the gel and freeze it in silicone molds. For flowering species, deadhead the spent blooms to prevent the plant from diverting energy into seed production, which extends the overall flowering period.
FAQ:
How often should I water desert house plants?
Water only when the substrate is dry to a depth of three inches. In summer, this is usually every 14 to 21 days. In winter, reduce frequency to once every six to eight weeks.
What is the best light for desert plants?
A south-facing window providing 6 to 8 hours of direct sunlight is ideal. If using artificial lights, ensure a minimum of 2,000 to 3,000 foot-candles at the leaf surface for at least 12 hours daily.
Why is my cactus turning brown and crispy?
This is often sunscald. While they love light, a sudden move from a dark corner to direct sun can burn the epidermis. Gradually acclimate plants to higher light levels over a two-week period.
Do desert house plants need humidity?
No. Most desert species thrive in 10 to 30 percent humidity. High indoor humidity, especially in kitchens or bathrooms, can lead to fungal infections and "damping off" in younger specimens.