9 Careful Steps to Stack Gabion Baskets
Damp earth smells of geosmin and microbial activity when the spade first breaks the crust. A healthy plant maintains high turgor pressure; its cells are rigid with water; yet the structural integrity of a landscape often requires more than just biological strength. When terrain shifts or erosion threatens the rhizosphere, the installation of gravity retaining walls becomes necessary. Mastering the steps to stack gabion baskets ensures a stable foundation for your botanical collection. This process demands mechanical precision and an understanding of how inorganic structures interface with living soil systems. We are not merely moving rocks; we are engineering a permanent border that facilitates drainage while preventing the compaction of delicate root zones.
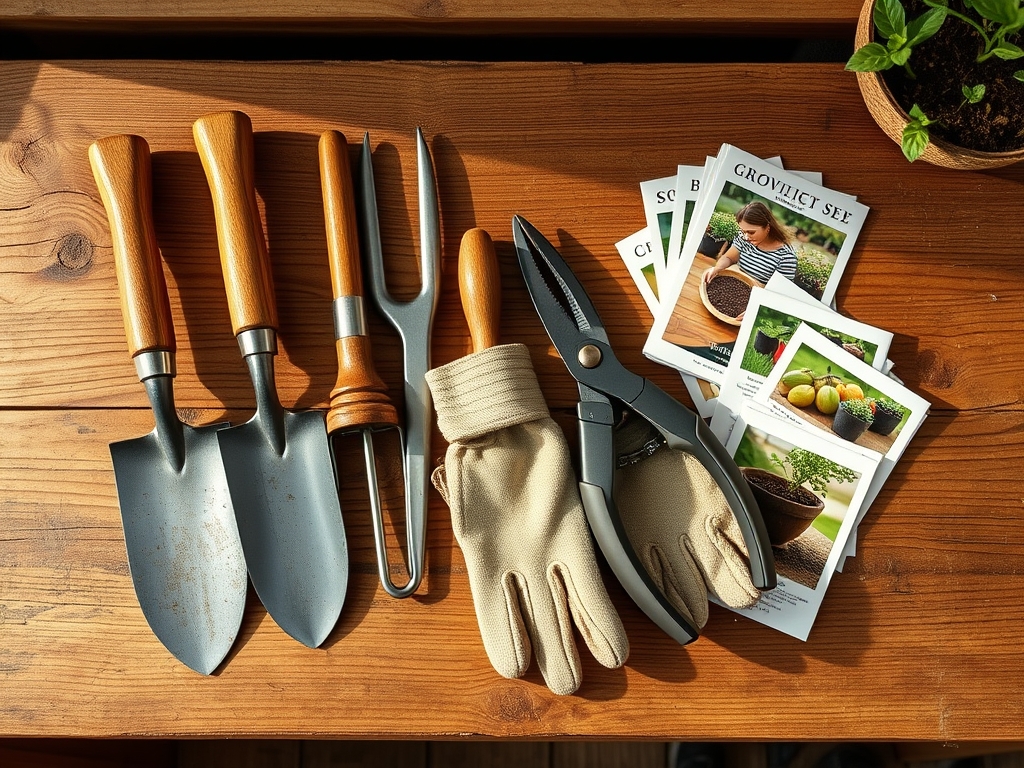
Materials:
The success of a gabion installation depends on the substrate it protects. The ideal backfill is a **friable loam** with a pH range of **6.2 to 6.8**. This acidity level optimizes the Cation Exchange Capacity (CEC), allowing roots to access essential cations like calcium and magnesium. For the planting pockets behind the baskets, maintain a specific NPK ratio of **10-10-10** for general establishment or **5-10-10** if you are prioritizing root development over vegetative biomass. The physical texture should be crumbly; it must resist clumping when squeezed; providing at least **25 percent porosity** for gas exchange. Use **11-gauge galvanized steel wire** for the baskets to resist oxidation in moist environments.
Timing:
Gabion construction should occur during the dormant season or early spring, specifically between Hardiness Zones 4 and 8 when the ground is workable but the biological clock of local flora is in a state of senescence. Aim for a window at least four weeks before the first frost or three weeks after the final spring thaw. This timing prevents the disruption of the "Biological Clock" as plants transition from their vegetative phase to reproductive stages. Constructing during high heat can cause rapid desiccation of the exposed rhizosphere. Monitoring the photoperiod is essential; shorter days in autumn signal the plant to move carbohydrates to the root system; making it the safest time for heavy soil disturbance.
Phases:

Sowing the Foundation
Excavate a trench 6 inches deeper than the basket base. Fill this with compacted angular aggregate. This creates a stable "shelf" that prevents the baskets from sinking into the subsoil. Ensure the base is level using a laser level; a 1 percent batter (inward lean) toward the retained slope is recommended for structural gravity.
Pro-Tip: Proper drainage prevents hydrostatic pressure from collapsing the wall. By using angular stone, you create macro-pores that facilitate rapid water movement. This protects the mycorrhizal symbiosis in the adjacent soil by preventing anaerobic conditions that kill beneficial fungi.
Transplanting and Placement
Assemble the baskets using helical binders or "C" rings every 3 inches. Place the first tier of baskets on the prepared base. Fill the baskets in 12-inch lifts. If you are integrating "living gabions," place root balls of drought-tolerant species between the stones, ensuring the roots extend into the soil backfill behind the wire.
Pro-Tip: When placing plants into the gabion face, avoid bending the primary taproot. This prevents auxin suppression; the plant's hormonal signal for downward growth; ensuring the specimen establishes a deep, anchoring root system through the rock matrix.
Establishing the Structure
Stack subsequent tiers using an offset pattern; similar to a running bond in brickwork; to distribute the load. Connect the top of the lower basket to the bottom of the upper basket along every edge. Backfill with your 6.5 pH loam as you rise, tamping every 6 inches to remove air pockets.
Pro-Tip: Use a geotextile fabric between the stone and the soil backfill. This prevents "fines" from migrating into the basket. Maintaining this barrier ensures phototropism remains the primary driver of plant growth rather than roots struggling through clogged, silty voids.
The Clinic:
Physiological disorders often manifest when the structural environment clashes with botanical needs.
- Symptom: Leaf margins turning yellow while veins remain green (Interveinal Chlorosis).
Solution: This indicates a micronutrient lockout, often Iron or Manganese. Test the soil pH. If it is above 7.5, apply elemental sulfur to lower it. - Symptom: Wilting despite moist soil.
Solution: This suggests root rot or anaerobic conditions. Check the gabion drainage. If water is pooling, the aggregate is too small or clogged with sediment. - Symptom: Stunted growth and purple-tinted lower leaves.
Solution: This is a Phosphorus deficiency. Incorporate bone meal or a high-phosphate fertilizer into the backfill at a rate of 2 pounds per 100 square feet. - Fix-It (Nitrogen Chlorosis): If the entire leaf turns pale green or yellow, the plant is scavenging Nitrogen from old growth. Apply a quick-release 20-0-0 liquid fertilizer to restore turgor and chlorophyll density.
Maintenance:
A gabion wall requires minimal structural upkeep but intensive botanical monitoring. Provide 1.5 inches of water per week at the drip line using a soaker hose to ensure deep penetration. Use a soil moisture meter daily during the first growing season to maintain a reading between 40 and 60 percent. For plants embedded in the wall, use a hori-hori knife to remove invasive weeds that might compromise the wire mesh. Prune any woody species with bypass pruners to prevent trunk diameters from exceeding the mesh aperture; which could distort the basket shape. Check for "settling" after heavy rains; add more friable loam to the backfill areas if sinkholes appear.
The Yield:
If your gabion system supports edible herbs or trailing flowers, harvest during the "cool" of the morning when cell turgor is at its peak. For herbs like rosemary or thyme, harvest no more than one-third of the vegetative mass at a time. Use sharp shears to make clean cuts above a node to stimulate lateral branching. To maintain "day-one" freshness, immediately plunge the stems into 40-degree Fahrenheit water. This rapid cooling slows down the metabolic rate and delays senescence, preserving the volatile oils and aromatic compounds within the leaf tissues.
FAQ:
How deep should the foundation be for stacked gabions?
Excavate at least 6 to 12 inches depending on soil stability. Fill with compacted crushed stone to provide a level, non-shifting base that prevents the baskets from sinking into the subsoil over time.
What size stone is best for stacking baskets?
Use angular rocks sized between 4 and 8 inches. The stones must be larger than the mesh opening, typically 3 by 3 inches, to prevent "spilling" and to ensure structural interlocking within the cage.
Do I need a permit to stack gabion baskets?
Walls exceeding 3 feet in height often require a structural engineer's stamp and local building permits. Always check municipal codes before stacking more than two tiers to ensure compliance with safety and drainage regulations.
Can I grow plants directly inside the gabion?
Yes, by using "planting pockets" filled with a 70/30 mix of stone and organic loam. Ensure the roots reach the soil backfill behind the basket to access consistent moisture and nutrients required for long-term survival.