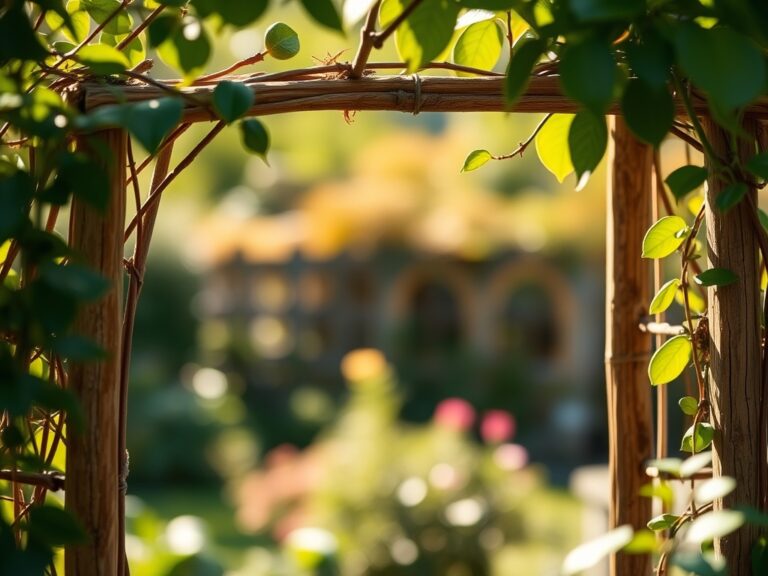
10 Best Hedge Trimmers for Experts
The smell of crushed chlorophyll and damp humus signals the start of the pruning season. A healthy hedge maintains high turgor pressure within its vascular bundles; this internal hydraulic force keeps the leaves rigid and the stems resistant to tearing. To maintain this structural integrity, professional arborists require the best hedge trimmers for experts to ensure clean, surgical cuts that facilitate rapid wound compartmentalization. Ragged tears from dull blades invite fungal pathogens like Verticillium or Phytophthora into the xylem. Expert maintenance demands tools with high stroke rates, often exceeding 3,000 strokes per minute, to slice through lignified woody tissue without crushing the delicate cambium layer. Precision in the garden is not a luxury; it is a biological necessity for plant longevity. When the air carries the scent of fresh sap and the soil is cool to the touch, the window for structural shaping opens. Using high performance equipment allows the gardener to manage the canopy density, ensuring that sunlight reaches the interior leaves to prevent premature senescence and needle drop in evergreen species.
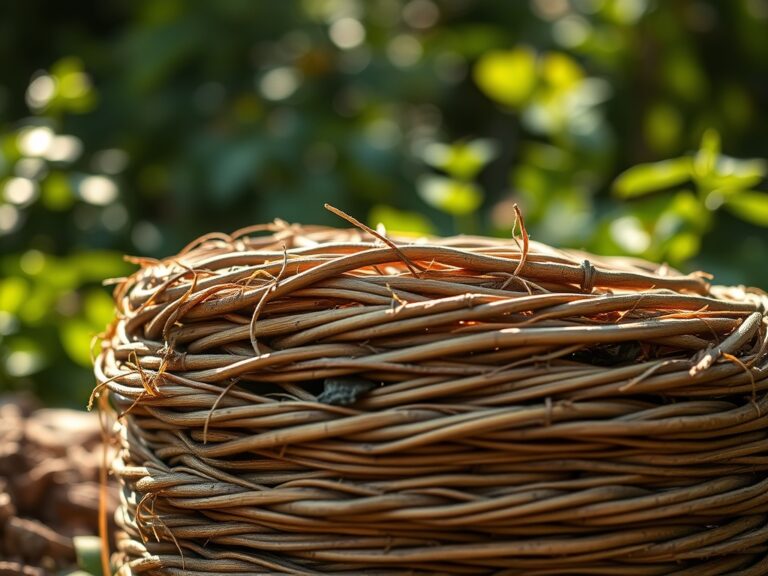
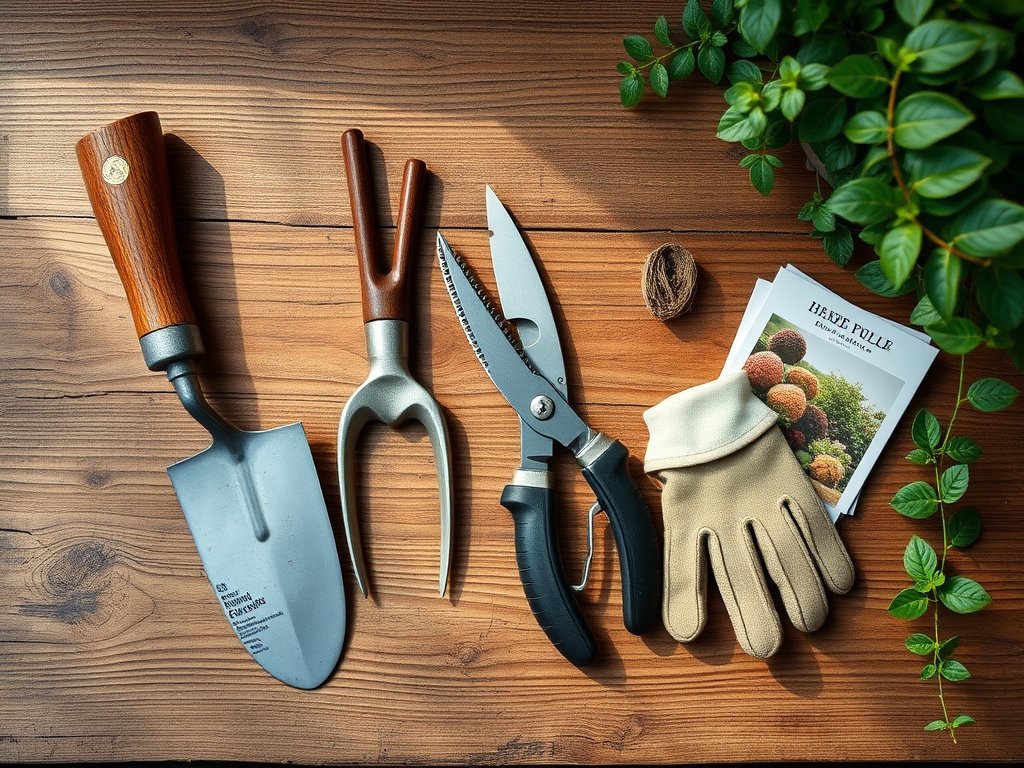
Materials:
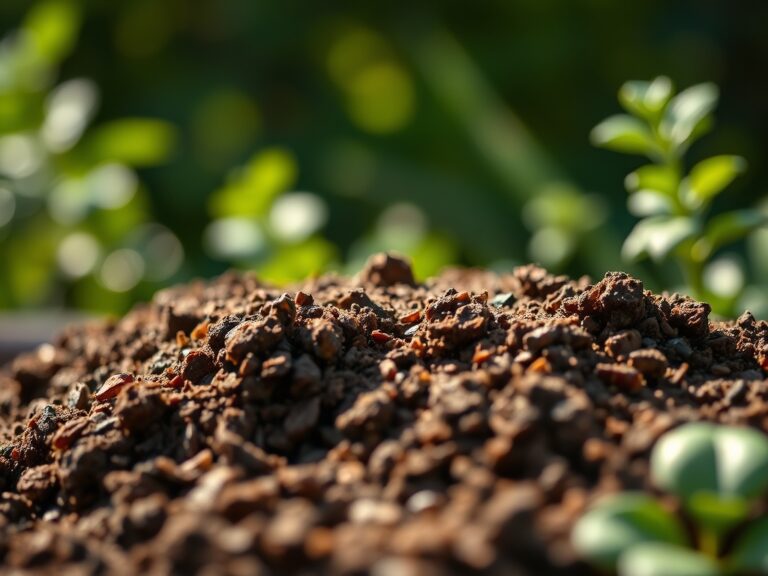
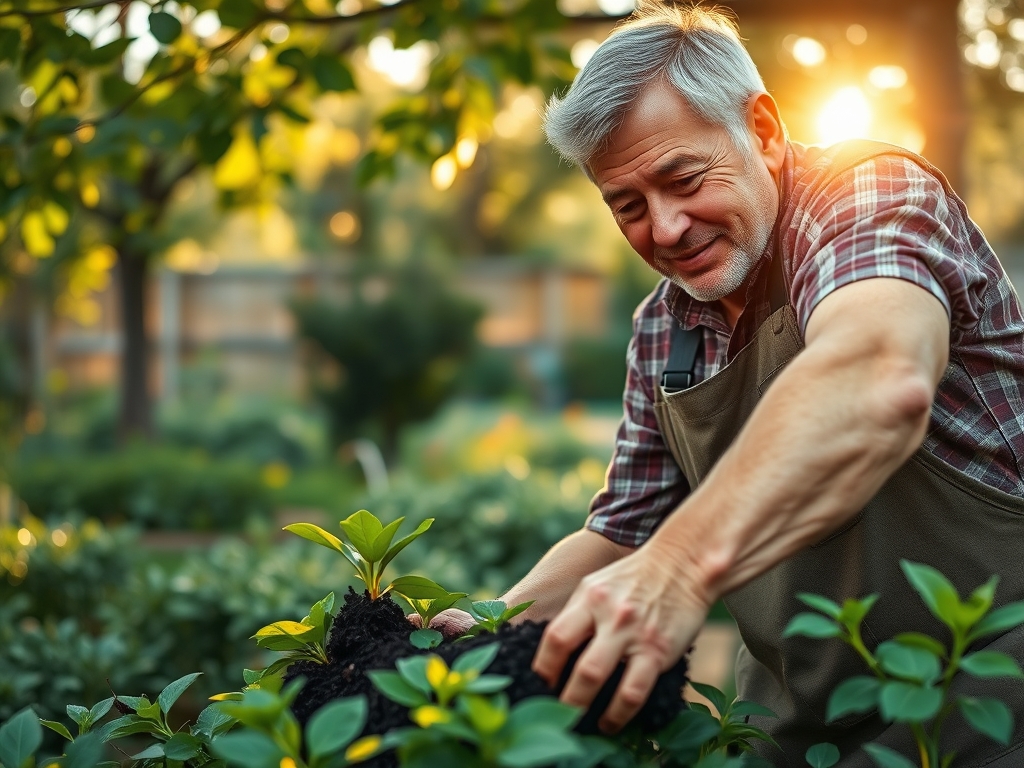
The foundation of any structural hedge begins in the rhizosphere. For optimal growth, the soil must be a friable loam with a Cation Exchange Capacity (CEC) above 15. This allows the soil to hold onto essential nutrients like ammonium and potassium against the leaching forces of irrigation. The ideal soil pH for most hedging species, such as Buxus or Taxus, sits between 6.0 and 7.5. If the pH drops below 5.5, aluminum toxicity can inhibit root elongation.
Fertilization should follow a strict NPK ratio based on the growth stage. For establishing young hedges, a 10-10-10 balanced fertilizer provides the phosphorus necessary for root development. Once the hedge reaches its desired height, transition to a high-nitrogen 20-10-10 ratio in early spring to drive vegetative flushing. The substrate must have a bulk density of approximately 1.3 g/cm3 to allow for adequate gas exchange; compacted soils suffocate roots by preventing oxygen from reaching the mitochondria in root cells.
Timing:
Successful hedging is dictated by the USDA Hardiness Zones and the plant's internal biological clock. In Zones 5 through 8, the primary pruning window occurs during the dormant season, typically late winter before the first swell of the buds. This timing prevents the loss of sap and energy reserves stored in the roots.
The transition from the vegetative stage to the reproductive stage is governed by the photoperiod. For many deciduous hedges, pruning should be avoided during the "June Drop" or the peak of summer heat when transpiration rates are highest. Cutting during a heatwave causes excessive water loss through the open wounds, leading to leaf scorch. Experts wait for the "Hardening Off" period in late autumn, when the plant moves sugars from the leaves into the stems for winter storage, before performing heavy rejuvenation cuts.
Phases:
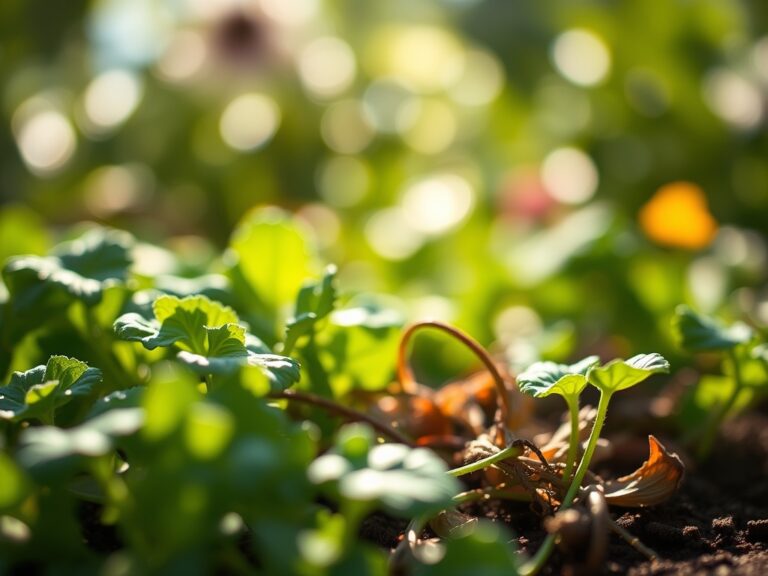
Sowing and Site Preparation
Before planting, the soil must be tilled to a depth of 18 inches. Incorporate organic matter to improve the soil structure. Ensure the spacing allows for the mature width of the species to prevent overcrowding and poor airflow.
Pro-Tip: Inoculate the planting hole with endomycorrhizal fungi. This mycorrhizal symbiosis expands the root surface area by up to 1,000 times, significantly increasing the plant's ability to uptake phosphorus and water in lean periods.
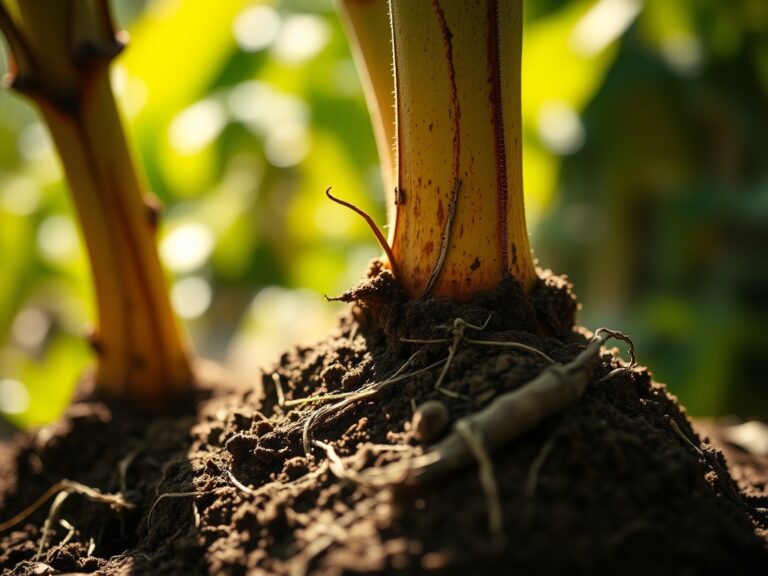
Transplanting
When moving container-grown stock into the ground, the root ball must remain moist. Ensure the root flare is visible at the soil surface; planting too deep leads to stem girdling and eventual death.
Pro-Tip: Use a hori-hori knife to score the sides of the root ball if it is pot-bound. This mechanical disruption breaks the "circular growth" pattern and triggers the release of auxins, plant hormones that stimulate the growth of new, lateral feeder roots.
Establishing and Shaping
During the first two years, the focus is on density rather than height. Frequent light tipping encourages the plant to branch out from the base.
Pro-Tip: Always prune the top of the hedge slightly narrower than the bottom, creating a "tapered" or "keystone" shape. This prevents phototropism issues where the top branches shade out the bottom, causing the lower foliage to die back due to lack of light.
The Clinic:
Physiological disorders often mimic disease but are usually the result of environmental stress or nutrient imbalances.
- Symptom: Interveinal chlorosis on new growth (yellow leaves with green veins).
- Solution: This indicates an Iron (Fe) deficiency, often caused by high soil pH. Apply chelated iron to the soil or as a foliar spray.
- Symptom: Leaf tip burn and marginal necrosis.
- Solution: This is often a sign of salt accumulation or "Fertilizer Burn." Flush the root zone with 3 inches of water to leach excess salts from the rhizosphere.
- Symptom: Sparse interior foliage and "leggy" growth.
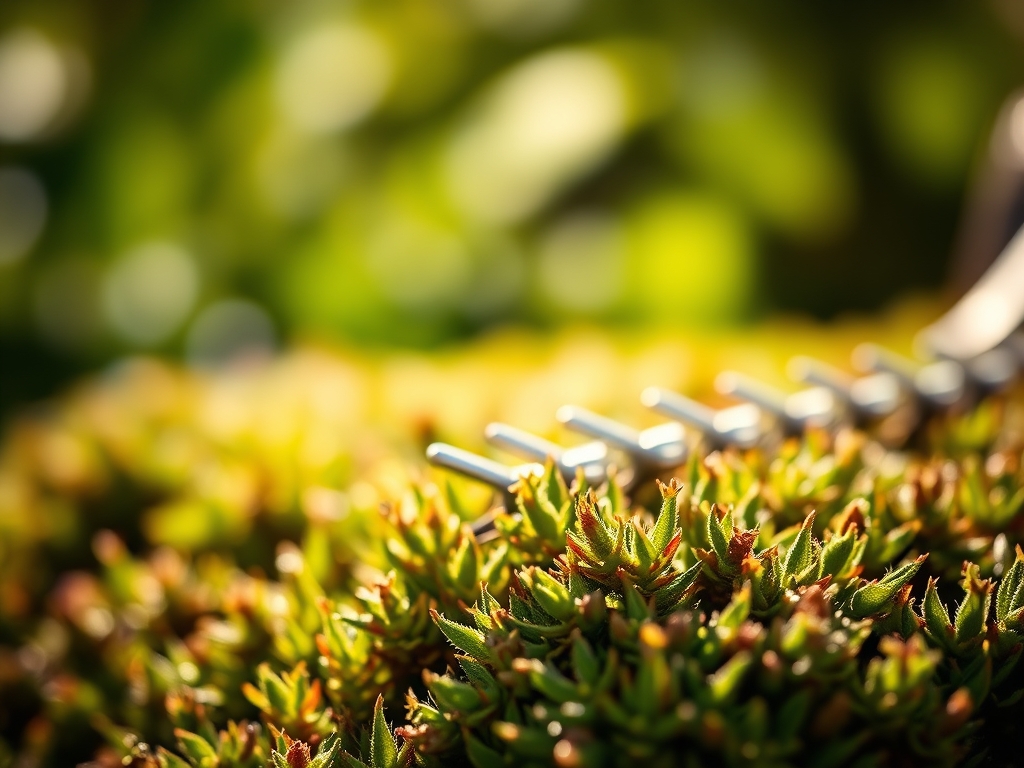
- Solution: The plant is experiencing light starvation. Use a professional hedge trimmer to thin the upper canopy, allowing light penetration to the interior nodes.
Fix-It Section: Nitrogen Chlorosis
If the entire plant appears pale green or yellow, it lacks nitrogen. Apply a quick-release calcium nitrate fertilizer at a rate of 1 pound per 100 square feet. Nitrogen is a mobile nutrient; the plant will move it from old leaves to new growth, so expect to see the fastest recovery in the terminal buds.
Maintenance:
Precision maintenance requires a data-driven approach. Hedges require approximately 1.5 inches of water per week delivered directly to the drip line. Use a soil moisture meter to verify that the moisture has penetrated to a depth of 8 inches. Over-watering in heavy clay soils leads to anaerobic conditions, causing root rot.
Maintain your tools with the same rigor as the plants. After every use, wipe the blades of your bypass pruners and hedge trimmers with isopropyl alcohol to prevent the cross-contamination of pathogens. Sharpen blades every 10 hours of use to ensure the "cleanest" possible cut. A dull blade crushes the cell walls, releasing a flood of ethylene that can accelerate the senescence of surrounding tissue.
The Yield:
While many hedges are ornamental, some species like Laurus nobilis (Bay Laurel) or Rosmarinus officinalis (Rosemary) provide a harvest. The best time to harvest is in the early morning after the dew has evaporated but before the sun's heat volatilizes the essential oils.
Use sharp snips to remove the top 4 to 6 inches of soft growth. To maintain "day-one" freshness, immediately place the cuttings in a cool, shaded container. For long-term storage, bundle the stems and hang them in a dark room with a constant temperature of 65 degrees Fahrenheit and low humidity to prevent mold.
FAQ:
What is the best NPK ratio for established hedges?
A 20-10-10 ratio is ideal for established hedges. The high nitrogen content supports the significant vegetative regrowth required after heavy pruning, while the phosphorus and potassium maintain root health and cellular turgor.
How often should I sharpen my hedge trimmer blades?
Experts should sharpen blades every 10 to 15 hours of operation. Sharp blades ensure clean cuts that heal faster, reducing the risk of disease entry and minimizing the stress on the plant's vascular system.
Why are the bottom leaves of my hedge falling off?
This is usually caused by shading. If the top of the hedge is wider than the bottom, the lower leaves cannot photosynthesize. Prune the hedge into a tapered shape to allow sunlight to reach the base.
When is the worst time to prune a hedge?
Avoid pruning during the peak of summer heat or late autumn. Summer pruning increases water stress through transpiration, while late autumn pruning can stimulate new growth that will be killed by the first hard frost.