9 Decorative Ways How to Build a Lattice Trellis
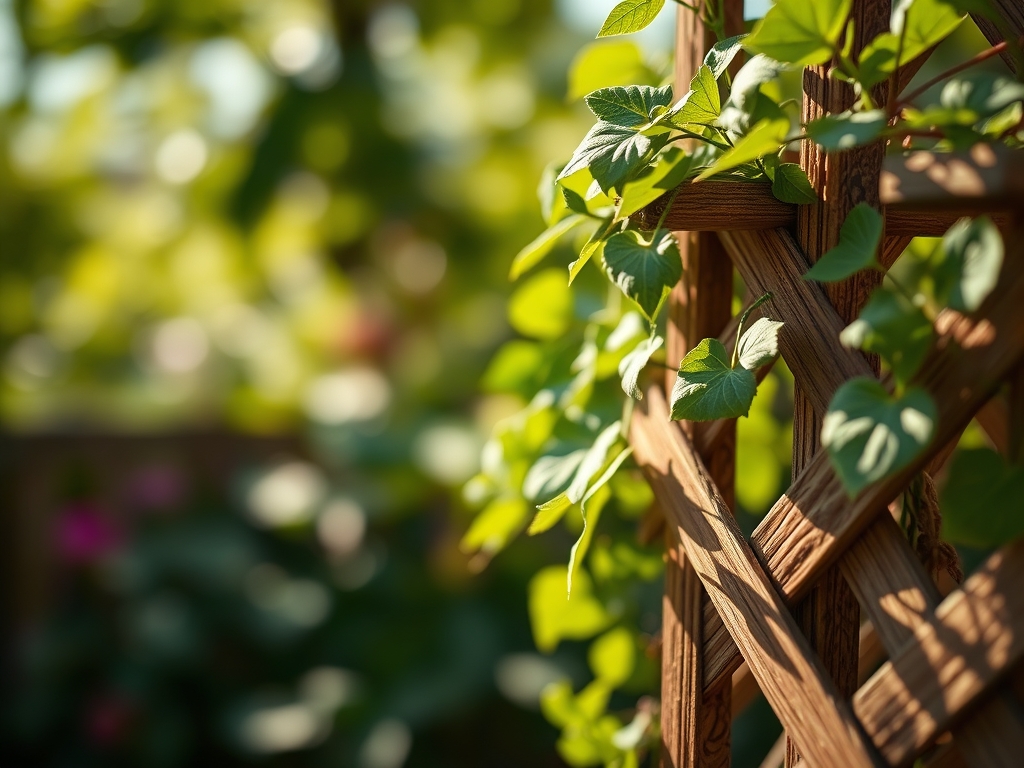
Crushing a handful of friable loam reveals the health of the rhizosphere through a distinct, earthy scent produced by actinomycetes. When the turgor pressure in a climbing vine is high, the stems feel rigid and resilient; they are ready to seek structural support. Understanding how to build a lattice trellis is the most effective method to manage vertical growth and optimize airflow in a crowded garden bed. Proper structural integration prevents foliar diseases by reducing humidity within the canopy.
Vertical gardening is not merely an aesthetic choice; it is a physiological necessity for indeterminate growers. By lifting the biomass off the soil surface, you minimize contact with soil-borne pathogens and maximize the photosynthetic surface area of the leaves. A well-constructed lattice allows for even light distribution across the entire plant profile, preventing the lower leaves from reaching senescence prematurely due to shading. This guide focuses on the technical precision required to build a support system that withstands high wind loads and heavy fruit sets.
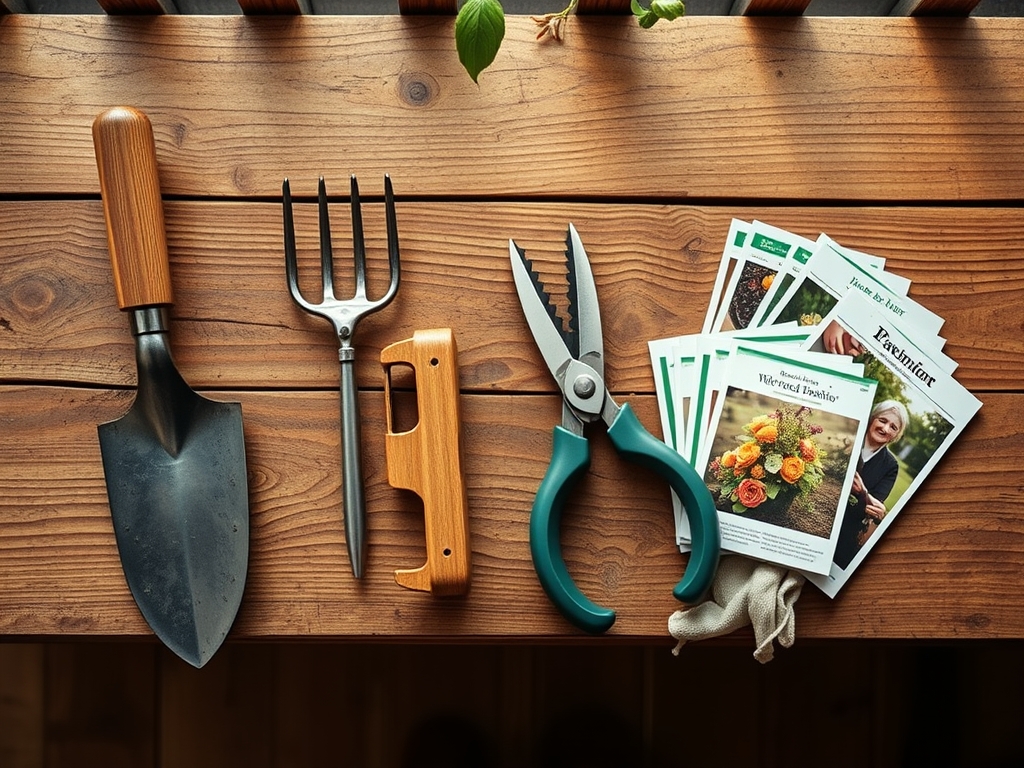
Materials:
Before assembly, analyze the substrate where the trellis will be anchored. For heavy feeders like Clematis or climbing roses, the soil must be a friable loam with a Cation Exchange Capacity (CEC) above 15. The ideal soil pH for most climbers ranges between 6.2 and 6.8.
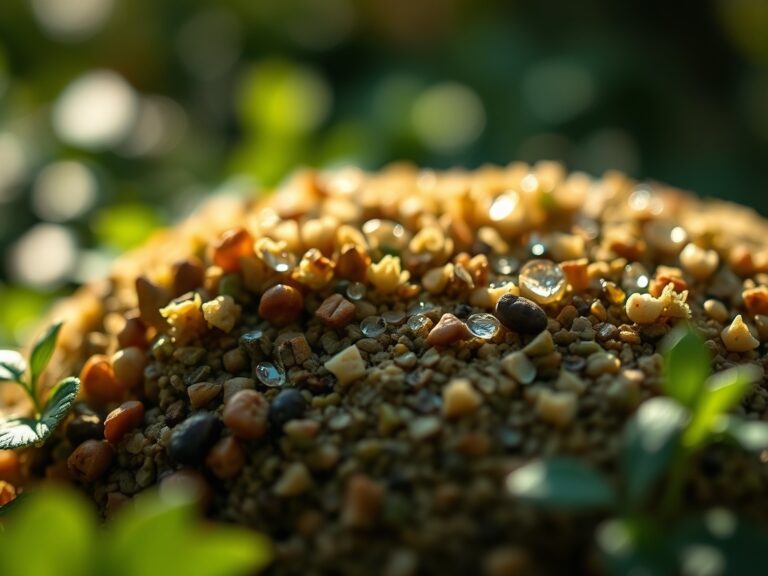
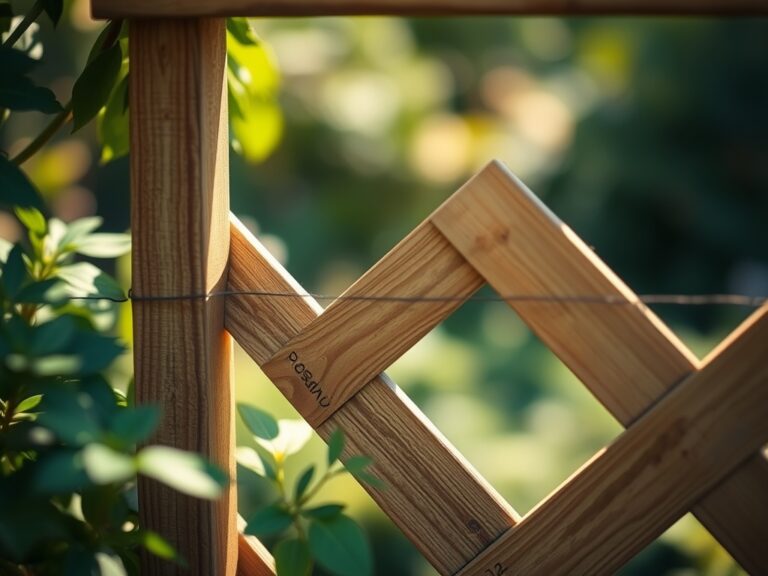
Prepare the site by amending the soil with a balanced 10-10-10 NPK ratio fertilizer to support initial root establishment. If you are growing heavy-fruiting vines, shift to a 5-10-10 ratio to prioritize phosphorus and potassium for reproductive health. The structural materials should include rot-resistant cedar or pressure-treated lumber rated for ground contact. Use 14-gauge galvanized wire or 0.75-inch thick lath strips for the lattice grid. Ensure all fasteners are stainless steel to prevent galvanic corrosion which can leach metallic salts into the root zone.
Timing:
Successful installation depends on the Hardiness Zone and the specific biological clock of your cultivars. In Zones 5 through 7, install the trellis in late winter or early spring while the ground is workable but before the first flush of vegetative growth. This ensures the structural support is in place before the plant initiates auxin-driven elongation.
The transition from the vegetative stage to the reproductive stage is triggered by the photoperiod. For short-day plants, the trellis must be fully established before the nights lengthen in late summer. For spring bloomers, the structure must be ready to support the rapid increase in biomass that occurs when soil temperatures reach a consistent 55 degrees Fahrenheit. Installing a trellis after the plant has already begun to sprawl can cause mechanical damage to the vascular tissue, specifically the xylem and phloem, leading to localized wilting.
Phases:

Sowing and Site Prep
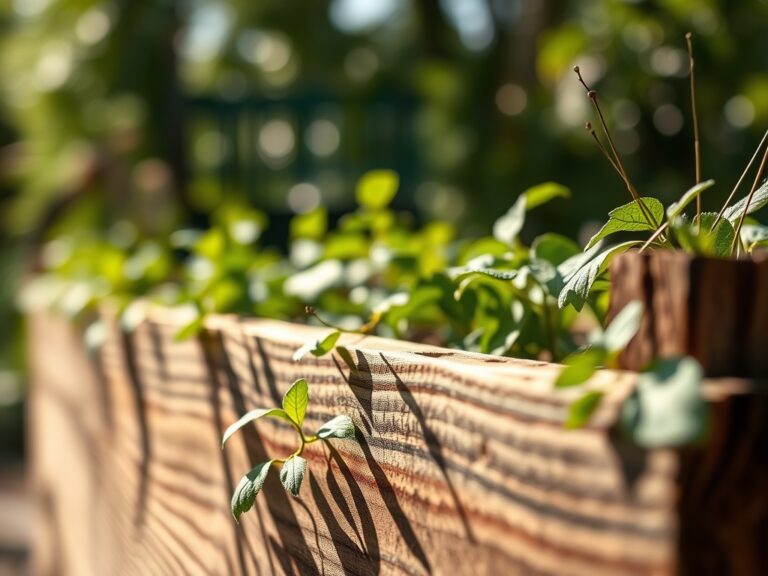
Clear a space 24 inches wide at the base of your intended trellis location. Incorporate organic matter to improve the soil structure, ensuring the bulk density remains low enough for easy root penetration. If direct sowing, plant seeds at a depth three times their diameter.
Pro-Tip: Maintaining a consistent moisture level during germination is critical because the imbibition of water triggers the metabolic processes required for the radical to break the seed coat.
Transplanting and Anchoring
When transplanting seedlings, ensure the root ball is set at the same depth as it was in its container. Dig a hole twice the width of the root mass. Space plants 12 to 18 inches apart depending on the species' mature spread. Place the trellis posts at least 12 inches deep into the substrate to counter the leverage of the plant's weight.
Pro-Tip: Use a mycorrhizal inoculant during transplanting to establish a symbiotic relationship between the roots and beneficial fungi, which significantly increases the surface area for nutrient uptake.
Establishing and Training
As the plant grows, use soft ties to guide the primary stems onto the lattice. Do not tie them tightly; leave a 0.5-inch gap to allow for secondary thickening of the stem. Monitor the plant for thigmotropism, the biological response to touch, which allows the plant to naturally coil its tendrils around the support.
Pro-Tip: Prune the apical meristem if you want to encourage lateral branching; this process, known as decapitation, suppresses apical dominance and redirects auxins to the lateral buds.
The Clinic:
Physiological disorders often manifest when the structural environment or nutrient availability is compromised.
- Nitrogen Chlorosis: Lower leaves turn pale yellow while veins remain green. Fix-It: Apply a liquid kelp or fish emulsion with a high Nitrogen (N) value to restore chlorophyll production.
- Blossom End Rot: Sunken, necrotic spots on the base of the fruit. This is often a Calcium deficiency caused by erratic moisture levels. Fix-It: Maintain consistent soil moisture and ensure the pH is above 6.0 to facilitate Calcium uptake.
- Powdery Mildew: White, fungal mycelium appearing on leaf surfaces due to poor airflow. Fix-It: Increase the spacing of your lattice lath to 4 inches and prune for better air penetration.
- Iron Deficiency: New growth appears yellow or white. This occurs in high pH soils where iron becomes insoluble. Fix-It: Lower soil pH using elemental sulfur or apply chelated iron foliar spray.
Maintenance:
Precision maintenance is the difference between a failing structure and a thriving vertical system. Provide 1.5 inches of water per week at the drip line; do not water the foliage directly as this encourages fungal spores. Use a soil moisture meter to verify that the moisture has penetrated at least 6 inches deep.
Every spring, inspect the lattice for structural integrity. Use a hori-hori knife to remove invasive weeds at the base without disturbing the primary root system. Use bypass pruners to remove any dead, damaged, or diseased wood (the "three Ds") to prevent the spread of pathogens. Sterilize your tools with 70 percent isopropyl alcohol between plants to prevent cross-contamination of viral loads.
The Yield:
For flowering climbers, harvest when the buds are in the "marshmallow stage," which is just before full expansion. This ensures maximum vase life and preserves the turgidity of the petals. For edible crops like pole beans or cucumbers, harvest frequently to prevent the plant from shifting its energy into seed production, a process known as reproductive senescence.
Handle the harvest with care to avoid bruising the delicate epidermis. For "day-one" freshness, immediately submerge the cut stems in 40-degree Fahrenheit water to remove field heat and slow the respiration rate. This technique preserves the sugars and acids within the plant tissue, maintaining the flavor and structural crispness.
FAQ:
What is the best wood for a lattice trellis?
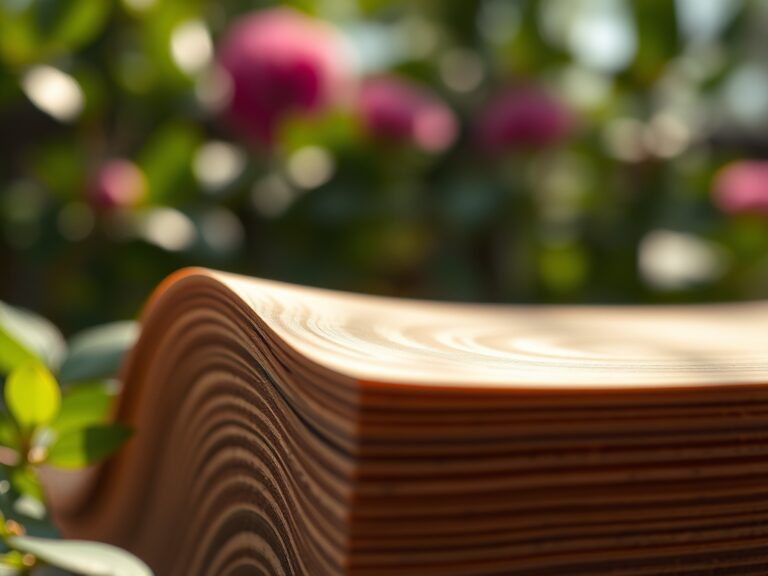
Cedar and Redwood are superior due to their natural tannins which resist rot and insect predation. These woods maintain structural integrity for 10 to 15 years in high-moisture environments without the need for chemical preservatives.
How deep should trellis posts be buried?
Posts should be buried at least 18 to 24 inches deep for a 6-foot structure. In areas with high wind or heavy fruit loads, set the posts in 10 inches of gravel to facilitate drainage and prevent fungal decay.
Can I build a trellis against a house wall?
Yes, but maintain a 4-to-6-inch gap between the lattice and the wall. This space is vital for airflow to prevent moisture buildup, which can lead to both wall degradation and fungal infections like Botrytis on the plant.
How do I secure heavy vines to the lattice?
Use expandable garden tape or soft twine. Avoid wire ties that can cut into the vascular tissue as the stem increases in diameter. Check ties monthly to ensure they are not restricting the flow of nutrients through the phloem.
When should I replace my lattice trellis?
Inspect the wood annually for soft spots or graying fibers. Replace the structure if you notice more than 10 percent structural deflection or if the joints have pulled apart by more than 0.25 inches, as this indicates imminent failure.