8 Simple Steps to Join an Indoor Garden Club
Crushing a handful of friable loam releases the scent of geosmin; this earthy aroma signals a healthy microbial population within the substrate. Feeling the turgor pressure of a thick leaf confirms that the vascular system is hydrated and functioning. To transition from an isolated hobbyist to a community expert, you must master the steps to join an indoor garden club. This process begins with a technical audit of your current botanical inventory and an assessment of your environmental control systems.
Indoor gardening requires more than aesthetic placement. It demands an understanding of the rhizosphere and the metabolic demands of specific cultivars. Most clubs require members to demonstrate a baseline of horticultural proficiency. This includes the ability to manage photoperiods and maintain precise humidity levels. When you approach a local chapter, you are not just seeking a social circle; you are entering a peer-reviewed environment of soil scientists and plant physiologists. Prepare your documentation regarding your current grow-room specs and successful propagation rates. This data serves as your credential.
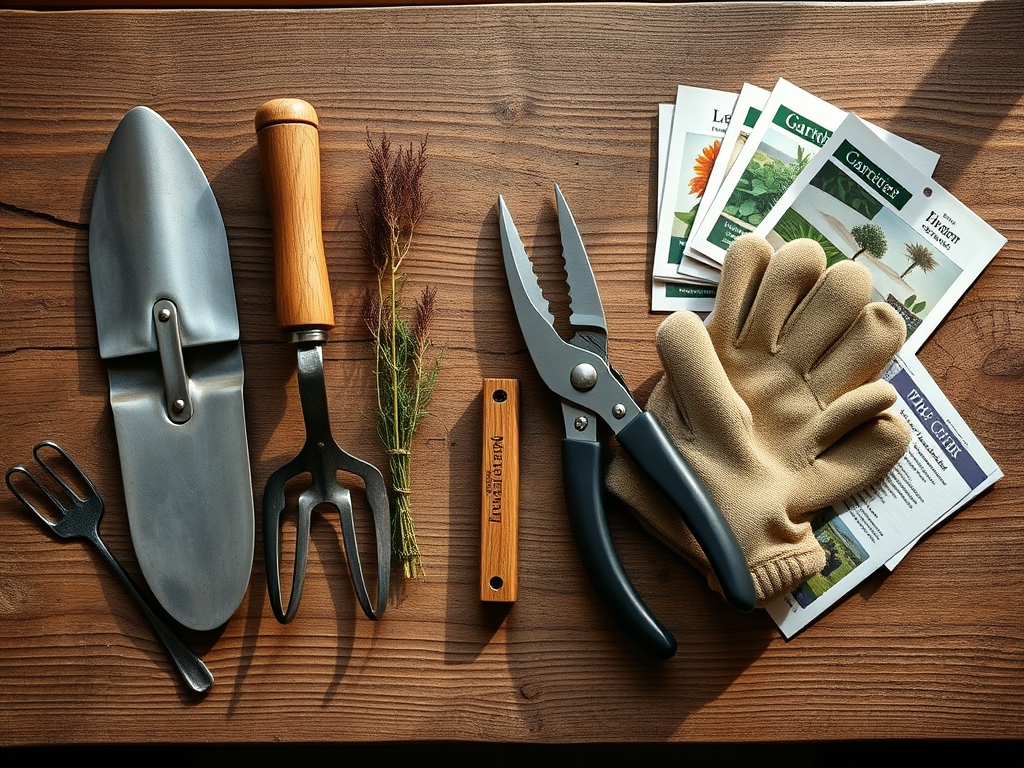
Materials:
Success in an indoor garden club depends on your ability to manipulate soil chemistry. The ideal substrate is a friable loam with a high Cation Exchange Capacity (CEC). This allows the medium to hold and exchange essential cations like potassium and magnesium. Aim for a pH range of 6.0 to 6.8 for most tropical and temperate indoor species.
- Nitrogen-Heavy Mix (10-5-5): Used during the vegetative stage to promote chlorophyll production and leaf expansion.
- Phosphorus-Dominant Mix (5-10-5): Essential for root development and the transition to the reproductive (flowering) phase.
- Balanced Maintenance (10-10-10): For established specimens requiring steady-state nutrition.
- Perlite and Vermiculite: These volcanic glasses improve aeration and water retention. A 30 percent inclusion rate prevents anaerobic conditions in the root zone.
Timing:
While indoor environments are controlled, the "Biological Clock" of the plant remains influenced by external seasonal shifts. Even in Hardiness Zones 5 through 9, indoor plants react to the subtle changes in ambient light entering through windows. You must synchronize your fertilization schedule with the transition from the vegetative to the reproductive stage.
The "Biological Clock" is governed by the photoperiod. Most indoor tropicals require 12 to 14 hours of light to maintain active growth. As outdoor temperatures drop below 50 degrees Fahrenheit, even indoor humidity can plummet to 20 percent, necessitating the use of ultrasonic humidifiers to prevent leaf desiccation. Timing your repotting for early spring, just before the spring equinox, aligns with the plant's natural surge in auxin production.
Phases:
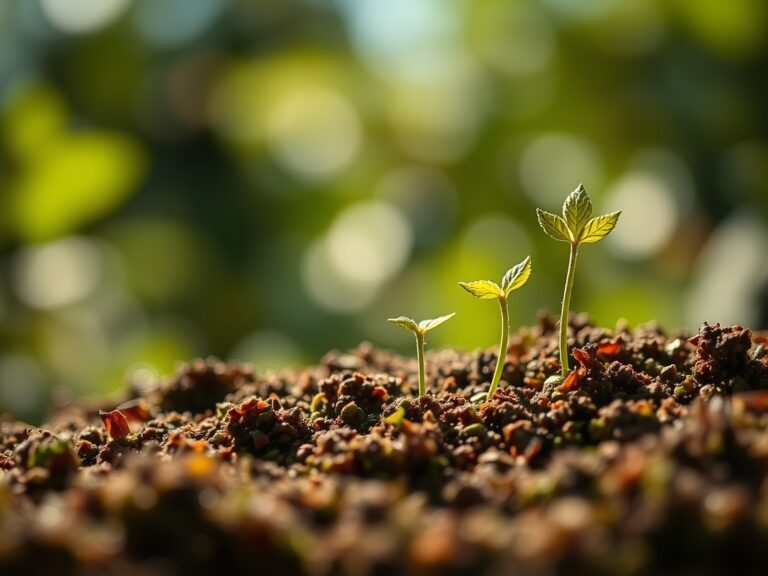
Sowing
Start seeds in a sterile, soil-less medium to prevent "damping off" caused by fungal pathogens. Maintain a consistent bottom-heat temperature of 75 degrees Fahrenheit using a waterproof heat mat.
Pro-Tip: Ensure proper seed-to-soil contact to facilitate imbibition. The Biological Why is that water must penetrate the seed coat to activate gibberellic acid, which triggers the enzyme production necessary for germination.
Transplanting
Move seedlings when they possess two sets of true leaves. Handle only by the cotyledons or the root ball to avoid crushing the delicate vascular tissue of the stem.
Pro-Tip: Inoculate the new substrate with mycorrhizal fungi. The Biological Why is that this symbiotic relationship extends the root system's reach, increasing the surface area for phosphorus uptake through fungal hyphae.
Establishing
Once transplanted, focus on structural integrity. Use oscillating fans to create a "mechanical stress" that mimics wind.
Pro-Tip: Pinch off the terminal bud of leggy plants to encourage lateral branching. The Biological Why is auxin suppression; by removing the primary source of auxin at the tip, you neutralize apical dominance and allow lateral buds to develop.
The Clinic:
Physiological disorders often mimic infectious diseases. Accurate diagnosis requires looking at the site of the symptom.
- Nitrogen Chlorosis: Yellowing of older, lower leaves while new growth remains green. Fix this by applying a high-nitrogen liquid fertilizer at half-strength.
- Interveinal Chlorosis (Iron Deficiency): Yellowing between the veins of young leaves. This often occurs when the pH exceeds 7.0, locking out iron. Lower the pH using sulfur or citric acid.
- Tip Burn (Calcium Deficiency): New leaves appear distorted or "burnt" at the edges. This is usually a transpiration issue. Ensure consistent watering to allow calcium, which is immobile, to move through the xylem.
- Edema: Small bumps or blisters on the undersides of leaves. This is caused by the plant taking up more water than it can transpire. Increase airflow and reduce watering frequency.
Maintenance:
Precision is the hallmark of a professional. Use a soil moisture meter to ensure the substrate is at a 40 to 60 percent saturation level before re-watering. For most 10-inch pots, this equates to roughly 1.5 liters of water applied evenly across the surface.
Utilize a hori-hori knife for deep soil aeration and to check for root binding without de-potting the entire specimen. When pruning, use bypass pruners to make clean, 45-degree angle cuts above a node. This promotes rapid callousing and prevents the entry of pathogens. Clean your tools with 70 percent isopropyl alcohol between every plant to prevent cross-contamination of viruses or fungi.
The Yield:
When harvesting indoor herbs or flowers, timing is dictated by the concentration of essential oils or the stage of anthesis. For herbs like basil or mint, harvest in the morning when turgor pressure is highest and essential oils are most concentrated. Use sharp snips to avoid tearing the cell walls.
Post-harvest handling is critical for "day-one" freshness. Immediately place stems in 40-degree Fahrenheit water to induce a mild cold shock, which slows the rate of respiration. For flowering specimens, removing the anthers can extend the life of the bloom by preventing the plant from sensing successful pollination, which would otherwise trigger senescence.
FAQ:
What is the first step to join an indoor garden club?
Research local chapters via the National Garden Clubs database. Attend a public meeting to observe their technical standards. Most clubs require a formal application and a small annual fee to cover guest speakers and laboratory-grade soil testing kits.
How do I prove my gardening expertise to a club?
Maintain a detailed "Grow Log" documenting NPK ratios, light intensity in foot-candles, and humidity percentages. Presenting a successful propagation history or a portfolio of your indoor "micro-climate" setups demonstrates the necessary scientific rigor for membership.
Do I need a greenhouse to join a club?
No. Most indoor garden club members focus on apartment-scale or basement grow-room setups. The emphasis is on the mastery of controlled environment agriculture (CEA), including the use of LED spectrums and hydroponic or aeroponic delivery systems.
What are the benefits of joining an indoor garden club?
Members gain access to rare seed banks, bulk pricing on professional substrates, and peer-reviewed troubleshooting for complex physiological disorders. It provides a platform for exchanging stable cultivars and advanced data on specific plant genetics.