10 Best Weather-Resistant Paints
The smell of damp earth after a hard frost signals a critical shift in the garden cycle; it is the moment when the structural integrity of your outbuildings and raised beds faces its greatest trial. When the turgor pressure of your plants drops and the rhizosphere enters dormancy, the external surfaces of your garden structures begin a cycle of expansion and contraction. To protect these investments, selecting the best weather-resistant paints is a technical necessity rather than an aesthetic choice. These coatings must withstand ultraviolet degradation, hydrostatic pressure, and the abrasive force of wind-driven particulates. A high-performance exterior coating acts as a synthetic cuticle for your wood and masonry, preventing the infiltration of moisture that leads to fungal rot and structural senescence. You are not merely applying color; you are engineering a barrier that must maintain its elasticity across a temperature gradient of 100 degrees Fahrenheit. Without a high-solids formulation, the freeze-thaw cycle will compromise the substrate within a single season.
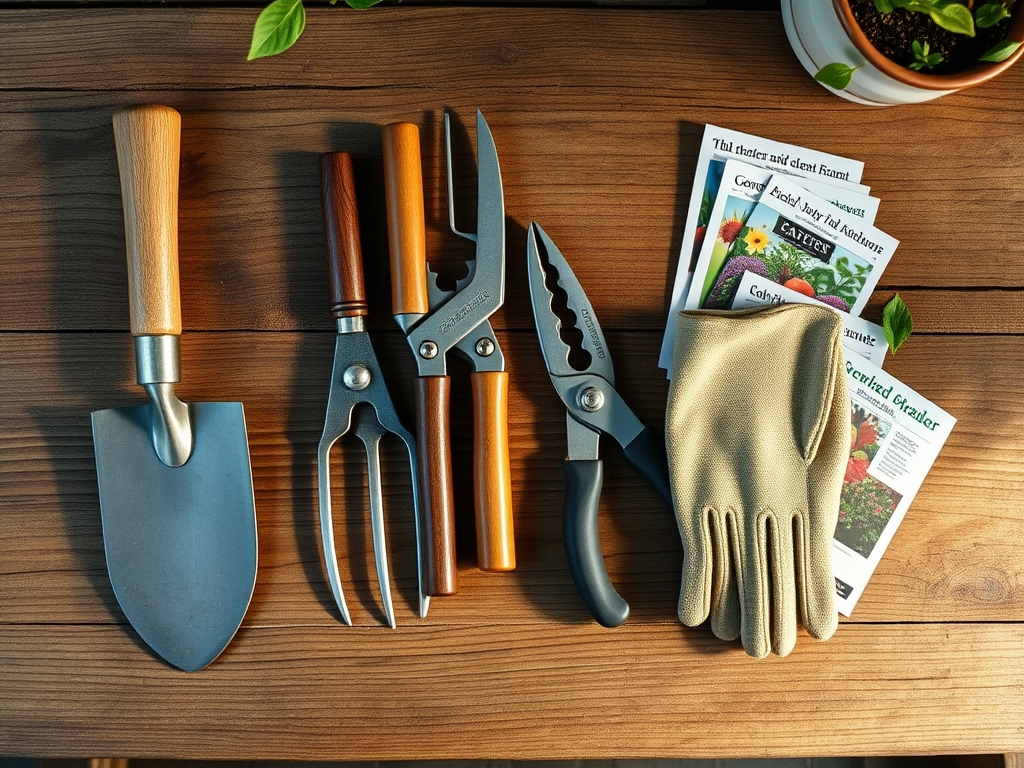
Materials:
Before applying any protective coating, you must ensure the surrounding soil environment is stabilized. For structures in direct contact with the ground, the soil pH should be maintained between **6.0 and 7.0** to prevent acidic corrosion of the paint film at the soil line. The ideal substrate is a **friable loam** with a high Cation Exchange Capacity (CEC) of **15 to 25 meq/100g**, which ensures proper drainage away from the painted surface.
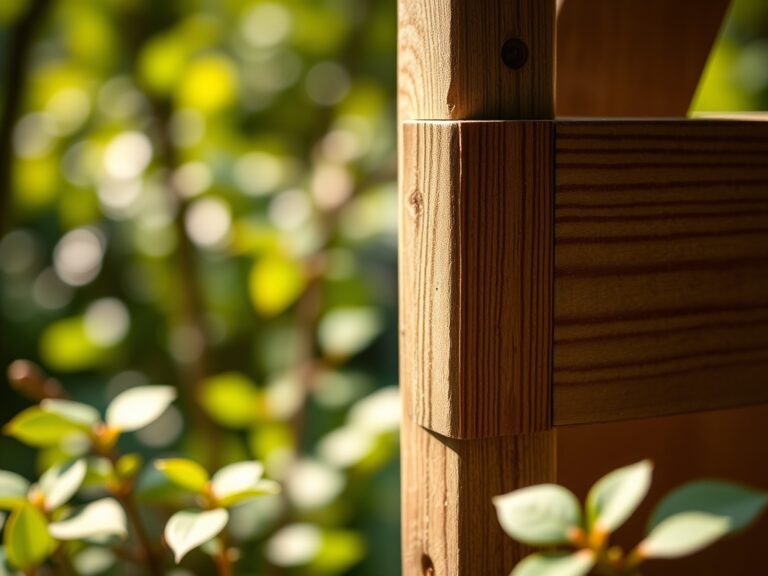
When choosing your paint, prioritize 100 percent acrylic latex formulas. These provide the highest level of adhesion and flexibility. For the underlying soil and plant health, maintain an NPK ratio of 10-10-10 for general maintenance or 5-10-10 for structures near flowering perennials to avoid excessive nitrogen runoff that can soften the wood through rapid, weak plant growth. Ensure the surface is free of organic debris and that the moisture content of the wood is below 12 percent as measured by a digital moisture meter.
Timing:
Application timing is dictated by your USDA Hardiness Zone. In Zones 5 through 7, the window for applying the best weather-resistant paints opens when nighttime temperatures consistently remain above 50 degrees Fahrenheit. This ensures the polymer chains in the paint can coalesce properly before the "Biological Clock" of your garden triggers the transition from vegetative growth to reproductive stages.
Avoid painting during periods of high humidity (above 65 percent) or when the dew point is within 5 degrees of the air temperature. If the paint dries too slowly, it remains vulnerable to dust and pollen; if it dries too quickly under direct solar radiation, the film will fail to bond with the cellular structure of the wood. The goal is a steady cure that mirrors the slow, deliberate transpiration rates of a healthy deciduous canopy in mid-spring.
Phases:

Sowing the Foundation
The first phase involves mechanical abrasion of the surface. Use 80-grit sandpaper to open the pores of the wood. This increases the surface area for the primer to bite into the lignin. Clean the area with a solution of trisodium phosphate to remove lipids and atmospheric pollutants.
Pro-Tip: Proper surface preparation facilitates a mechanical bond similar to mycorrhizal symbiosis, where the coating penetrates the tracheids of the wood to create an integrated protective layer that cannot be easily delaminated by moisture.
Transplanting the Color
Apply the first coat using a high-quality synthetic brush or a 0.015-inch spray tip. Work in the direction of the grain to ensure the pigments and binders are driven deep into the substrate. Maintain a wet edge to prevent lap marks, which are weak points where moisture can later infiltrate.
Pro-Tip: Maintaining a wet edge prevents "cold joints" in the paint film, ensuring the coating acts as a singular, semi-permeable membrane that allows the wood to "breathe" through vapor diffusion without absorbing liquid water.
Establishing the Barrier
Apply the second coat only after the first has cured for at least four to six hours. This layering creates a thickness of approximately 4 to 5 mils when dry. This thickness is essential for resisting the ultraviolet radiation that breaks down the molecular bonds of the paint over time.
Pro-Tip: Multiple thin layers are superior to one thick layer because they allow for better auxin suppression of air bubbles and ensure that the cross-linking of polymers is uniform throughout the entire depth of the coating.
The Clinic:
Even the best weather-resistant paints can fail if the underlying biology of the garden is ignored.
Symptom: Efflorescence (white, powdery deposits on painted masonry).
Solution: This is caused by moisture migrating through the substrate and carrying mineral salts to the surface. Seal the interior side of the wall and improve soil drainage using a french drain or by amending the soil with perlite to increase porosity.
Symptom: Alligatoring (cracking that resembles reptile scales).
Solution: This occurs when a hard topcoat is applied over a softer, more flexible undercoat. Strip the surface to the bare substrate and re-apply a compatible system of primer and topcoat.
Fix-It for Nutrient Deficiencies: If plants near your painted structures exhibit Nitrogen chlorosis (yellowing of older leaves), the paint may be leaching alkaline residues. Check the soil pH and apply a chelated iron supplement or a high-nitrogen fertilizer (NPK 20-10-10) to restore chlorophyll production and turgor.
Maintenance:
A professional maintenance schedule is non-negotiable. Inspect all painted surfaces every six months for signs of mechanical damage or fungal colonization. Use a soil moisture meter to ensure that the area around the base of the structure is not holding excessive water; aim for a consistent moisture level that supports plant health without saturating the paint line.
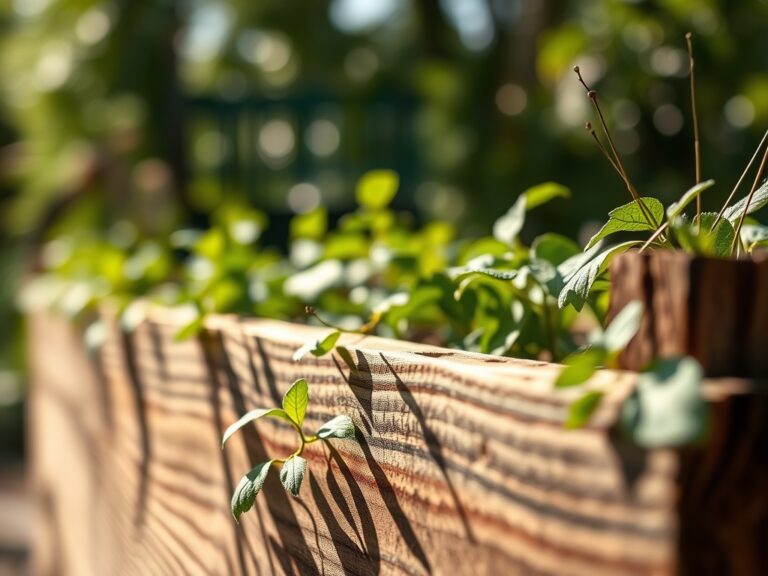
Provide 1.5 inches of water per week at the drip line of nearby plants to prevent soil shrinkage, which can cause structural shifting and paint cracking. Use a hori-hori knife to remove any invasive vines or moss that attempt to attach to the painted surface, as their rootlets secrete acidic enzymes that can dissolve the paint film. Prune back any overhanging branches with bypass pruners to ensure at least 12 inches of clearance for airflow, which prevents the microclimate from becoming a breeding ground for mildew.
The Yield:
While paint does not produce a harvest, the "yield" of a well-protected garden is the longevity of its structures. A successful application will last 7 to 10 years before requiring a full recoat. To maintain "day-one" freshness, wash the surfaces annually with a low-pressure garden hose and a soft-bristled brush to remove salts and organic acids. This prevents the premature senescence of the coating and keeps the garden looking pristine through every seasonal transition.
FAQ:
What is the best temperature for applying exterior paint?
Apply paint when temperatures are between 50 and 85 degrees Fahrenheit. Avoid direct sunlight, as high heat causes the solvent to evaporate too quickly, leading to poor adhesion and a brittle finish that will crack during winter.
How does soil pH affect my painted fence?
Soil with a pH below 5.5 is highly acidic and can chemically degrade the paint at the ground level. Maintain a pH of 6.5 and use a high-solids primer to create a chemical barrier against soil-borne acids.
Can I paint over damp wood?
No. Wood moisture must be below 12 percent. Excess moisture trapped behind the paint film will turn to vapor in the sun, creating pressure that causes the paint to blister and peel away from the substrate.
Why is 100 percent acrylic paint recommended?
Acrylic resins are highly flexible and UV-resistant. They expand and contract with the wood as temperatures change, preventing the brittle fractures common in oil-based paints while allowing internal moisture vapor to escape without damaging the bond.