6 Precise Ways How to Design a Formal Hedge
The sharp scent of crushed boxwood leaves and the gritty texture of damp, friable loam define the start of a landscape project. Successful installation requires an understanding of turgor pressure; the internal cellular force that keeps a hedge rigid and upright. To master how to design a formal hedge, you must prioritize geometric precision and botanical health over aesthetic whim. This process demands a rigorous analysis of soil structure and species selection to ensure long term structural integrity within the managed landscape.
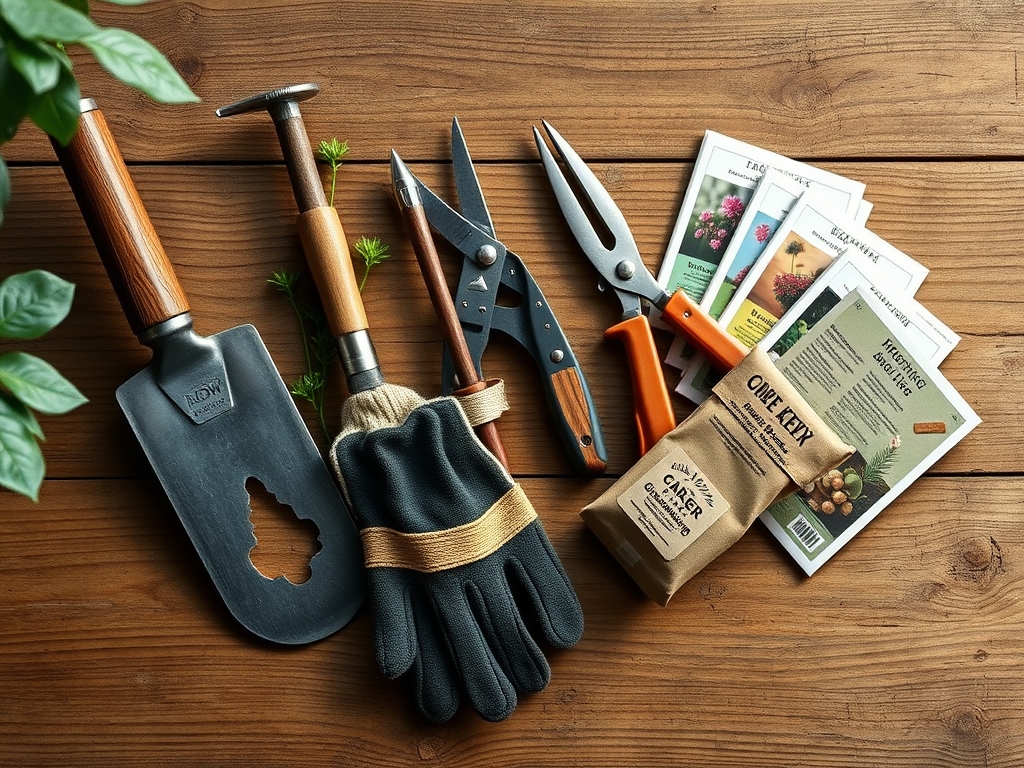
Materials:
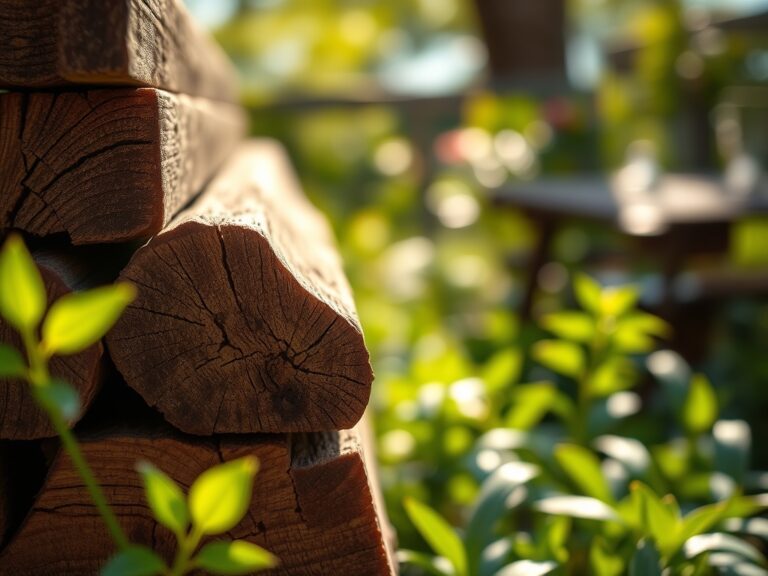
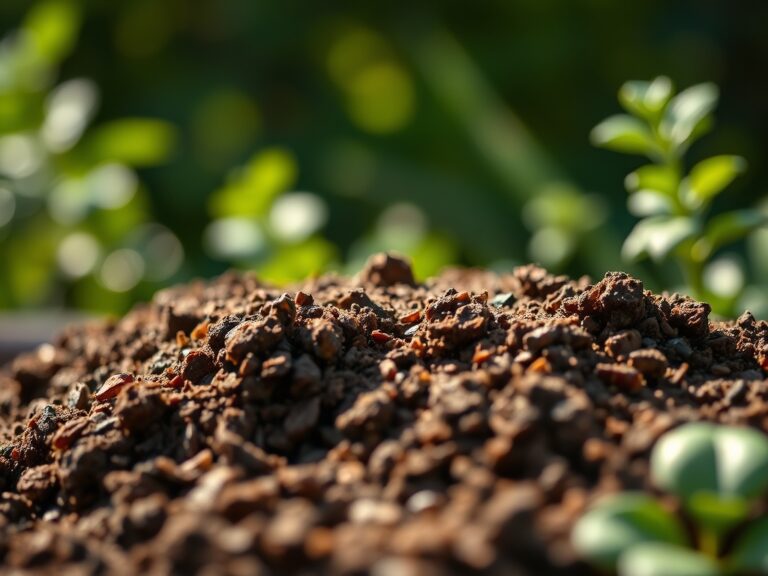
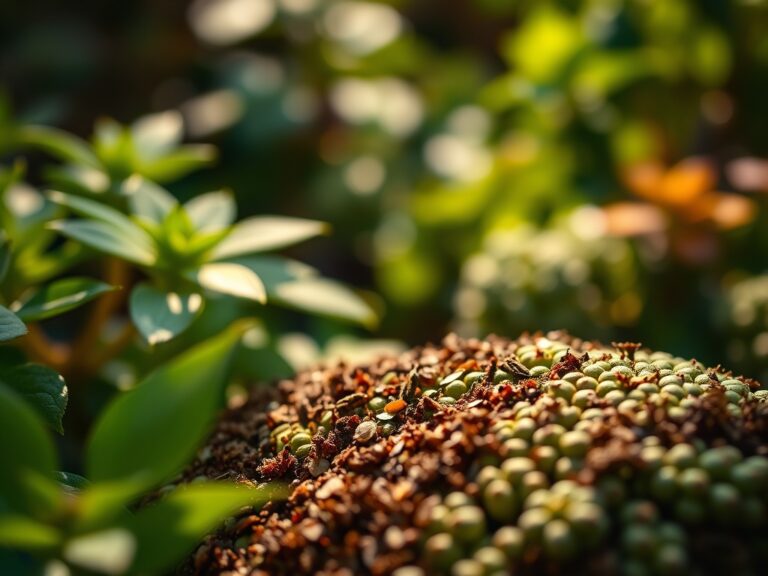
The foundation of a formal hedge is the rhizosphere. You require a soil with a high Cation Exchange Capacity (CEC) to ensure nutrient availability. Aim for a pH range of 6.0 to 7.0 for most evergreen species like Buxus or Taxus. The substrate must be a friable loam consisting of roughly 40 percent sand, 40 percent silt, and 20 percent clay.
Nutrient requirements are specific. During the establishment phase, use a slow release fertilizer with an NPK ratio of 10-10-10. Once established, transition to a high nitrogen formula, such as 18-6-12, to support dense vegetative growth. Avoid high phosphorus levels unless soil tests indicate a deficiency; excessive phosphorus can inhibit the uptake of essential micronutrients like iron and manganese.
Timing:
Formal hedges are most successful when planted during the dormant season to minimize transplant shock. In Hardiness Zones 5 through 7, the ideal window is late autumn or early spring, at least six weeks before the first or last hard frost. In Zones 8 through 10, autumn planting is preferred to allow root development before summer heat stress occurs.
The biological clock of the plant dictates the pruning schedule. Most formal hedges rely on the suppression of apical dominance to encourage lateral branching. Perform heavy structural pruning in late winter while the plant is in endodormancy. Avoid pruning during the transition from vegetative to reproductive stages; typically late spring; as this can deplete the plant's carbohydrate reserves and reduce its ability to recover from the stress of the cut.
Phases:
Sowing and Selection
While some hedges can be grown from seed, formal designs require clonal uniformity. Select cultivars known for internodal density. When purchasing, inspect the root ball for circling roots. A healthy root system should be creamy white, indicating active respiration and nutrient uptake.
Pro-Tip: Select plants with consistent genetic lineage to ensure uniform growth rates. This prevents "stair-stepping" in the hedge line caused by varying metabolic speeds among different seedlings.
Transplanting
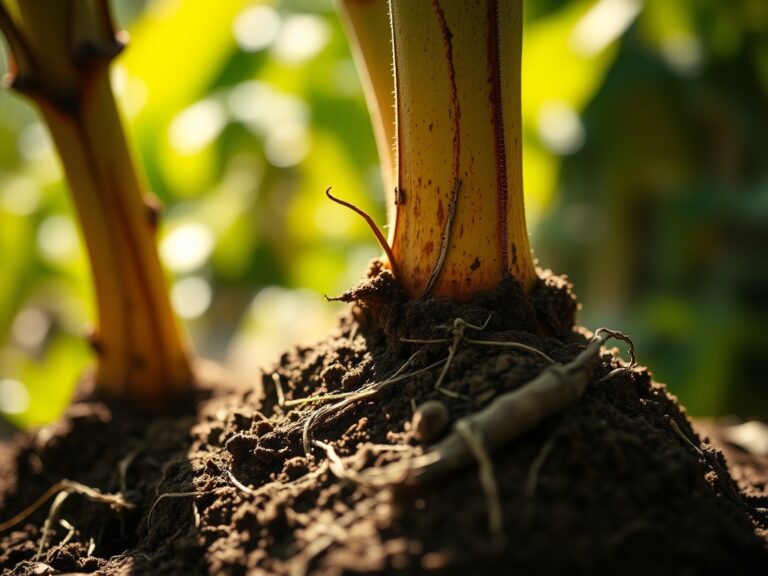
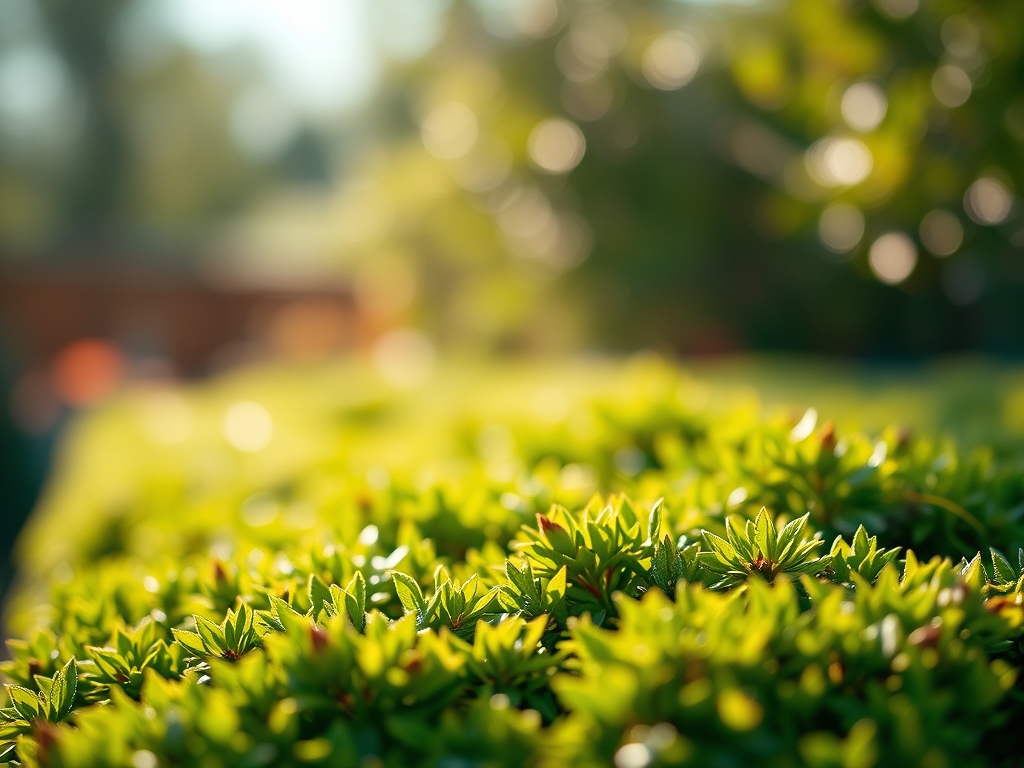
Dig a trench rather than individual holes. The trench should be twice as wide as the root ball but no deeper. Set the plants so the root flare is exactly at the soil surface. Planting too deep leads to stem girdling and hypoxia in the root zone. Space plants at 12 to 18 inches on center, depending on the species' mature width and the desired density.
Pro-Tip: Apply an inoculant of endomycorrhizal fungi to the root zone during transplanting. This symbiotic relationship increases the effective surface area of the roots, enhancing phosphorus uptake and drought resistance through improved water transport.
Establishing
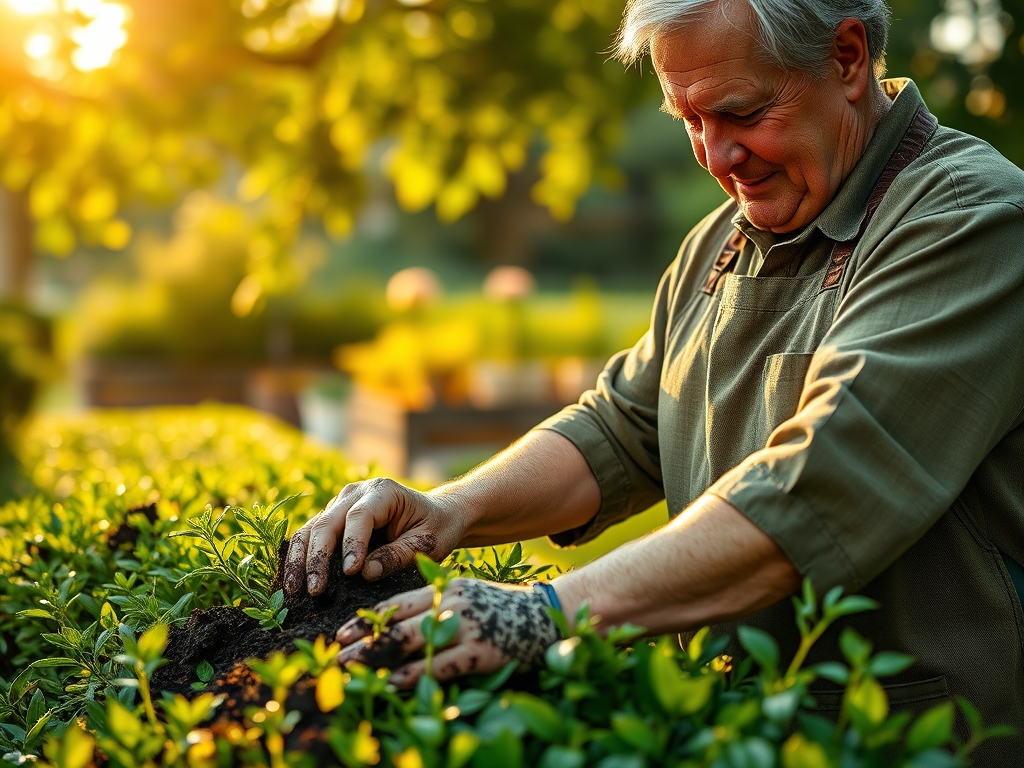
The first two growing seasons are critical for structural development. Use a hori-hori knife to check for air pockets in the backfill. Install a drip irrigation system to deliver water directly to the root zone, minimizing foliar moisture which can invite fungal pathogens.
Pro-Tip: Use "Heading Back" cuts during the first year to stimulate lateral buds. This utilizes auxin suppression; by removing the terminal bud, you redirect the plant's growth hormones to lower nodes, creating a dense base that prevents "leggy" growth.
The Clinic:
Symptom: Interveinal Chlorosis
Cause: Iron or Manganese deficiency, often triggered by a soil pH above 7.5.
Fix-It: Apply chelated iron to the soil or as a foliar spray. Amend the soil with elemental sulfur to lower the pH to a range of 6.0 to 6.5.
Symptom: Leaf Bronzing
Cause: Winter desiccation or potassium deficiency.
Fix-It: Increase potassium levels using a 0-0-50 sulfate of potash in late summer to thicken cell walls. For winter protection, apply an anti-transpirant spray to reduce moisture loss through the stomata.
Symptom: Dieback from the Center
Cause: Lack of light penetration causing senescence of inner foliage.
Fix-It: Prune the hedge in a trapezoidal shape. The base must be wider than the top to ensure sunlight reaches the lower branches, maintaining photosynthetic activity throughout the plant's vertical profile.
Maintenance:
Precision maintenance is the difference between a hedge and a row of bushes. Use a soil moisture meter to ensure the root zone receives 1.5 inches of water per week. During periods of extreme heat (above 90 degrees Fahrenheit), increase frequency but maintain the same depth of saturation to encourage deep rooting.
Sharpen your bypass pruners daily. Dull blades crush the vascular cambium, creating jagged wounds that are slow to callus and prone to infection. For the top line, use a string level or a laser level to ensure a perfectly horizontal plane. Trim the hedge at least twice a year: once after the first flush of spring growth and again in mid-summer to maintain the crisp silhouette.
The Yield:
For flowering formal hedges like Lavandula or Rosa, timing the harvest is essential for plant health. Harvest flowers when the first two florets on the spike have opened. This preserves the essential oils and prevents the plant from diverting energy into seed production.
Use sterilized snips to cut just above a leaf node. Post-harvest, provide a light application of a balanced 5-5-5 fertilizer to replenish the nutrients lost during the blooming cycle. Keep harvested stems in water at 40 degrees Fahrenheit to maintain turgor and extend freshness.
FAQ:
How often should I fertilize a formal hedge?
Apply a balanced, slow release fertilizer in early spring as the soil temperature reaches 55 degrees Fahrenheit. Follow with a secondary light application in early summer. Avoid late autumn fertilization, which can stimulate tender new growth susceptible to frost damage.
What is the best width for a formal hedge?
Maintain a base width of at least 24 to 30 inches. Ensure the top is 6 to 12 inches narrower than the base. This trapezoidal geometry allows sunlight to reach the bottom foliage, preventing lower branch dieback and maintaining density.
Why is my hedge thinning at the bottom?
This is usually caused by poor light penetration or "shading out." If the top of the hedge is wider than the bottom, the lower leaves cannot perform photosynthesis. Correct this by pruning the top more narrow than the base immediately.
Can I use a hedge trimmer for all cuts?
Hedge trimmers are efficient for surface leveling but can cause "stubble" and leaf shredding. For large leaved species like Prunus laurocerasus, use bypass pruners to cut individual stems. This prevents brown, ragged leaf edges and promotes better plant hygiene.
How deep should I mulch my hedge?
Apply a 2 to 3 inch layer of organic mulch, such as shredded bark, around the base. Keep the mulch 3 inches away from the main stems to prevent moisture trap and fungal rot on the bark. Mulch regulates soil temperature.