10 Simple Steps to Install a Deer Fence
The smell of damp earth after a spring rain signifies a period of high turgor pressure within the plant vascular system. This internal hydraulic pressure keeps leaves rigid and stems upright; however, it also makes the garden an irresistible target for foraging ungulates. Protecting the cellular integrity of your cultivars requires a physical barrier. To secure your harvest, you must execute the specific steps to install a deer fence before the local herd establishes a habitual feeding pattern.
A successful installation prevents the mechanical damage caused by browsing, which strips the protective epidermis from stems and leads to pathogen entry. Deer are creatures of habit. Once they identify a high-nutrient food source, they will return until the biomass is depleted. By installing a structural perimeter, you interrupt this behavioral cycle. This guide provides the technical framework to build a professional-grade enclosure that withstands environmental stressors while maintaining the health of the underlying soil and the plants within.
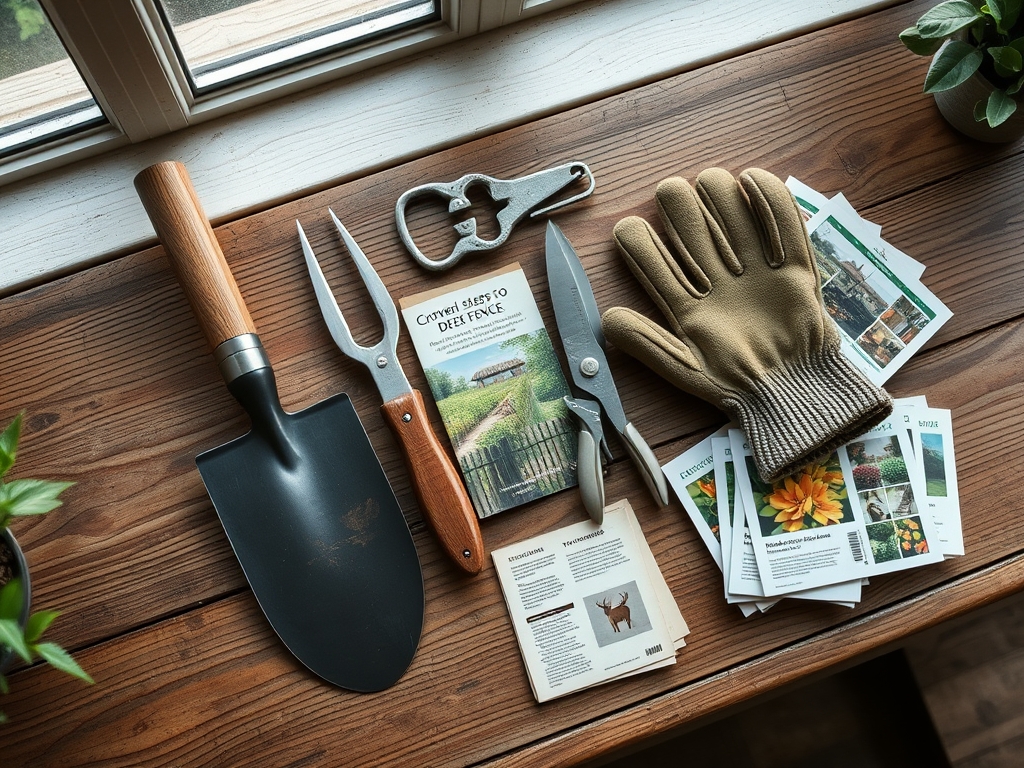
Materials:
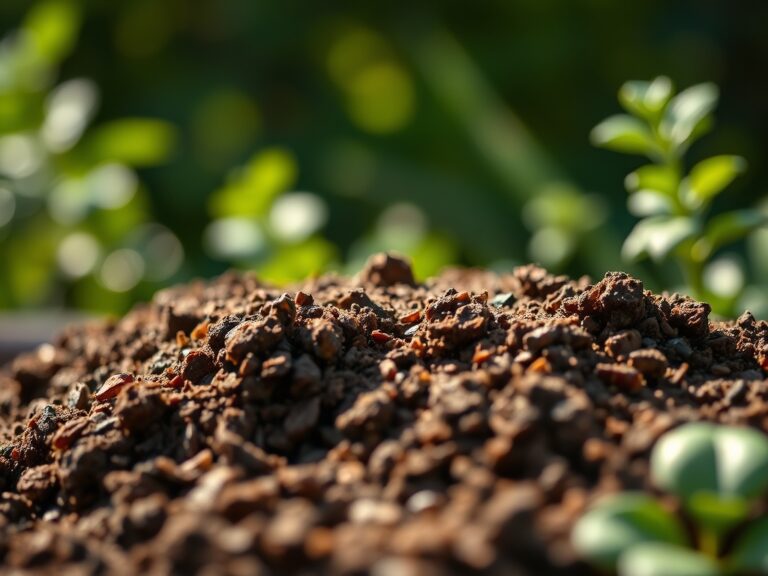
The foundation of any garden structure begins with the soil. For post stability, you must understand your Cation Exchange Capacity (CEC) and soil texture. A friable loam with a pH of 6.5 to 7.0 provides the ideal balance of drainage and structural grip for driven posts. If your soil is high in clay, expect higher expansion and contraction during freeze-thaw cycles, which can heave posts out of alignment.
To maintain the health of the rhizosphere around your fence line, ensure the following nutrient profile is maintained:
- Nitrogen (N): 10 (for vegetative vigor of perimeter groundcovers).
- Phosphorus (P): 10 (for root establishment).
- Potassium (K): 10 (for cellular wall strength).
Required hardware includes 12.5-gauge high-tensile wire or polypropylene mesh with a breaking strength of at least 650 pounds. Use 8-foot pressure-treated timber posts or black powder-coated steel to ensure longevity. Avoid untreated wood, which succumbs to fungal decay within three seasons in humid climates.
Timing:
Installation should occur during the dormant season or early spring before the soil reaches its plastic limit. In Hardiness Zones 5 through 7, the ideal window is between the last hard freeze and the spring equinox. This timing coincides with the "Biological Clock" of most perennial species, which are transitioning from winter dormancy to active vegetative growth.
Installing the fence before the photoperiod exceeds 12 hours ensures that new shoots are protected the moment they emerge. If you wait until the reproductive stage (flowering), the deer have likely already consumed the primary meristems, which stunts the plant and reduces the overall yield. Aim for a soil temperature of 45 to 50 degrees Fahrenheit to allow for easier post-driving without compromising the soil structure through compaction.
Phases:

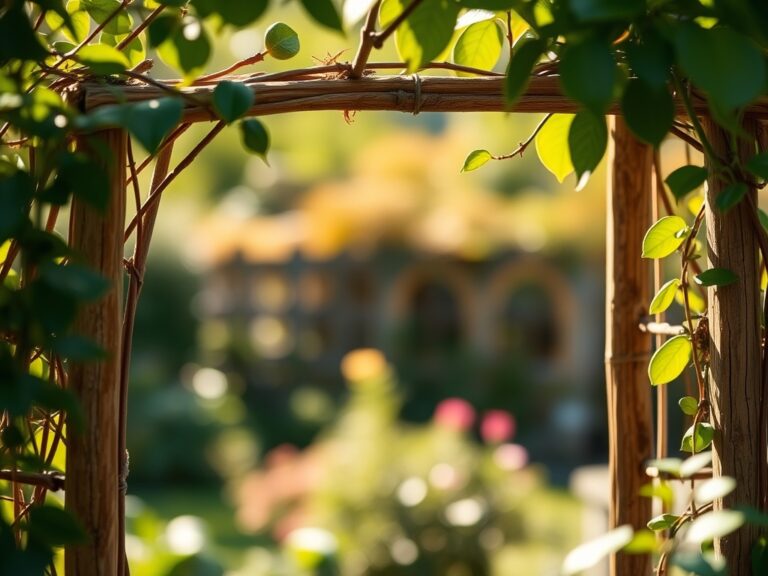
Sowing the Perimeter
Before the first post is driven, map the perimeter using a transit level. Clear a 3-foot wide path of all debris. If you are planting a "living fence" of deterrent species like Buxus or Nepeta along the base, sow seeds or install plugs into a prepared bed of composted organic matter.
Pro-Tip: Maintain a clear "buffer zone" of 2 feet outside the fence. This prevents auxin suppression in your primary crops by reducing competition for light and ensures that deer cannot browse through the mesh.
Transplanting the Posts
Drive corner posts to a depth of 36 inches to counteract the lateral tension of the wire. Line posts should be spaced no more than 10 to 15 feet apart. For steel posts, use a manual post driver to ensure vertical accuracy.
Pro-Tip: When backfilling wooden posts, use crushed stone rather than concrete. This facilitates better drainage at the post base, preventing anaerobic conditions that lead to root rot and fungal pathogens in nearby plants.
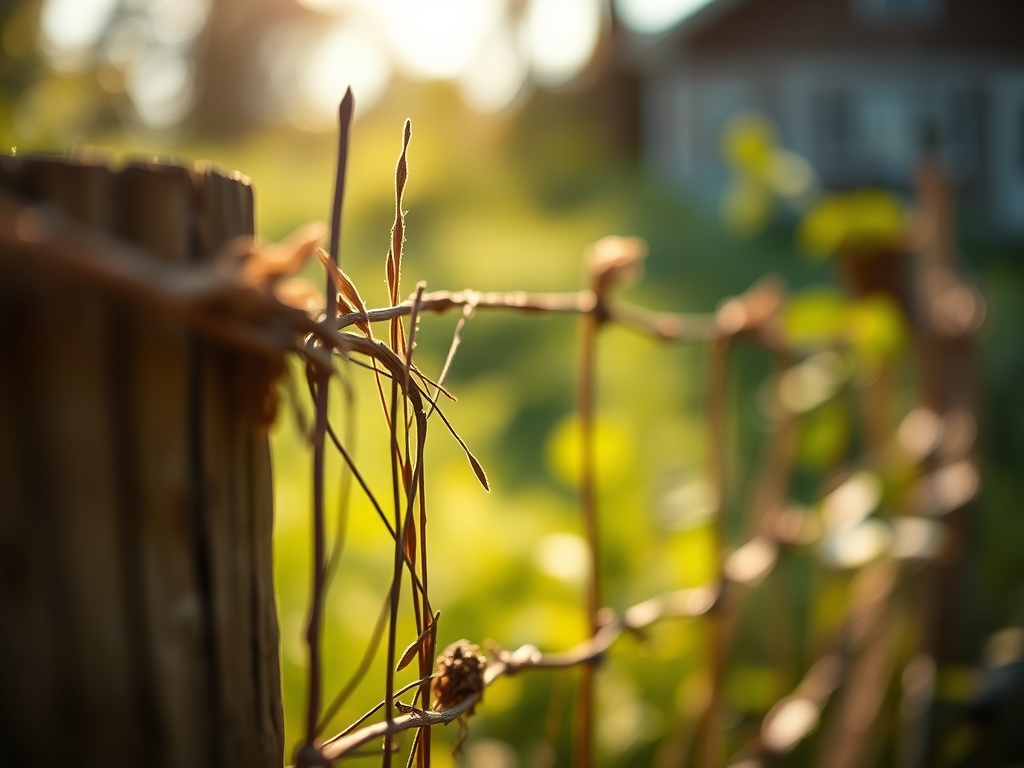
Establishing the Barrier
Attach the mesh starting from a corner post, using heavy-duty zip ties or galvanized staples. The fence must reach a height of at least 7.5 feet to prevent deer from jumping over. Secure the bottom edge to the ground using J-hooks every 5 feet.
Pro-Tip: Incorporate a "tension wire" at the top and bottom. This prevents the mesh from sagging, which utilizes gravitropism principles; a taut fence is less likely to be breached by fawns crawling underneath or bucks pushing through.
The Clinic:
Even with a fence, your plants may exhibit physiological disorders. Use this diagnostic guide to identify issues.
-
Symptom: Interveinal chlorosis (yellowing between leaf veins) on older leaves.
-
Solution: This indicates Nitrogen deficiency. Apply a water-soluble fertilizer with a 20-10-10 NPK ratio to restore chlorophyll production.
-
Symptom: Marginal leaf burn or browning of leaf edges.
-
Solution: Likely Potassium deficiency or salt accumulation. Flush the soil with 2 inches of water and check the CEC levels.
-
Symptom: Purplish tint on stems and underside of leaves.
-
Solution: Phosphorus deficiency, often caused by cold soil temperatures (below 55 degrees) which limit P-uptake. Use a soil moisture meter to ensure the roots are not waterlogged.
Fix-It: For general chlorosis, apply chelated iron to the foliage. This bypasses soil pH issues and provides immediate micronutrients to the plant's vascular system.
Maintenance:
A fence is a dynamic structure that requires seasonal calibration. Use a hori-hori knife to remove invasive vines like Oriental Bittersweet that can weigh down the mesh. Inspect the perimeter monthly for "washouts" or soil erosion that could create gaps.
Irrigation management is critical near the fence line. Provide 1.5 inches of water per week at the drip line of your plants. Use a soil moisture meter to verify that the moisture has reached a depth of 6 inches. During the mid-summer heat, use bypass pruners to remove any dead or senescing tissue, which improves airflow and reduces the risk of powdery mildew.
The Yield:
When harvesting crops protected by your fence, timing is dictated by sugar content and cellular turgidity. Harvest leafy greens in the early morning when turgor pressure is at its peak. Use a sharp, sterilized blade to make clean cuts; this minimizes the wound area and allows the plant to seal the site quickly through suberization.
For "day-one" freshness, immediately submerge harvested produce in a 40-degree water bath. This rapidly removes field heat and slows the rate of respiration, preserving the nutritional density and crisp texture of the plant.
FAQ:
How high should a deer fence be?
A deer fence should be at least 7.5 to 8 feet tall. White-tailed deer can clear lower barriers easily. If the fence is on a slope, increase the height to account for the deer's jumping trajectory.
What is the best material for a deer fence?
Polypropylene mesh is cost-effective and nearly invisible, while fixed-knot galvanized steel offers the greatest longevity. Choose UV-treated materials to prevent degradation from solar radiation over a 10 to 15 year lifespan.
How do I stop deer from crawling under the fence?
Secure the bottom of the mesh with 12-inch ground stakes or J-hooks every 5 feet. Flaring the mesh outward on the ground and pinning it prevents animals from pushing underneath the barrier.
Can I use a double fence instead of a tall one?
Yes. Two 4-foot fences spaced 3 to 5 feet apart create a psychological barrier. Deer have poor depth perception and are hesitant to jump into a confined space where they cannot safely land.