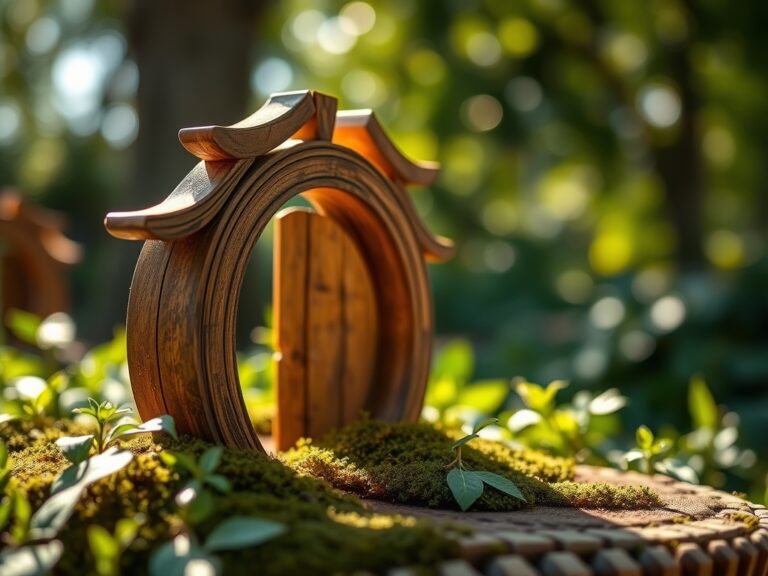
7 Simple Steps to Paint Garden Lattice
The smell of damp earth after a spring rain signals the peak of turgor pressure in perennial vines; this is the precise moment when your support structures must be ready. Maintaining a functional garden requires more than just biological management; it requires the preservation of the structural hardware that supports your biomass. Learning the steps to paint garden lattice ensures that your vertical growing space remains resistant to fungal rot and UV degradation. A weathered, porous lattice can harbor pathogens like Botrytis cinerea within its cracks. By sealing the wood with high quality exterior pigments, you create a sterile, hydrophobic barrier that protects the vascular health of climbing species. This process is not merely aesthetic. It is a fundamental component of infrastructure maintenance that prevents structural failure during the heavy fruit-loading phase of the growing season. Proper application requires a window of low humidity and moderate temperatures to ensure the polymer bonds correctly to the cellulose fibers of the wood.
Materials:
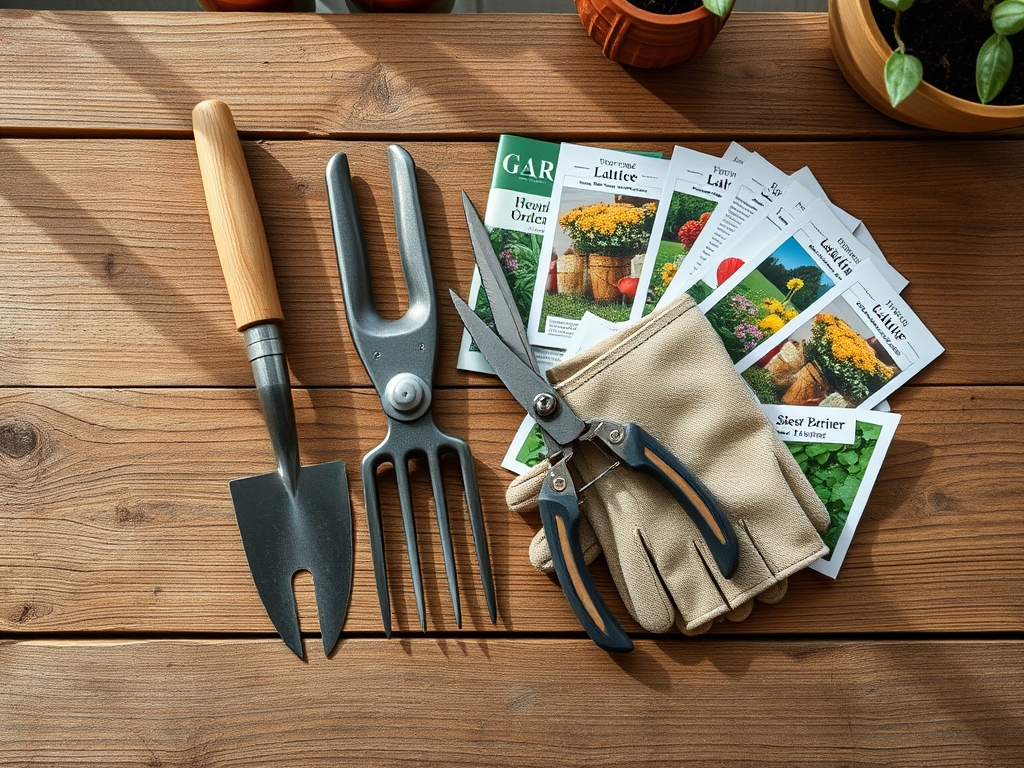
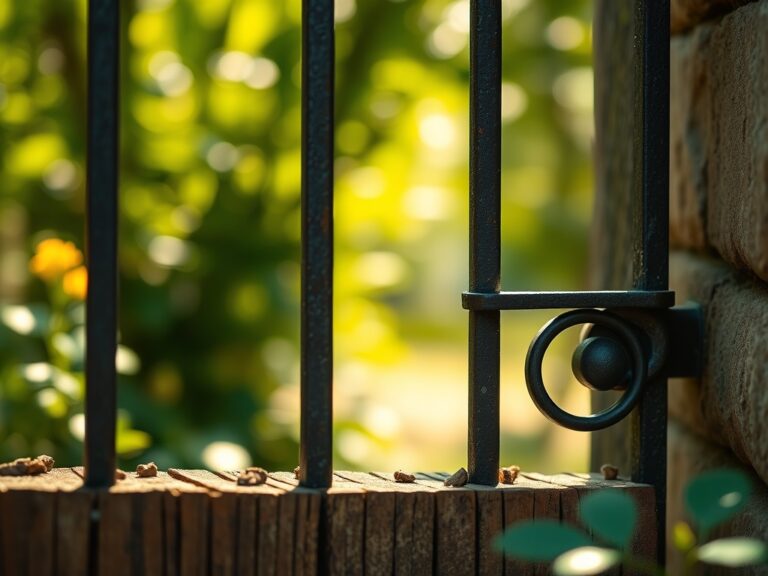
Before addressing the lattice, analyze the surrounding rhizosphere. If the lattice is adjacent to active plantings, ensure the soil is a **friable loam** with a **pH between 6.0 and 7.0**. High **Cation Exchange Capacity (CEC)** in the soil means it will retain nutrients, but it also means it can hold onto chemical runoff. Use drop cloths to protect the soil from paint flakes. You will need an oil based primer for maximum adhesion to wood tannins. For the topcoat, select an exterior latex with a high solids content. Essential tools include a **2.5 inch angled sash brush** for tight intersections and a small foam roller for flat surfaces. If the lattice is near heavy feeders like *Solanum lycopersicum*, ensure your workspace is clear of any mulch that could harbor overwintering pests.
Timing:
In Hardiness Zones 5 through 8, the ideal window for this project is late spring or early autumn. You must avoid the frost-date windows; painting when temperatures drop below 50 degrees Fahrenheit (10 degrees Celsius) will compromise the curing process. Monitor the biological clock of your climbing plants. Perform this maintenance during the late dormant stage or early vegetative stage before the plant initiates photoperiodism triggered flowering. If you paint during the reproductive stage, you risk damaging delicate floral meristems and reducing your overall yield. Aim for a period with less than 60 percent humidity to allow the solvent to evaporate at a controlled rate, preventing "alligatoring" or premature peeling of the film.
Phases:
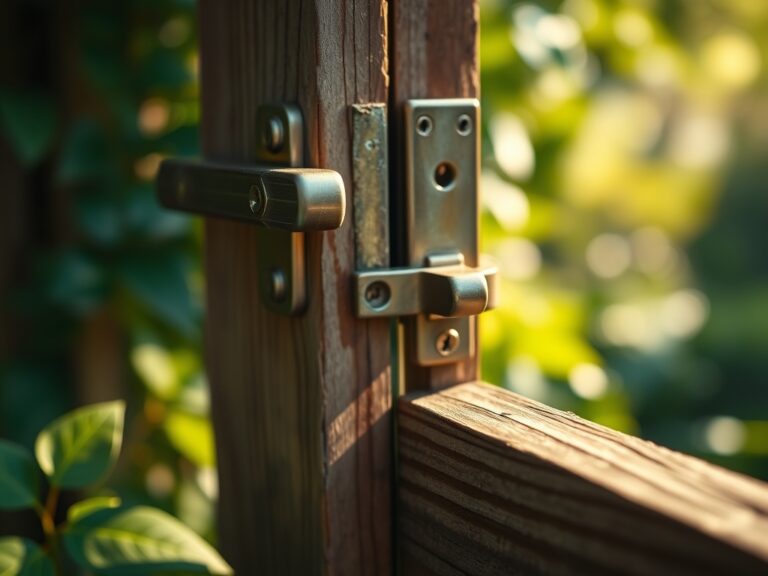
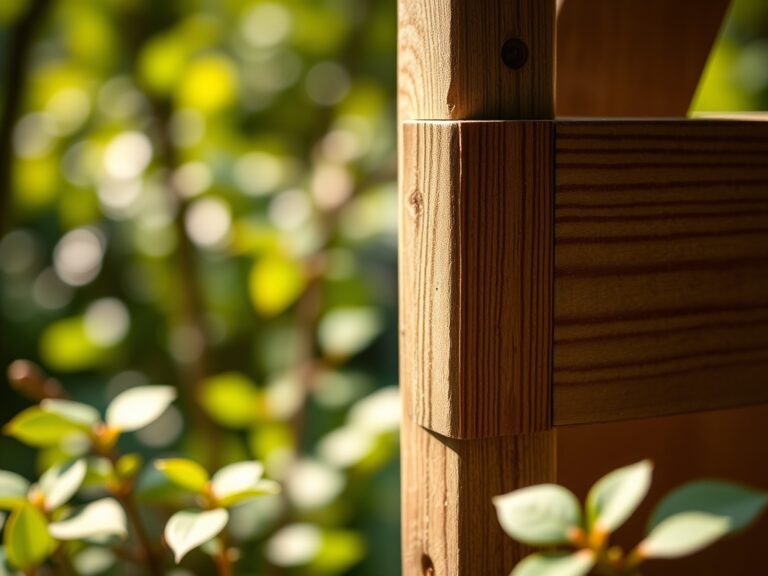
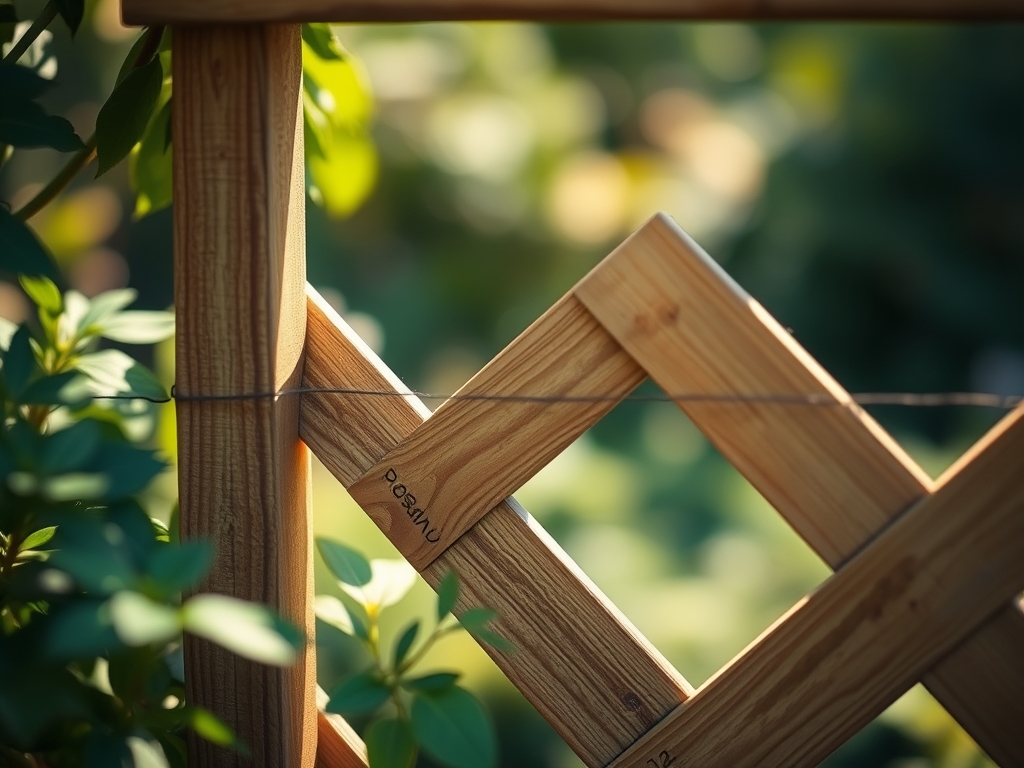
Sowing the Foundation: Surface Preparation
Remove all organic debris and exfoliating old paint using a wire brush. Sand the wood with 80-grit sandpaper to open the grain. This increases the surface area for the primer to bite into the wood cells. Wash the surface with a solution of trisodium phosphate (TSP) to remove fungal spores and oils.
Pro-Tip: Proper sanding prevents the "wicking" of moisture into the wood. By smoothing the surface, you reduce the micro-cavities where water can sit, which prevents the colonization of wood-decay fungi through mycorrhizal-like hyphal penetration.
Transplanting the Color: Priming and Coating
Apply a thin, even layer of primer. Focus on the "end grain" where the lattice strips overlap. These are the primary sites for capillary action, where water is pulled into the wood. Once dry, apply the first coat of exterior paint. Use a "back-brushing" technique to force the pigment into the pores.
Pro-Tip: High-quality primers act as a chemical bridge. This mimics the way auxin suppression works in plants; by sealing the "lead" pores, you prevent the lateral spread of moisture damage throughout the entire wooden member.
Establishing the Barrier: The Final Seal
Apply a second coat after 24 hours of curing. Check for "holidays" or missed spots in the intersections. The final film should be thick enough to resist the mechanical abrasion of climbing tendrils or the expansion of woody stems.
Pro-Tip: A thick, elastic paint film accommodates the thermal expansion of the wood. This is similar to turgor pressure in plant cells; the coating must be flexible enough to withstand internal pressure changes without rupturing the protective outer membrane.
The Clinic:
Physiological disorders in your garden often manifest as a result of poor infrastructure or nutrient imbalances.
- Symptom: Yellowing of lower leaves with green veins (Interveinal Chlorosis).
- Solution: This indicates a Magnesium deficiency. Apply Epsom salts (magnesium sulfate) at a rate of 1 tablespoon per gallon of water.
- Symptom: Stunted growth and dark purple tint on foliage.
- Solution: This is a Phosphorus deficiency, common in cold soils. Increase the NPK ratio toward a higher middle number, such as a 10-30-10 starter fertilizer.
- Symptom: "Paint Burn" on nearby foliage (necrosis at leaf margins).
- Solution: This is caused by chemical overspray. Immediately flush the affected plants with 1 inch of water to dilute the toxins in the rhizosphere.
- Fix-It for Nitrogen Chlorosis: If plants show overall pale green or yellow leaves, they lack Nitrogen. Apply a high-nitrogen source like blood meal or a 20-0-0 liquid fertilizer to restore chlorophyll production.
Maintenance:
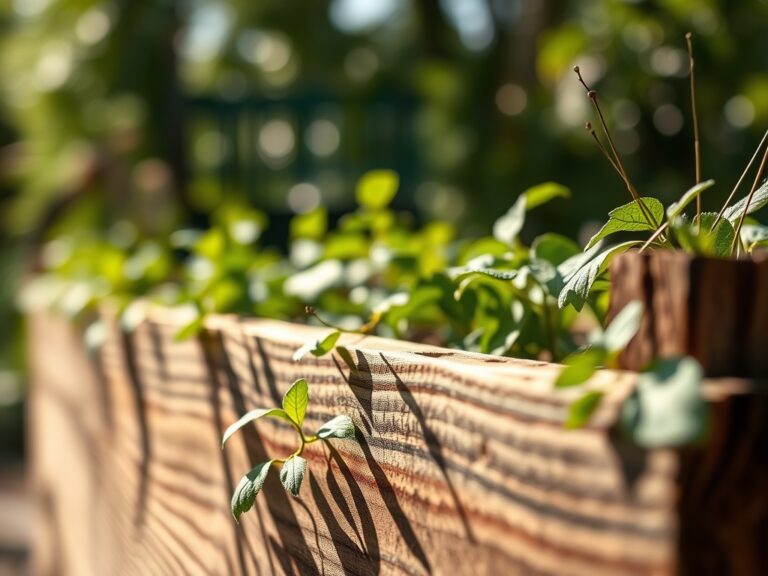
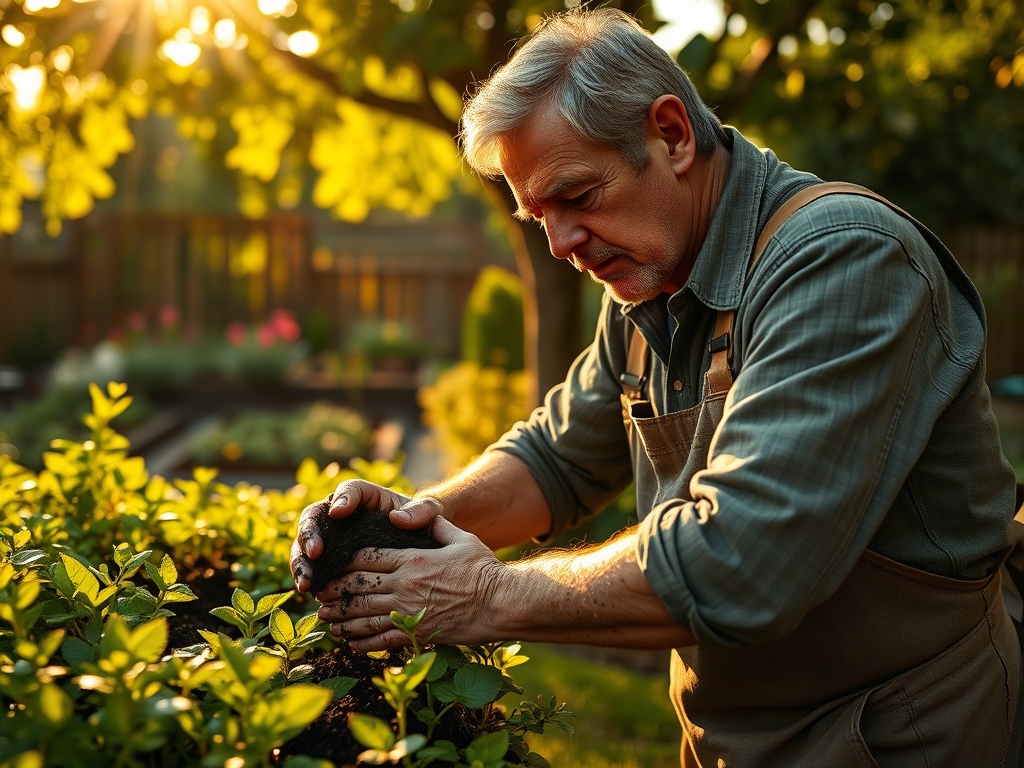
Post-painting maintenance requires monitoring both the structure and the biology. Ensure your plants receive 1.5 inches of water per week at the drip line, measured with a soil moisture meter. Use a hori-hori knife to remove any weeds that compete for nutrients at the base of the lattice. If a climbing vine becomes too heavy, use bypass pruners to thin the canopy; this reduces the mechanical load on the newly painted wood and improves airflow to prevent powdery mildew. Inspect the paint annually for chips. Small cracks should be touched up immediately to prevent moisture from reaching the wood substrate and initiating senescence of the support structure.
The Yield:
When harvesting from plants supported by your lattice, such as Phaseolus vulgaris (pole beans) or Lathyrus odoratus (sweet peas), timing is critical. Harvest in the early morning when turgor pressure is at its highest. This ensures the cell walls are fully hydrated, providing "day-one" freshness and a crisp texture. Use sharp snips to avoid tugging on the lattice, which can cause micro-fractures in the paint seal. For flowers, immediately plunge the stems into 40 degree Fahrenheit water to slow the metabolic rate and extend the post-harvest life.
FAQ:
Can I paint lattice while plants are still attached?
No. You must untie or prune back vegetation. Painting over living tissue causes stomatal blockage, preventing gas exchange and leading to localized tissue death or systemic failure of the plant's respiratory system.
How long should I wait before reattaching vines?
Wait at least 48 to 72 hours. Modern latex paints require this window to reach full "block resistance." Reattaching vines too early allows the plant's weight to fuse the stems to the soft paint film.
What is the best NPK ratio for plants on a lattice?
Use a balanced 10-10-10 fertilizer during the vegetative stage. Switch to a 5-10-10 ratio once the plant enters the reproductive stage to encourage flowering and fruiting rather than excessive, heavy leaf biomass that strains the structure.
Does the color of the paint affect plant growth?
Darker colors absorb more thermal energy, which can increase the temperature of the wood. In hot climates, this may lead to heat stress or localized wilting of sensitive tendrils that are in direct contact with the surface.