9 Easy Steps to Lay Stepping Stones
Crushed limestone and the sharp scent of disturbed humus signal the start of a permanent landscape installation. When you break the surface of a well established lawn, you are disrupting a complex biological network of roots and fungal hyphae. Precision is the difference between a path that settles into the earth and one that heaves with the first frost. Learning the correct steps to lay stepping stones ensures that your hardscape integrates with the existing rhizosphere without causing long term soil compaction. A successful path requires more than just placing heavy slabs; it demands an understanding of soil mechanics and drainage. You must evaluate the turgor pressure of the surrounding turf to ensure that your excavation does not lead to localized desiccation. By following a systematic approach, you create a stable walking surface that respects the hydrological needs of the garden. This process begins with a site analysis to determine the slope and water runoff patterns that will dictate the depth of your base layers.
Materials:

The foundation of any stone path depends on the chemical and physical composition of the substrate. You are looking for a **friable loam** with a **Cation Exchange Capacity (CEC) between 15 and 25**. This range ensures that the soil can hold onto essential nutrients like Potassium and Magnesium even after heavy rains. Before laying stones, test the soil pH; a range of **6.2 to 7.0** is ideal for most turf grasses that will border your path.
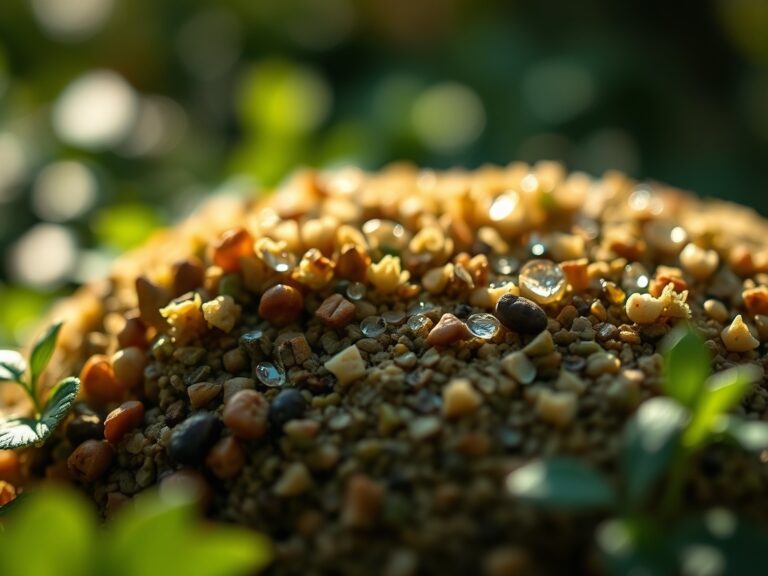
For the structural base, you require washed leveling sand and ASTM D448 No. 57 crushed stone. Avoid using fine, round beach sand because it lacks the angular edges needed for interlocking stability. If you are planting around the stones, integrate a slow release fertilizer with an NPK ratio of 10-10-10 into the backfill. This balanced ratio supports initial root development through phosphorus while maintaining leafy growth via nitrogen. High nitrogen fertilizers (like 21-0-0) should be avoided during installation as they can cause rapid, weak cellular growth that is susceptible to fungal pathogens.
Timing:
Timing your installation is a matter of botanical survival. In Hardiness Zones 4 through 7, the window for laying stones opens after the last spring frost and closes six weeks before the first autumn freeze. This allows the surrounding vegetation to recover from the stress of excavation. During the "Biological Clock" of the garden, specifically the transition from vegetative to reproductive stages, plants are diverting energy into flowering or seed production. Avoid heavy construction during the peak of summer heat when evapotranspiration rates are at their highest. If you install stones during a period of high heat, the reflected thermal energy from the stone surface can scorch the delicate leaf margins of nearby perennials. Aim for a soil temperature of 55 to 65 degrees Fahrenheit to ensure that any grass seed or groundcover used for infill can germinate and establish a robust root system before dormancy.
Phases:

Sowing the Layout
Begin by marking the path with a garden hose or marking paint. The center to center distance between stones should be approximately 20 to 24 inches to match a natural human gait. Excavate each site to a depth that accounts for 2 inches of crushed stone, 1 inch of sand, and the thickness of the stone itself. Ensure the final stone surface sits 0.5 inches above the soil line to prevent sediment accumulation.
Pro-Tip: Proper spacing prevents auxin suppression in the surrounding turf. When stones are placed too close together, the lack of light and airflow inhibits the hormones responsible for vertical growth, leading to "dead zones" between the stones.
Transplanting and Leveling
Place your base layers and compact them using a hand tamper. Set the stone and use a rubber mallet to seat it firmly. Check for level in both directions. If you are adding "steppable" plants like Thymus praecox in the gaps, ensure the root balls are teased out to encourage mycorrhizal symbiosis. This fungal relationship extends the reach of the roots, allowing the plants to thrive in the high stress environment between stones.
Pro-Tip: Orient the stones to maximize light exposure for the surrounding flora. This prevents phototropism, where plants lean aggressively toward the light, eventually becoming leggy and structurally unstable.
Establishing the Border
Once the stones are set, backfill the margins with a mix of topsoil and organic compost. Water the area immediately to settle the soil and remove air pockets around the stone edges. Maintain a consistent moisture level for the first 14 to 21 days to facilitate the "knitting" of the roots into the new substrate.
Pro-Tip: Deep watering encourages geotropism, the physiological response that pulls roots downward. Deep roots are essential for stones to remain stable through freeze thaw cycles.
The Clinic:
Physiological disorders in the landscape often manifest shortly after hardscape installation. Watch for these symptoms:
- Iron Chlorosis: Interveinal yellowing of leaves near the stones. This is often caused by lime leaching from the stone base, raising the pH and locking up iron. Fix-It: Apply chelated iron and elemental sulfur to lower the pH to 6.5.
- Localized Dry Spot: Grass turning brown and hydrophobic near stone edges. This occurs when the stone absorbs solar heat and desiccates the soil. Fix-It: Increase irrigation frequency and use a wetting agent to improve water penetration.
- Nitrogen Deficiency: General stunting and pale green foliage. Fix-It: Apply a fast acting Nitrogen (N) source, but do not exceed 0.5 lbs of actual N per 1,000 square feet in a single application.
- Compaction Stress: Stunted growth and thinning of turf. Fix-It: Use a core aerator around the path to improve oxygen diffusion to the rhizosphere.
Maintenance:
A stone path is a living system that requires calibrated care. Use a soil moisture meter to ensure the ground remains at 25% to 35% moisture capacity. During the growing season, provide 1.5 inches of water per week at the drip line of any overhanging shrubs. Use a hori-hori knife to remove weeds from the crevices without disturbing the stone base. If the stones begin to shift, it is likely due to poor drainage; check for pooling water and clear any debris from the path margins using bypass pruners to keep surrounding foliage from trapping moisture against the stones. Annually check the stone height to ensure they have not sunk below the grade, which can lead to crown rot in adjacent plants.
The Yield:
If your path winds through a cutting garden or an edible landscape, the stones act as a thermal mass that can extend your harvest season. The stones absorb heat during the day and radiate it back at night, protecting low growing herbs from light frosts. When harvesting herbs like creeping thyme or oregano from the path, use sharp snips to take no more than one third of the plant's biomass. Harvest in the early morning when turgor pressure is at its peak for maximum freshness. Immediately place cuttings in a cool, shaded area to prevent wilting and preserve essential oils.
FAQ:
How deep should I dig for stepping stones?
Excavate to a depth of 4 to 6 inches. This allows for a 2 inch gravel base, a 1 inch sand bed, and the thickness of the stone, ensuring the surface sits slightly above the soil to prevent drainage issues.
What is the best base material for stones?
Use a combination of No. 57 crushed stone for drainage and angular leveling sand for stability. Avoid rounded pea gravel, as it shifts under pressure and fails to provide a locked, immovable foundation for the stones.
How do I prevent weeds between stones?
Maintain a high density of "steppable" groundcovers or use a polymeric sand in the joints. For organic control, use a hori-hori knife to remove taproots entirely, preventing the weed from regenerating from the crown or rhizomes.
Can I lay stones directly on grass?
No. Placing stones directly on turf leads to anaerobic soil conditions and compaction. The grass will die, and the stones will shift or sink during rain events. Always excavate and install a proper mineral base for long term stability.